Remote Desktop Automation
This module uses the Remote Desktop Protocol (RDP) to connect to a Windows machine at a specified IP address, analyzes the remote screen with computer vision, and drives the remote mouse and keyboard to achieve automation. In addition, the module can read and write text on the remote clipboard and upload or download remote files; file transfer requires the SSHD service to be running on the remote host.
In training mode, you can connect to the remote host in the "No-Code Editor" and generate Low-Code scripts from the menus, or write them directly in the "Low-Code Editor". In execution mode, the module connects to the remote host with the configured connection settings and automatically loads and runs the Low-Code script saved in the module.
No-Code Editor
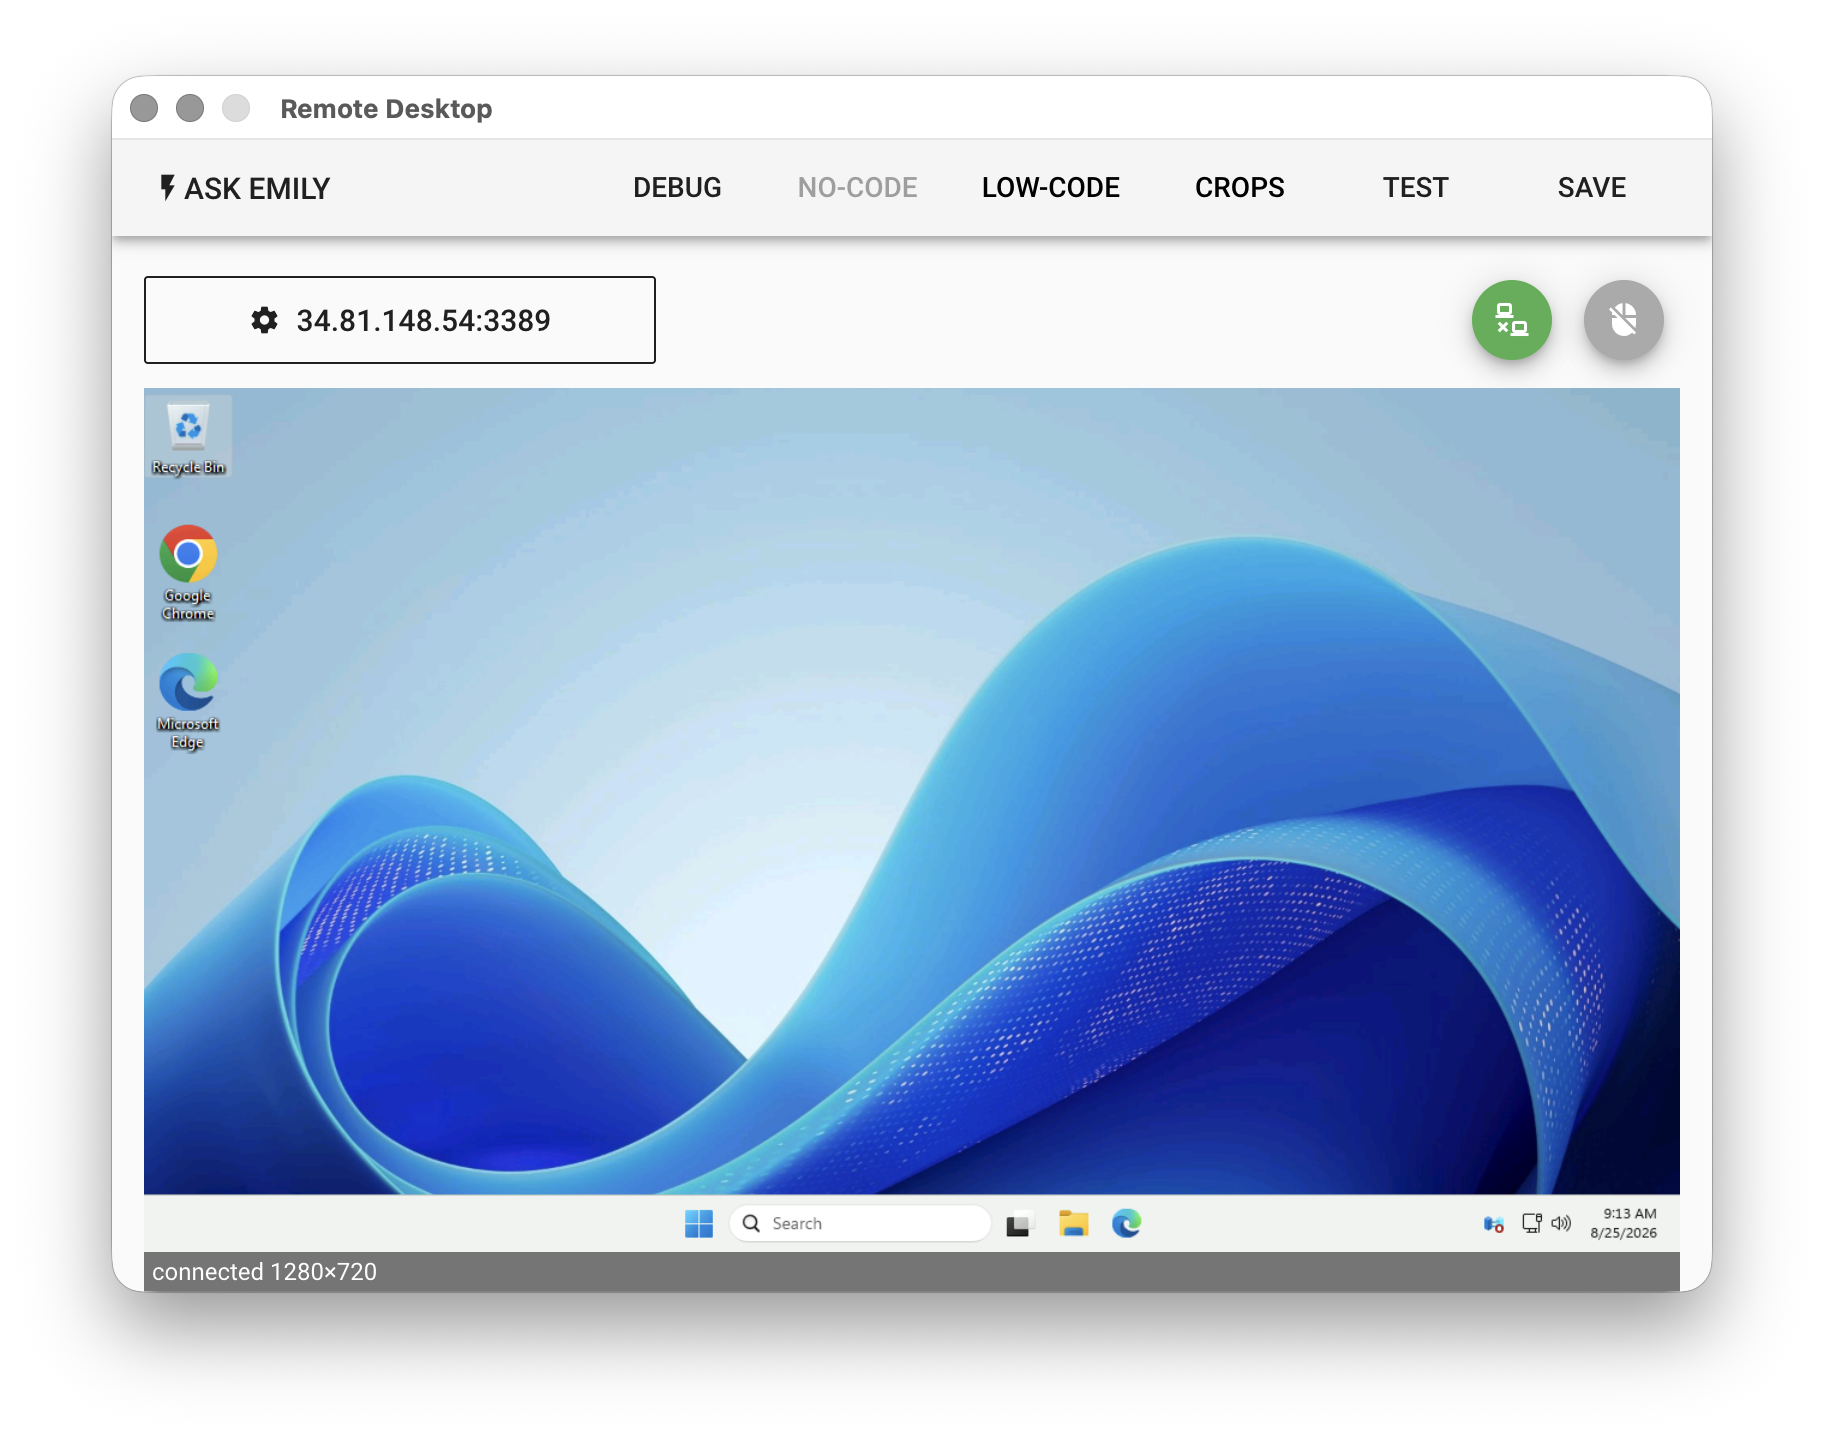
The No-Code Editor contains the "Connection Settings", "Connect Button", "Manual Control Button", "Screen View", "Status Bar", "Mouse Click Menu", and "Mouse Drag Menu". It mainly provides an interactive interface that helps you generate Low-Code scripts.
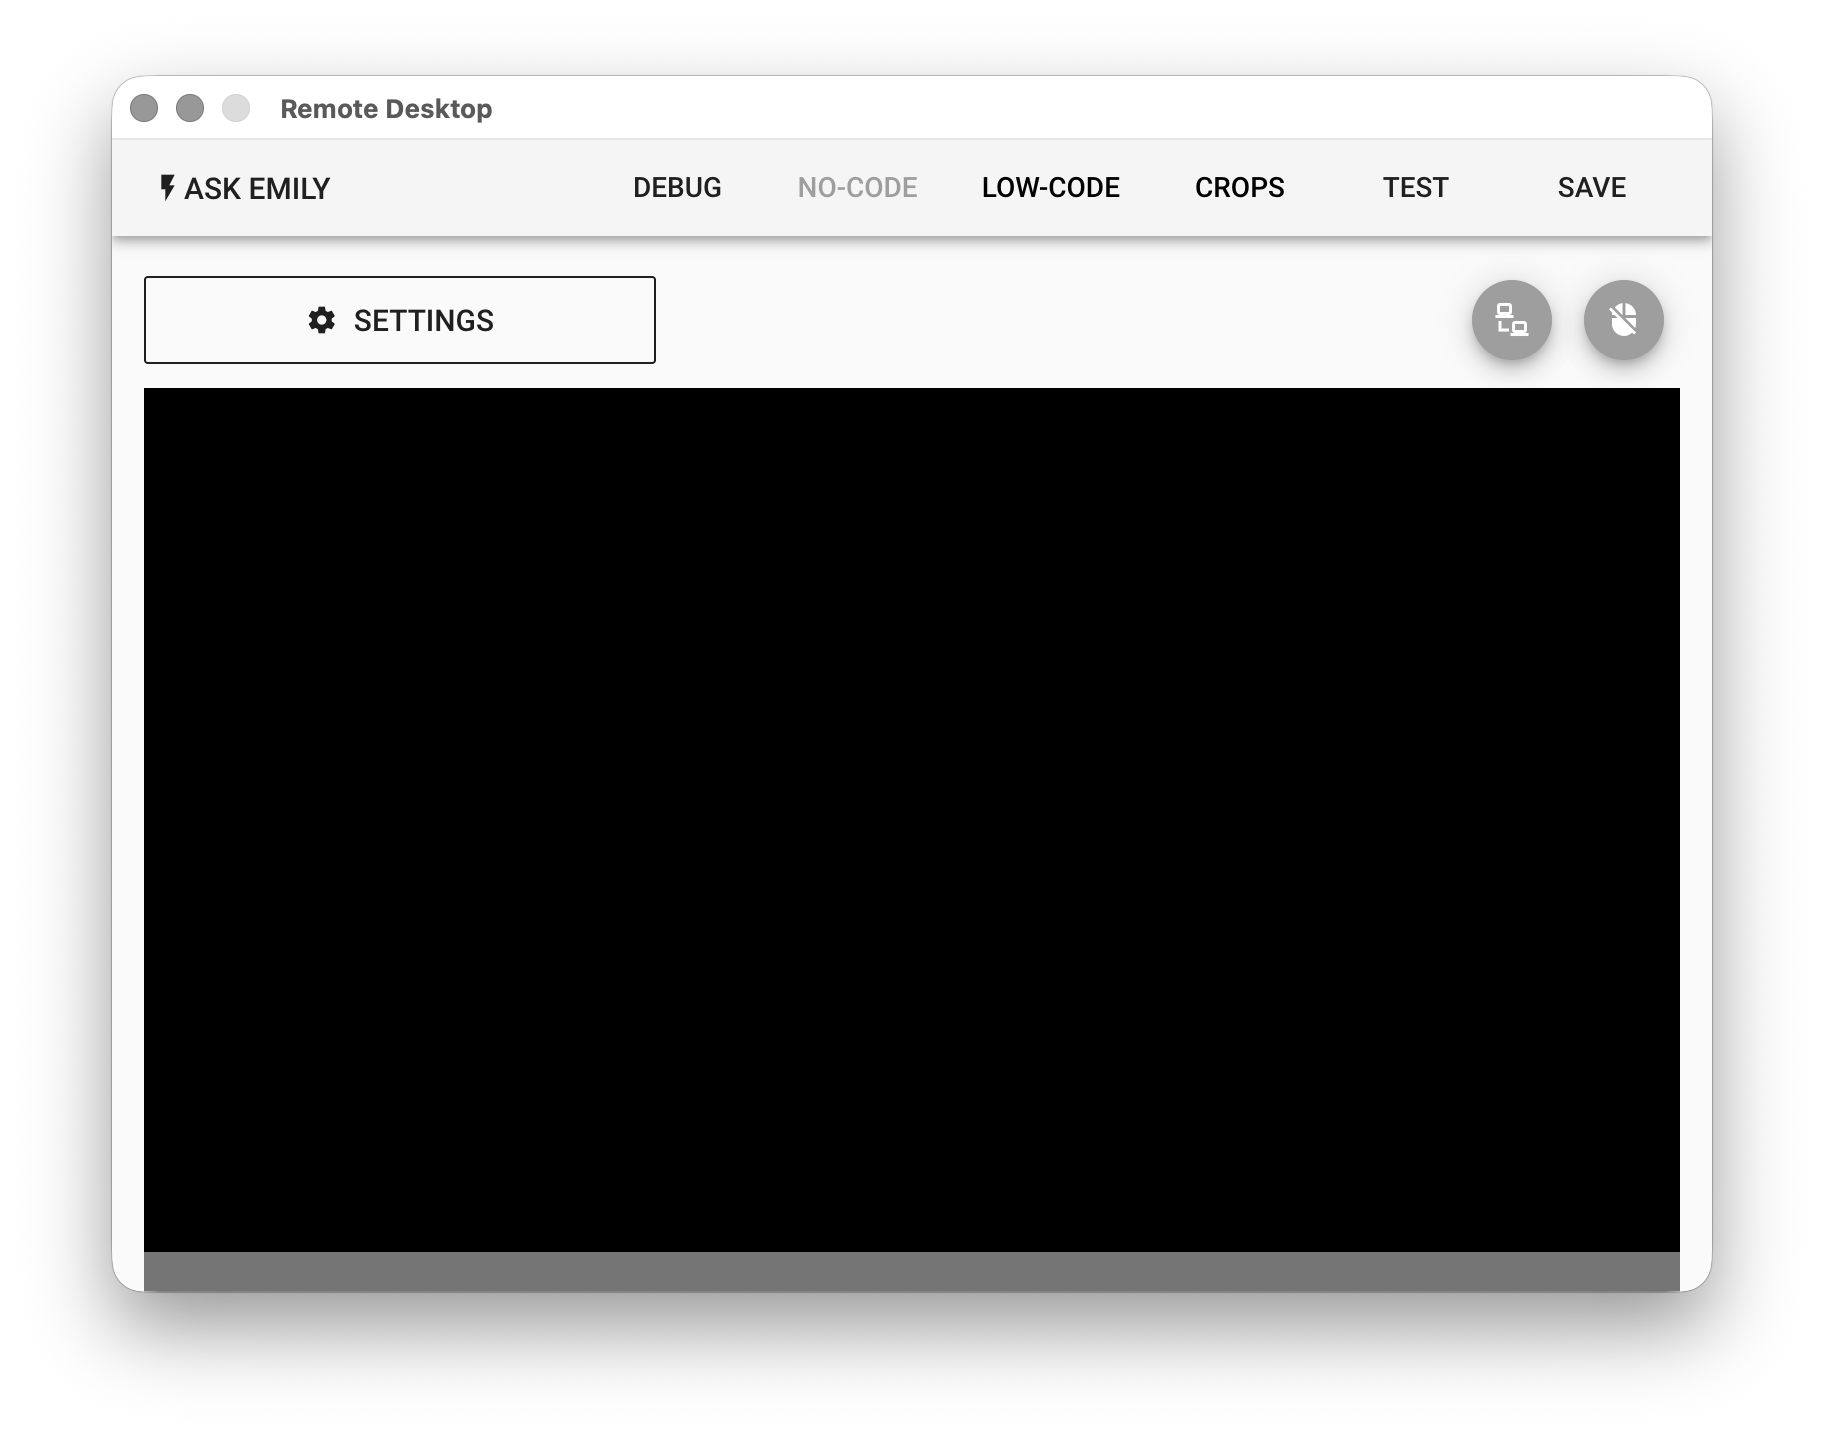
Connection Settings (SETTINGS)
Configure the remote desktop connection information, plus the key and default model used by the AI Agent features:
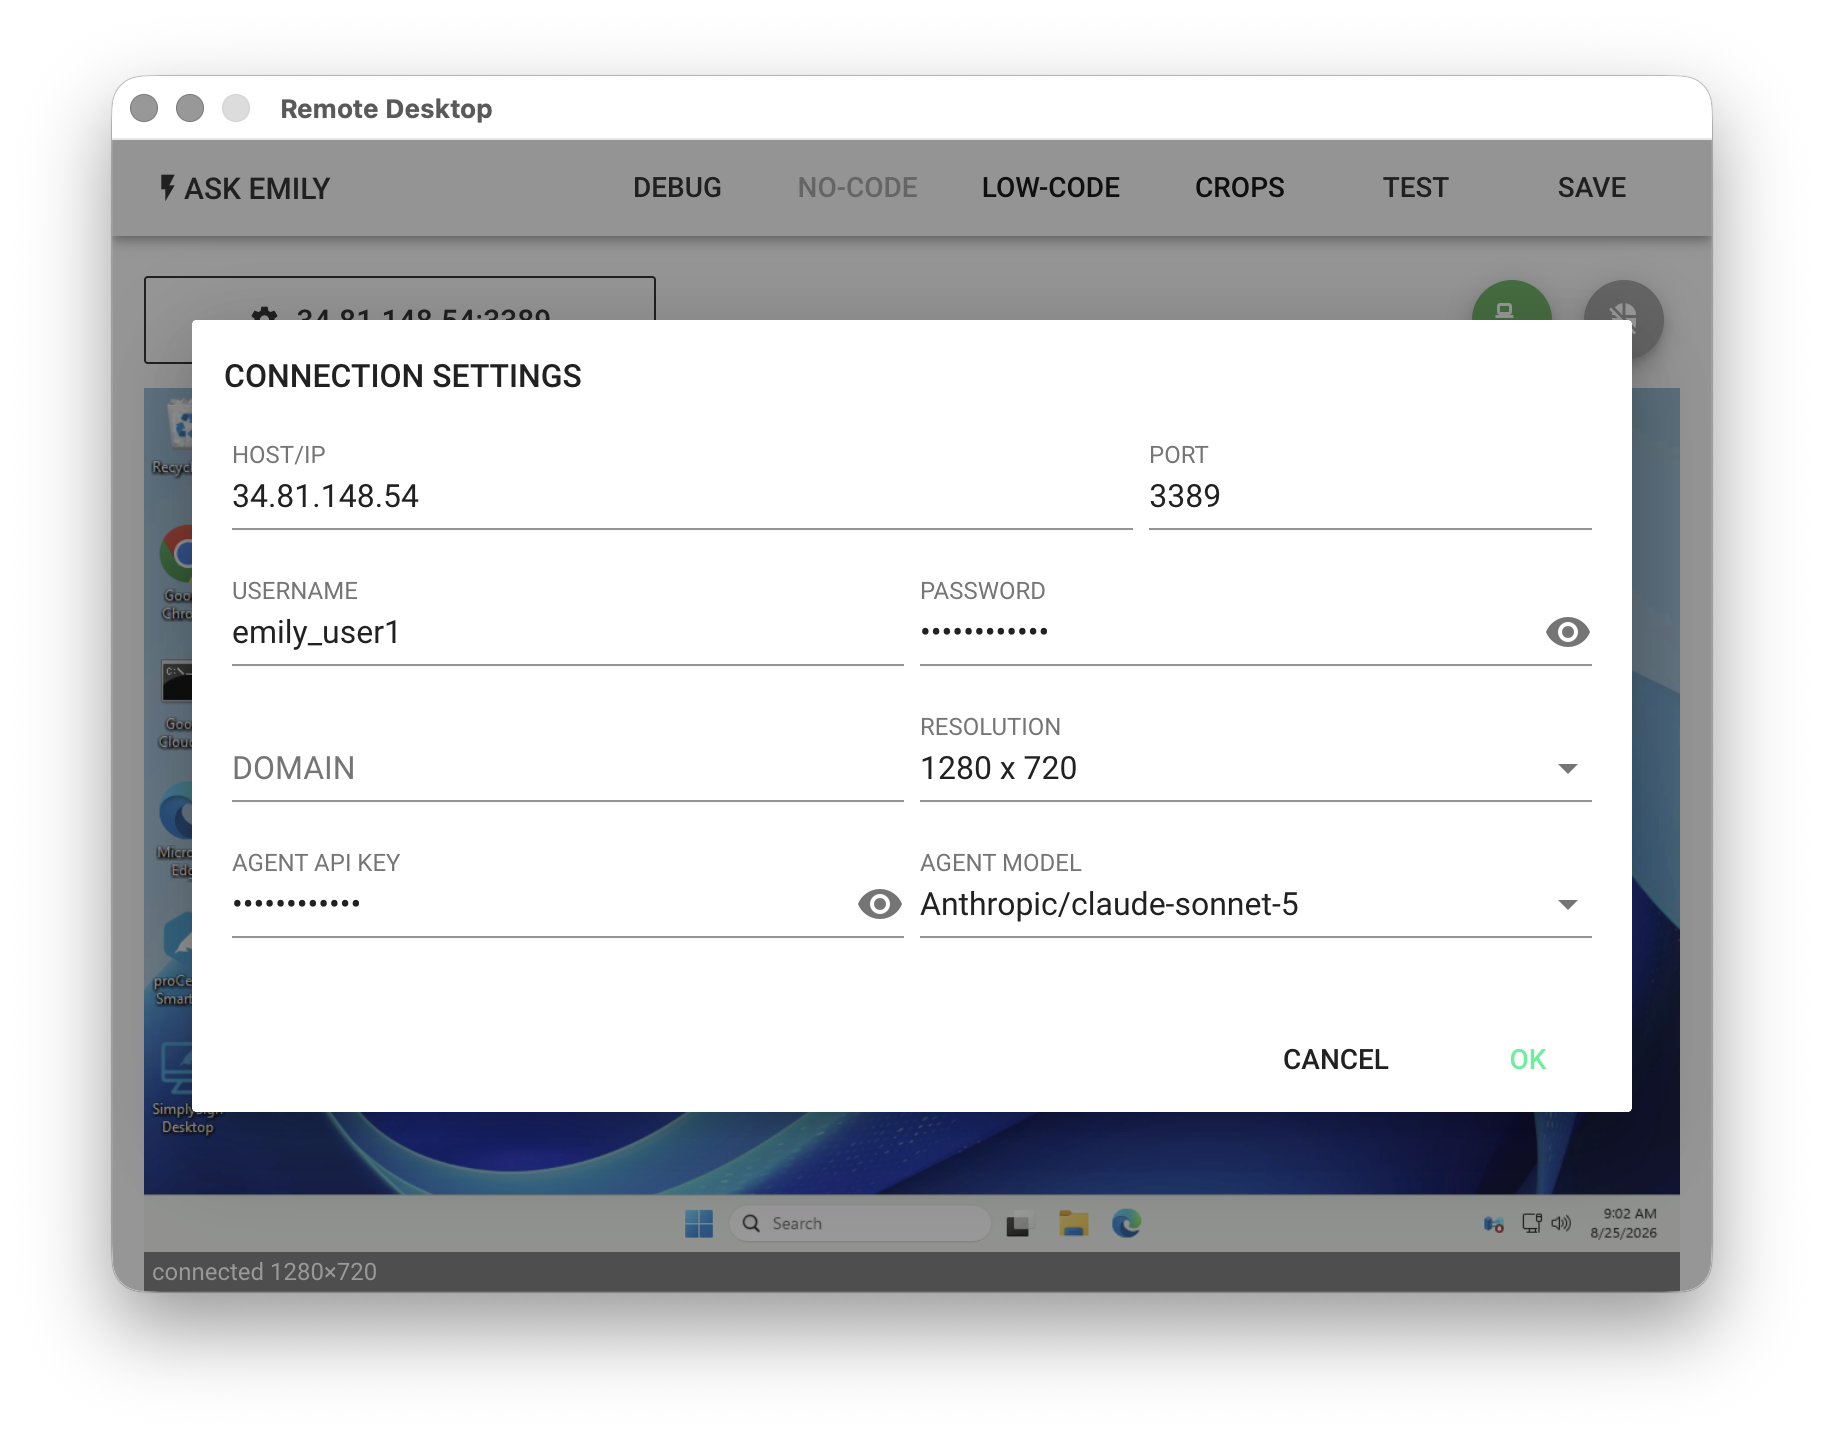
HOST/IP - The IP address of the remote host. The %FILENAME% variable can be used.
PORT - The RDP port, 3389 by default.
USERNAME - The login account of the remote host. The %FILENAME% variable can be used.
PASSWORD - The login password of the remote host. The %FILENAME% variable can be used.
DOMAIN - The Windows domain of the remote host. The %FILENAME% variable can be used.
RESOLUTION - 1280x720 by default; the other options are 1440x900 and 1920x1080.
AGENT APIKEY - The key required by the AI Agent and OCR. The %FILENAME% variable or the enterprise prepaid %credit-key% can be used.
AGENT MODEL - The model used by the AI Agent and OCR.

 Manual Connection
Connect to or disconnect from the remote host manually in training mode. Every feature that involves the remote host, including the menus, only works while connected.

 Manual Control
Turn manual control of the remote mouse and keyboard on or off in training mode. The module menus only work while manual control is turned off.
Mouse Click Menu
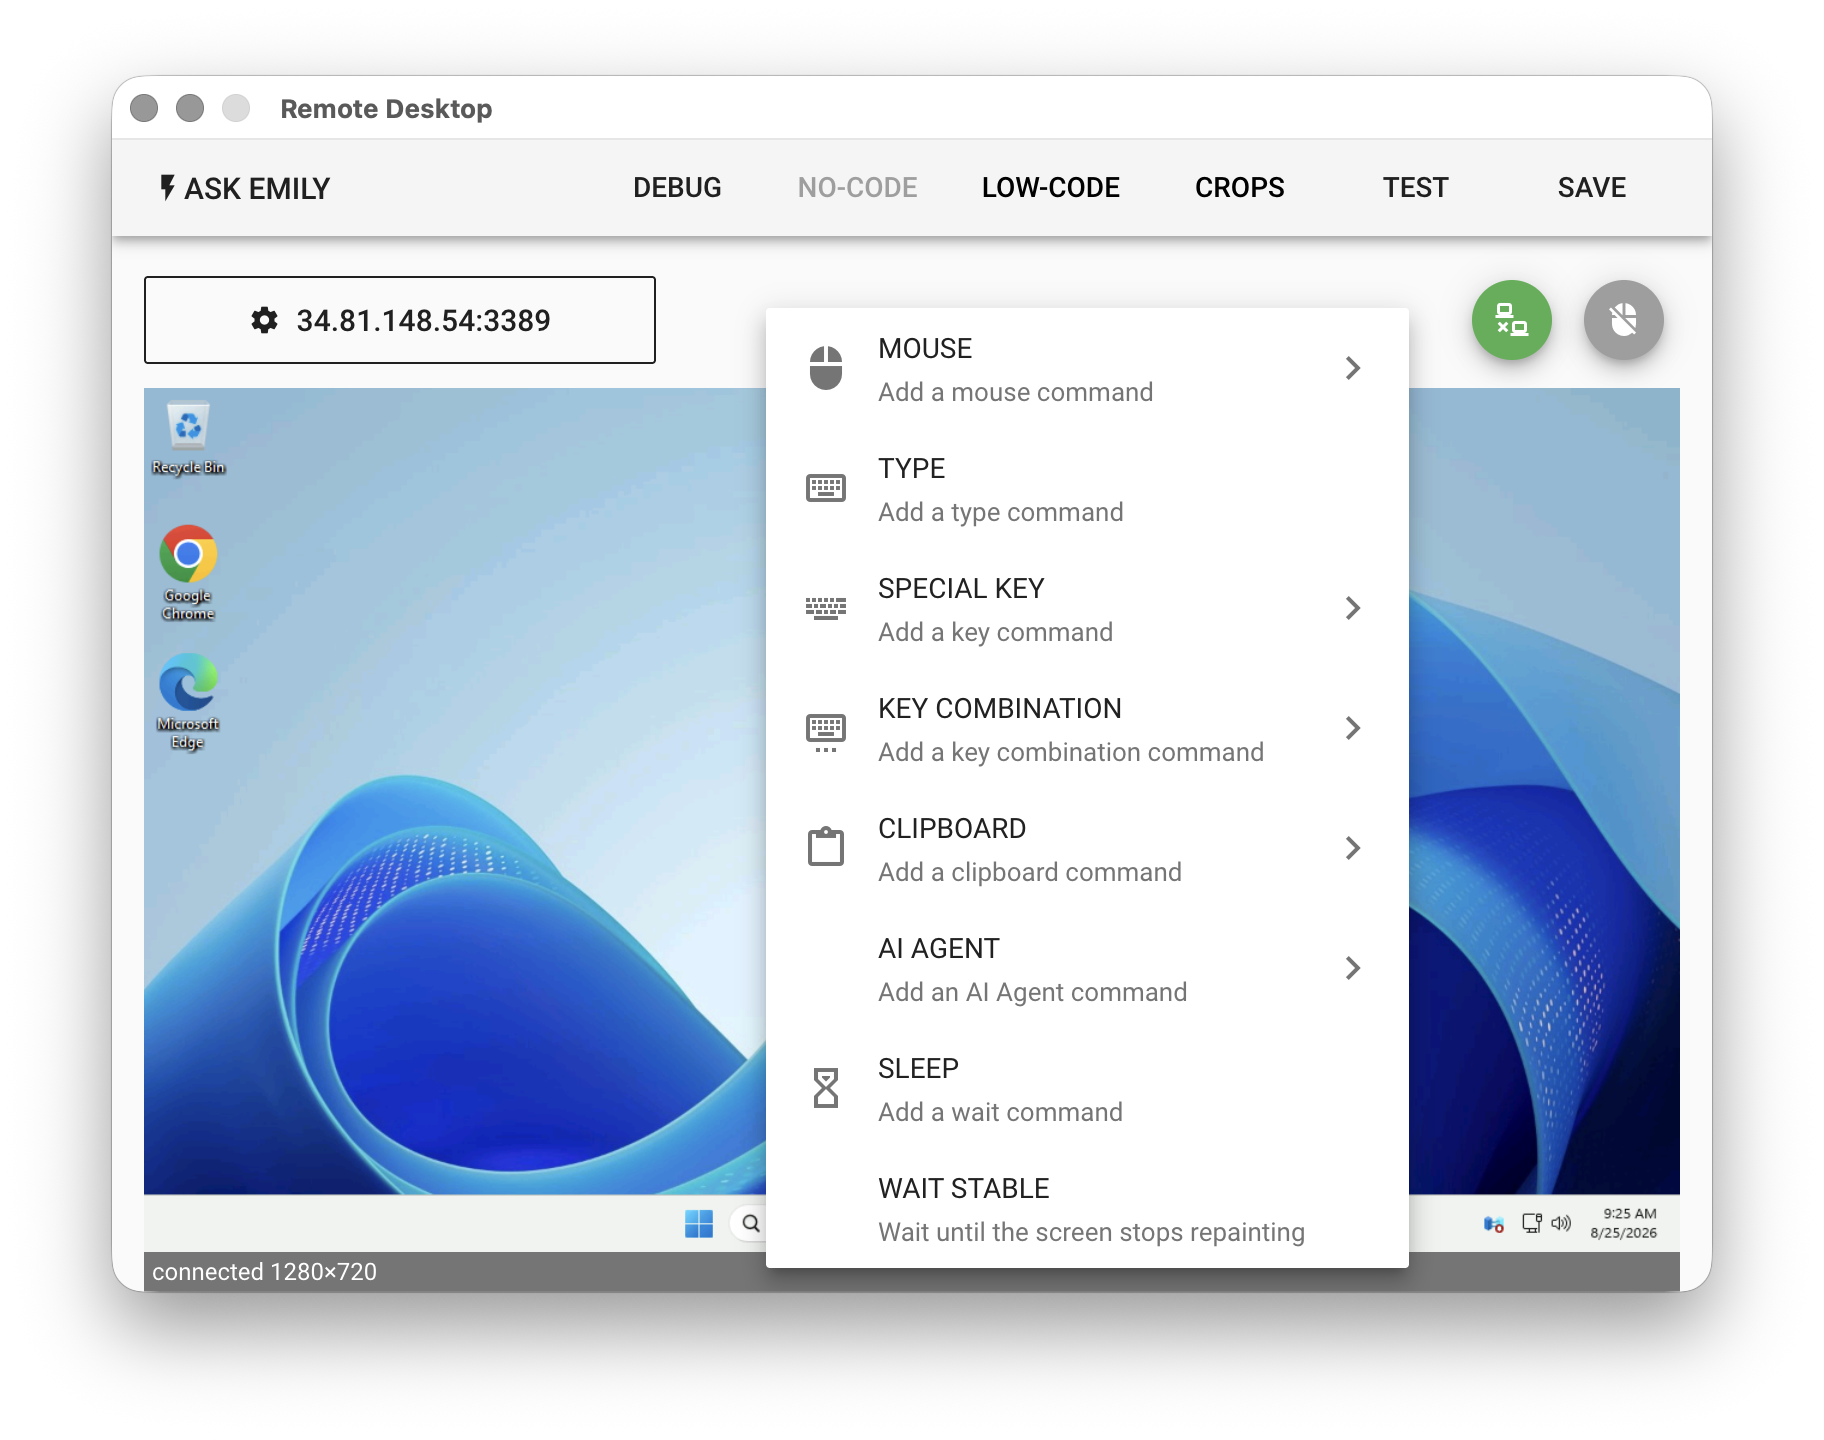
After you click the mouse on the remote desktop screen, the menu offers "MOUSE", "TYPE", "SPECIAL KEY", "KEY COMBINATION", "CLIPBOARD", and "AI AGENT" functions that generate Low-Code scripts for you. The AI AGENT functions use the APIKEY and MODEL from the connection settings and incur token costs; you can see the cost in DEBUG.
Mouse Drag Menu
After you drag the mouse to select an image on the remote desktop screen, the menu offers "CAPTURE CROP", "CLICK AT", "MOVE TO", "WAIT FOR CROP", and "CROP TO OCR" functions that generate Low-Code scripts referencing the captured image. CROP TO OCR uses the APIKEY and MODEL from the connection settings and incurs token costs; you can see the cost in DEBUG.
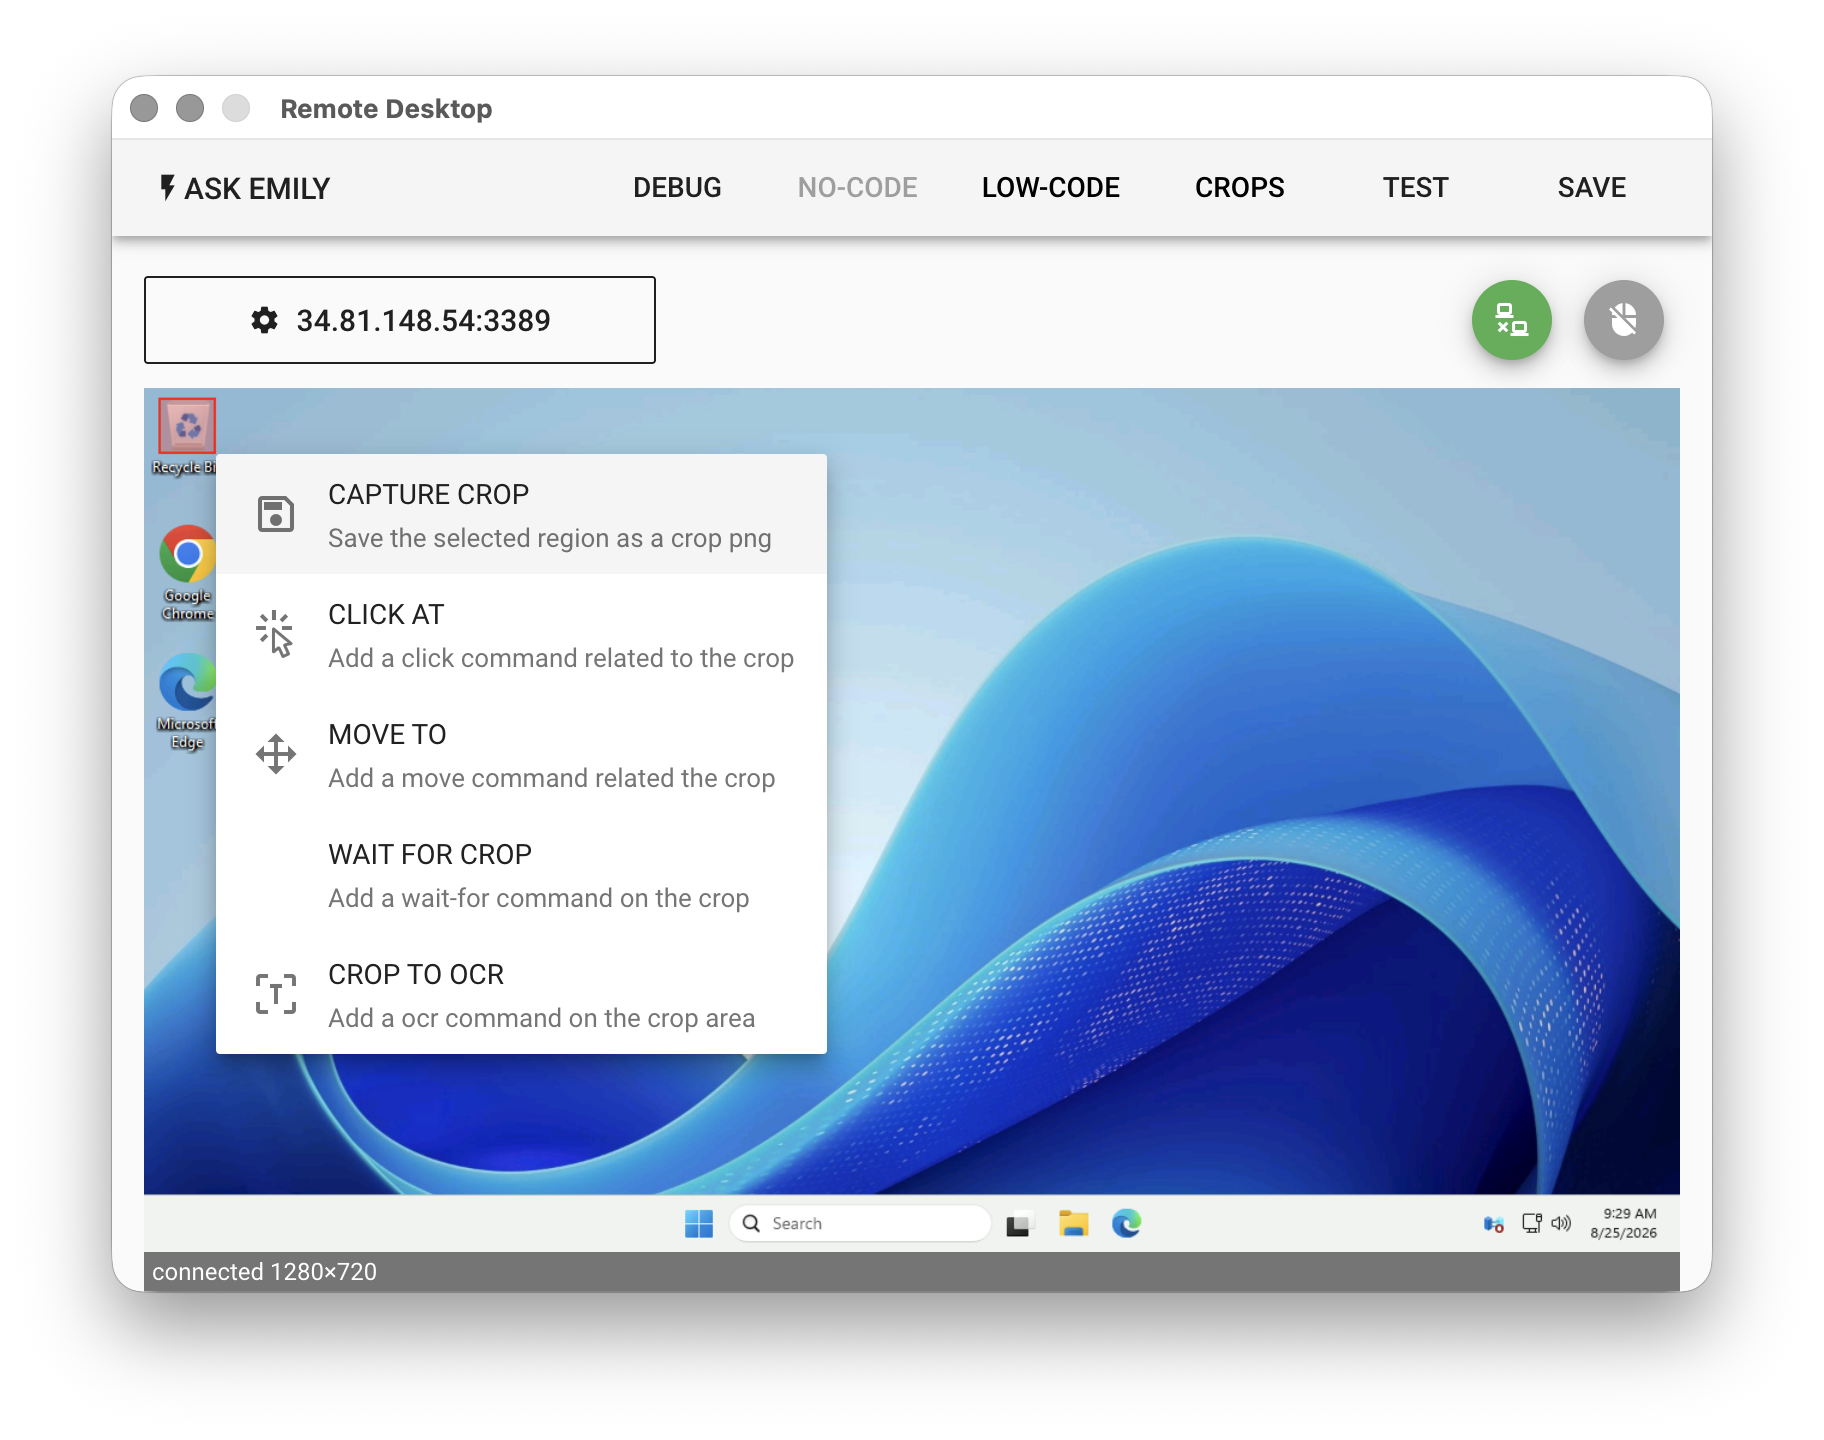
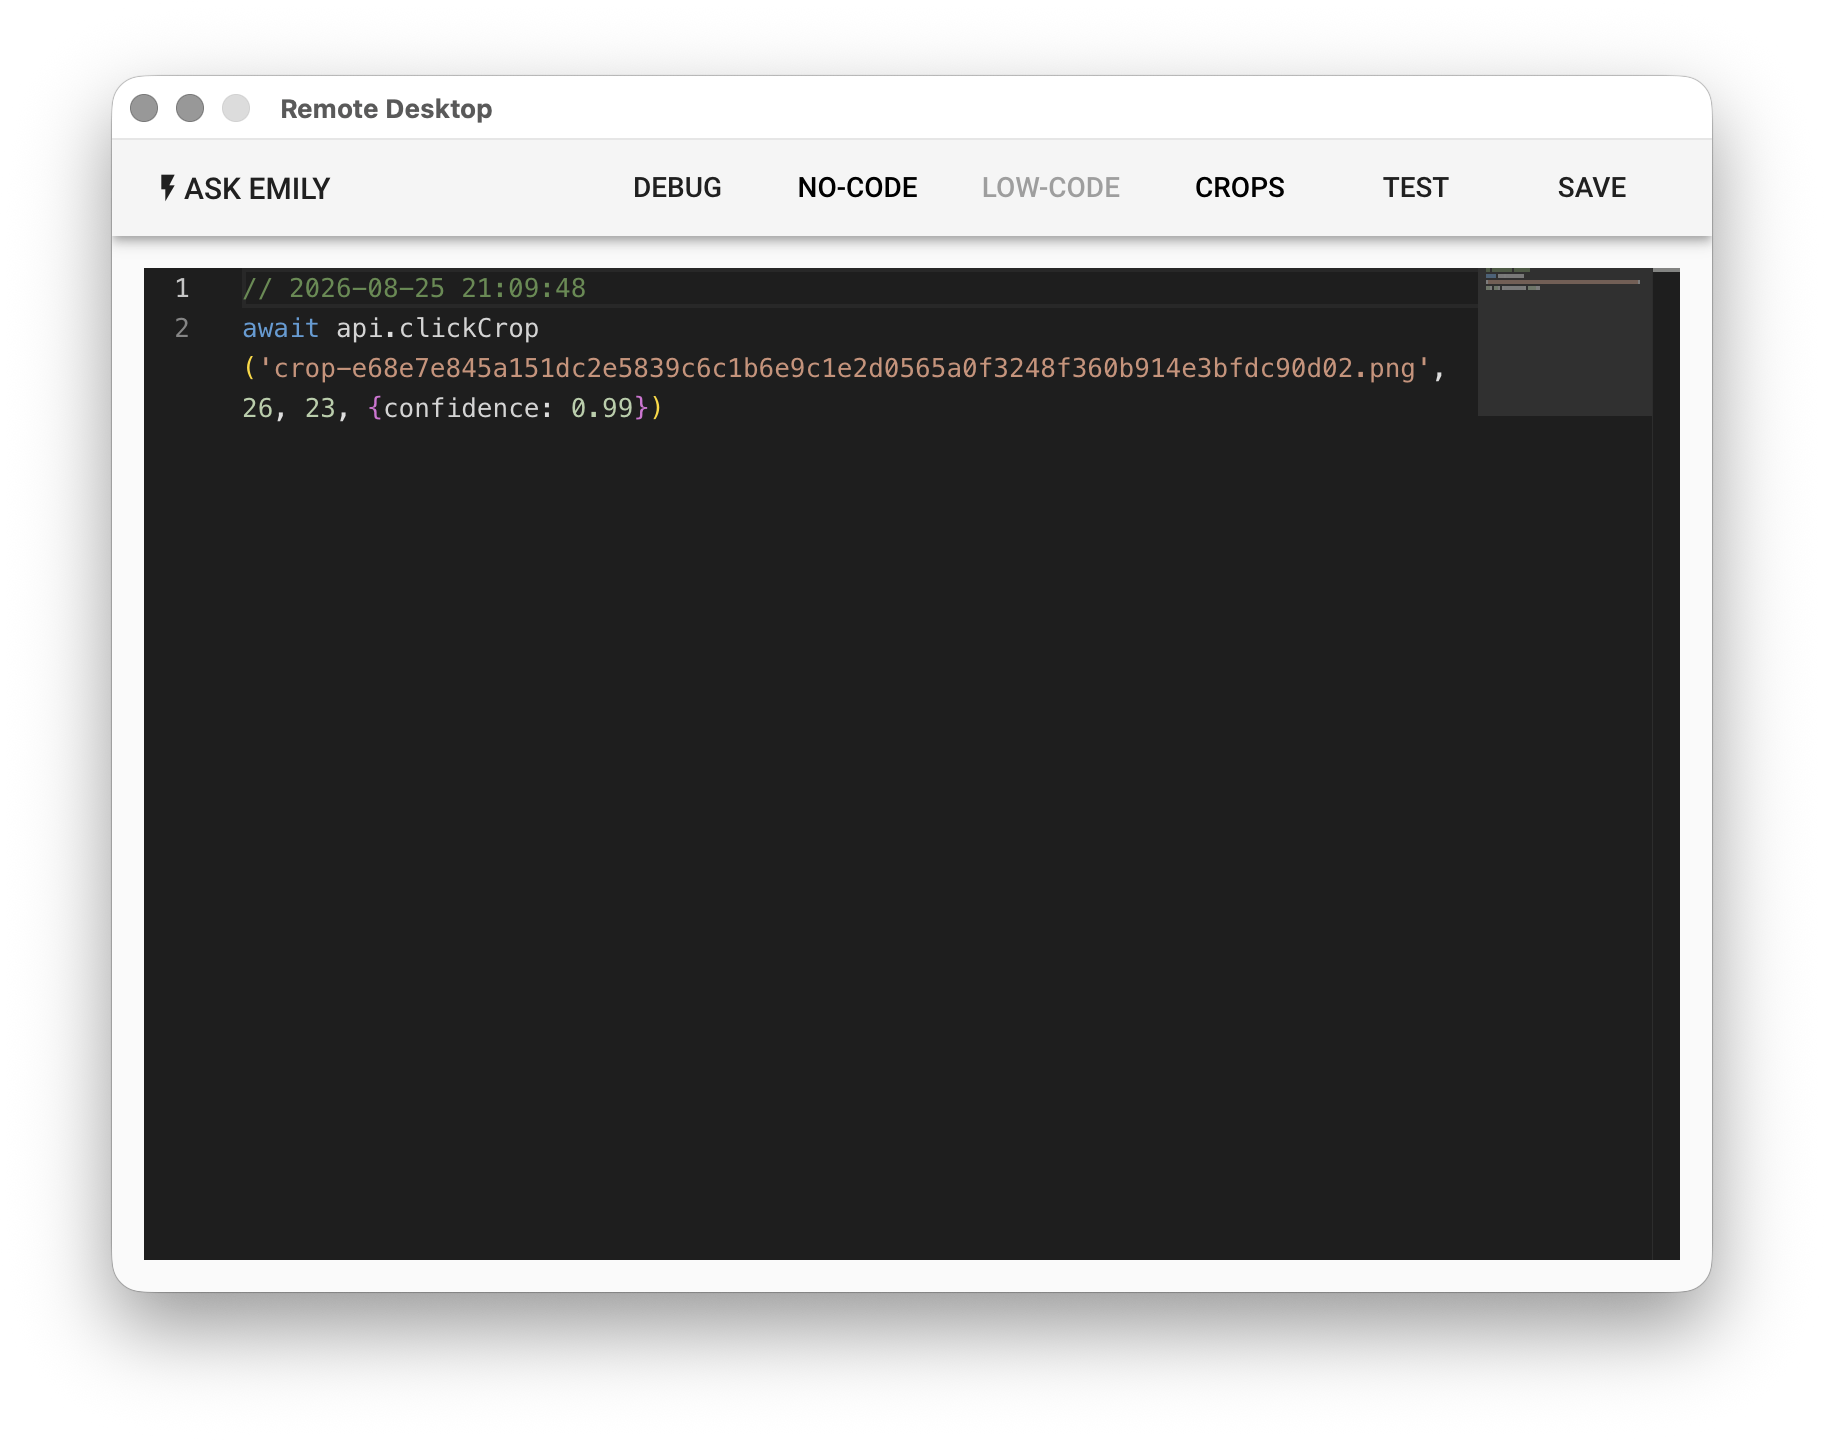
For example, after dragging the mouse to select the "Recycle Bin" icon on the remote desktop, choosing "CLICK AT" from the menu and clicking once at the center of the icon automatically generates the Low-Code below in the Low-Code Editor:
Low-Code Editor
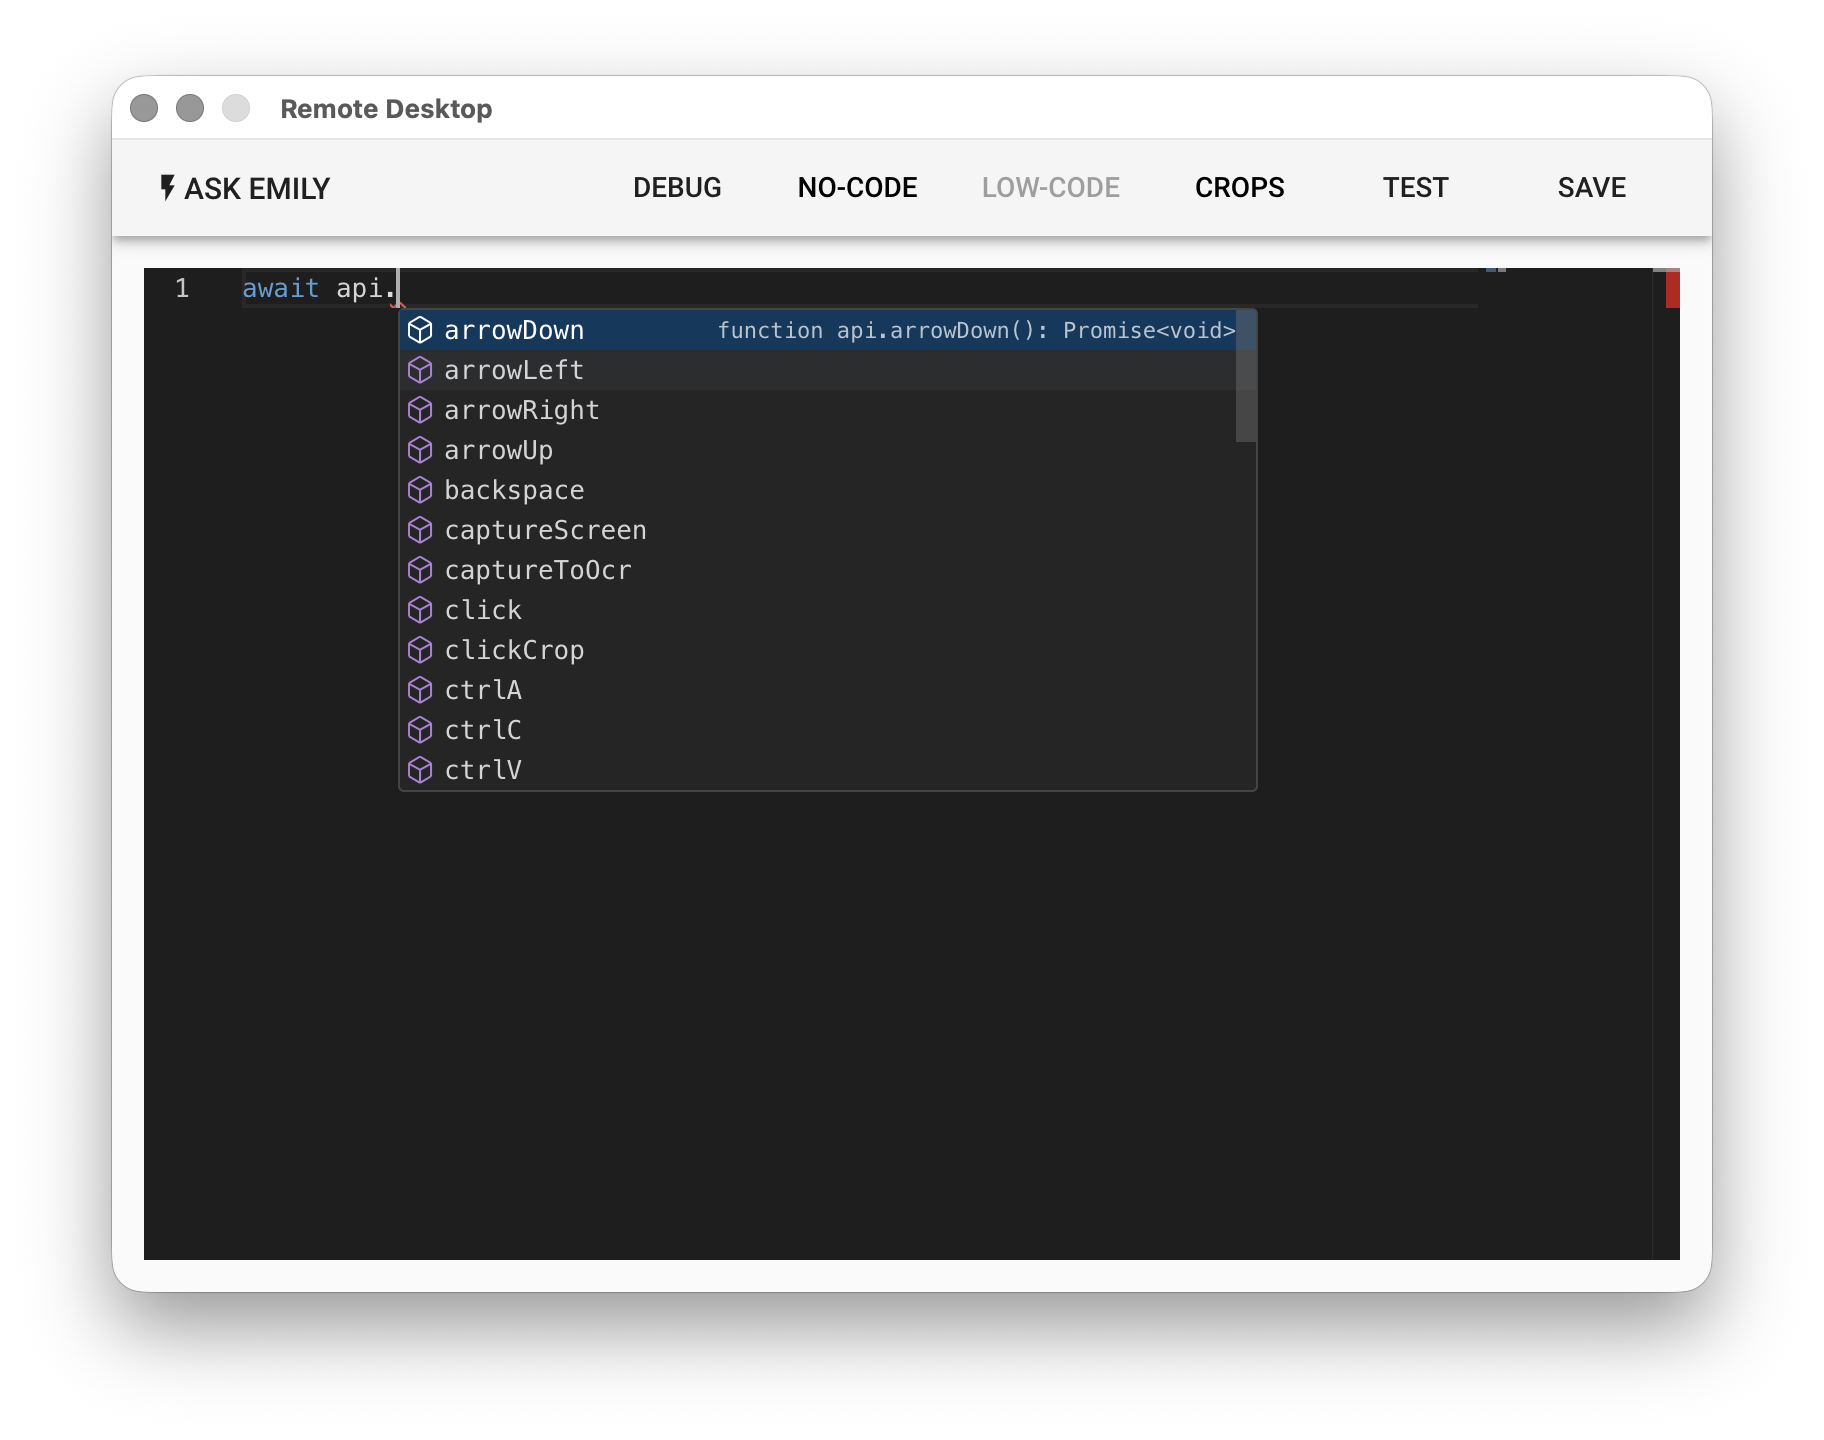
The Low-Code Editor provides script editing features along with APIs for the mouse, keyboard, computer vision, AI Agent, clipboard, remote file transfer, and local file read/write. Type api. to bring up the API list. Note that most APIs are asynchronous.
Test Run (TEST)
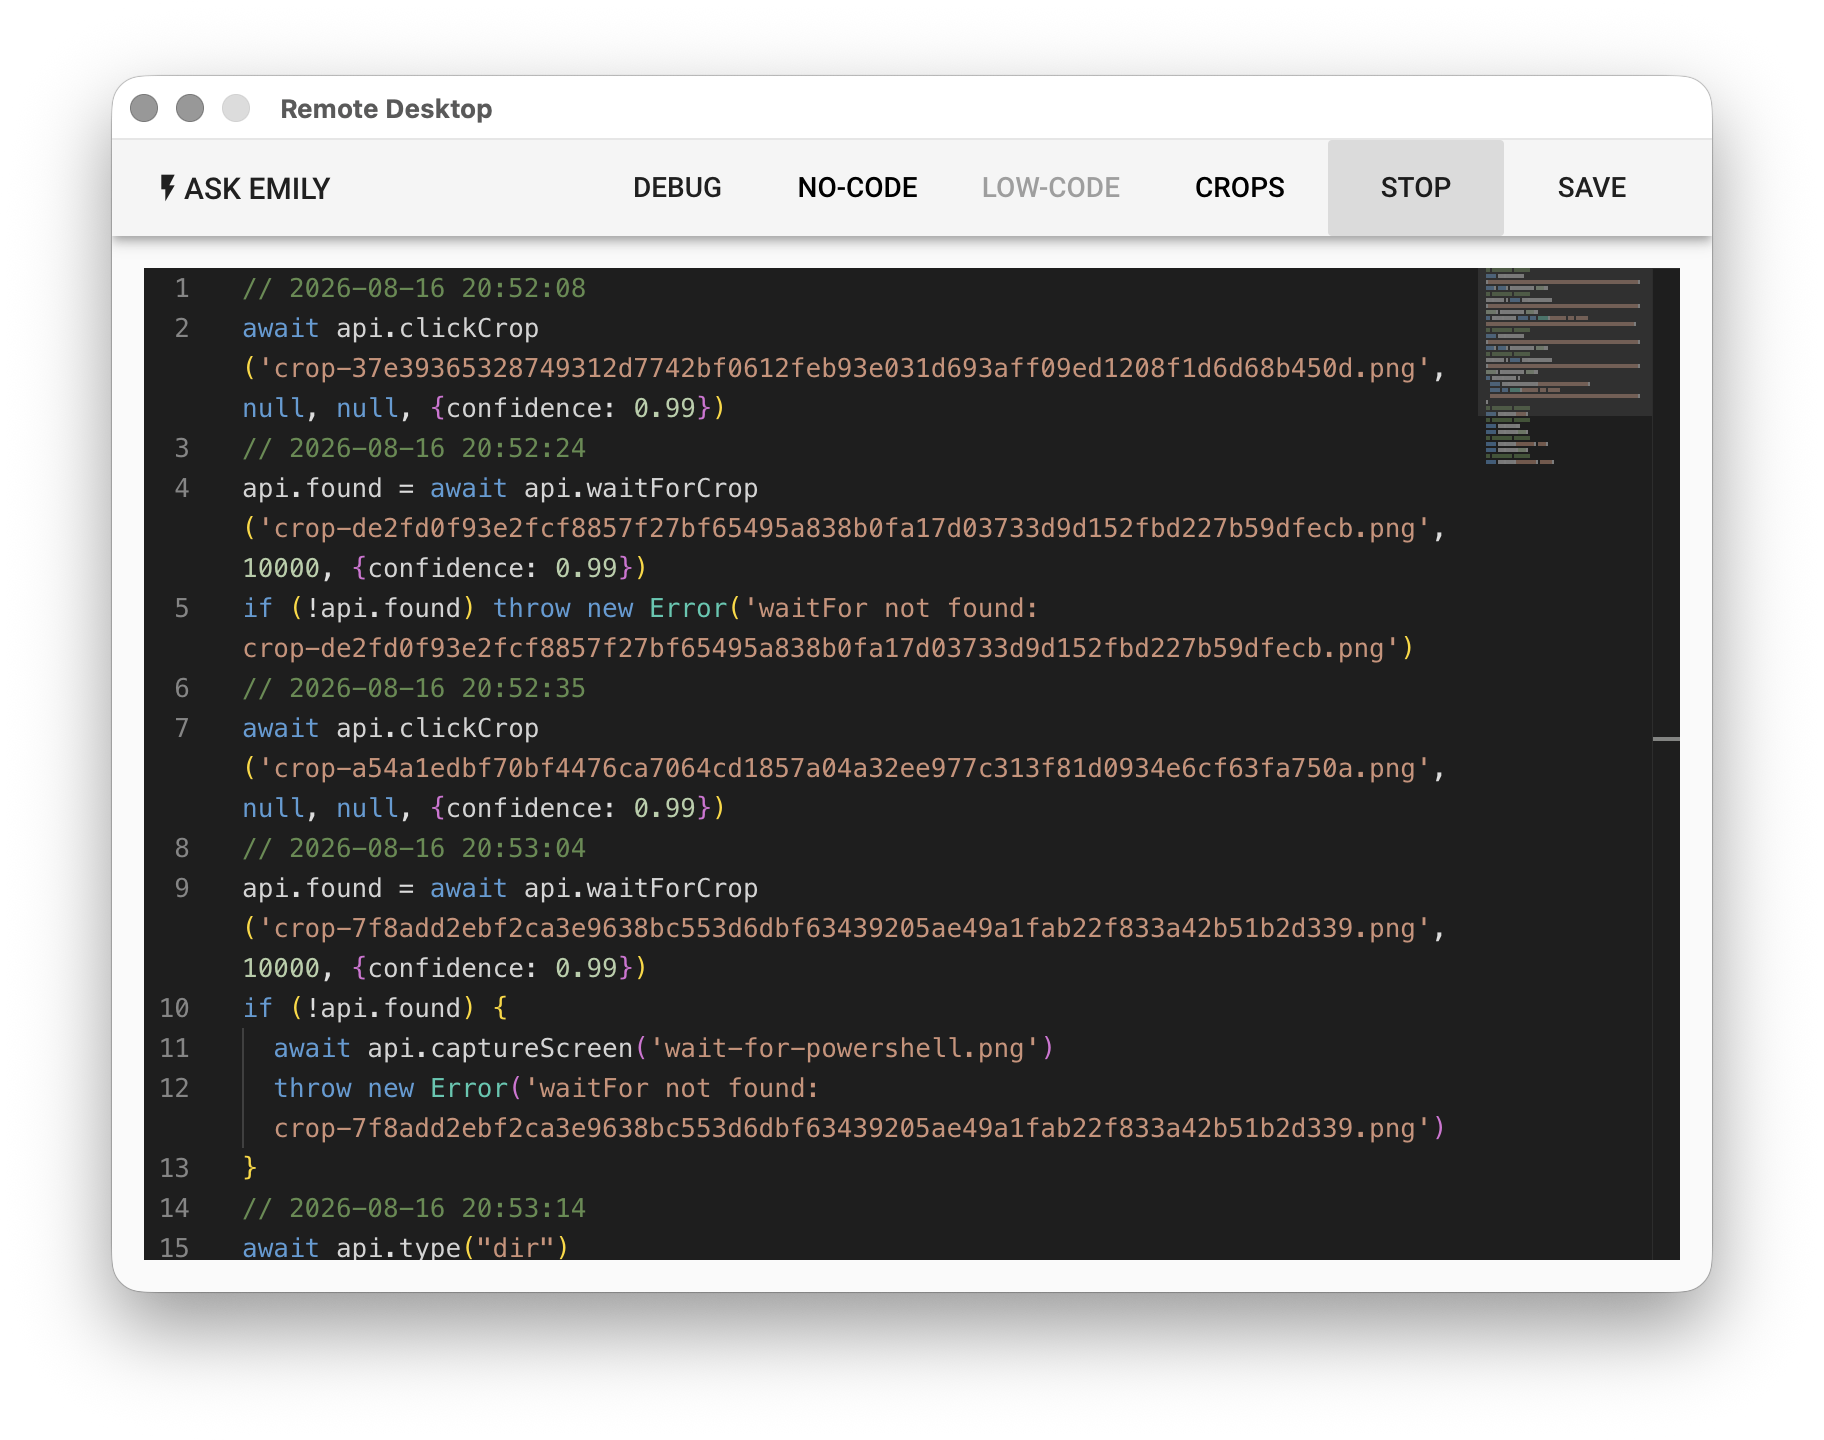
Once the Low-Code script is ready, click "TEST" to start a test run. The button is replaced by "STOP" so that you can interrupt the run:
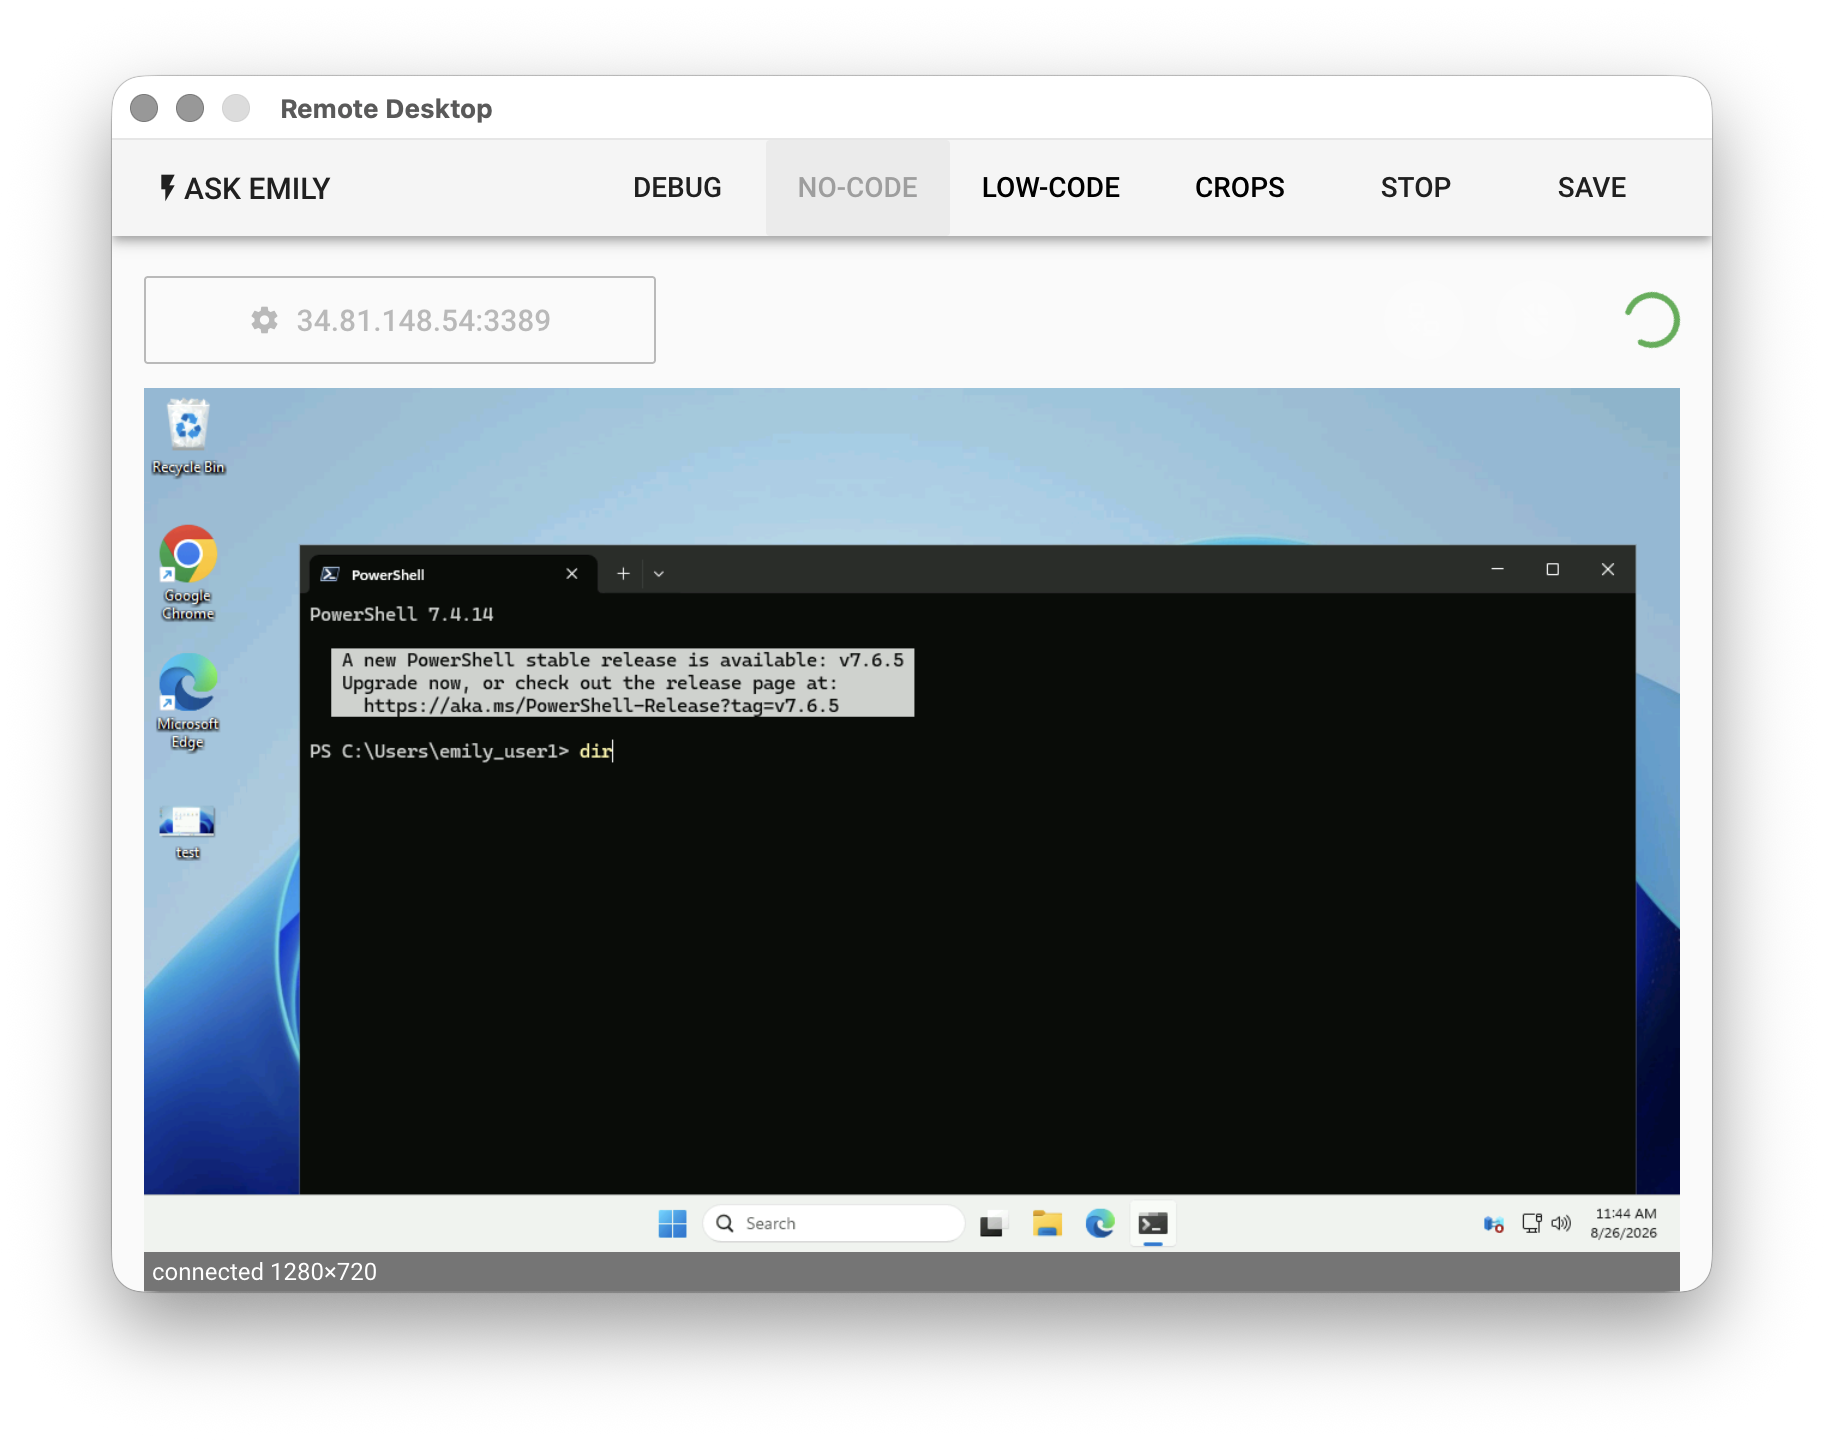
Switching to the "NO-CODE" editor at this point shows the actual screen as the script runs:
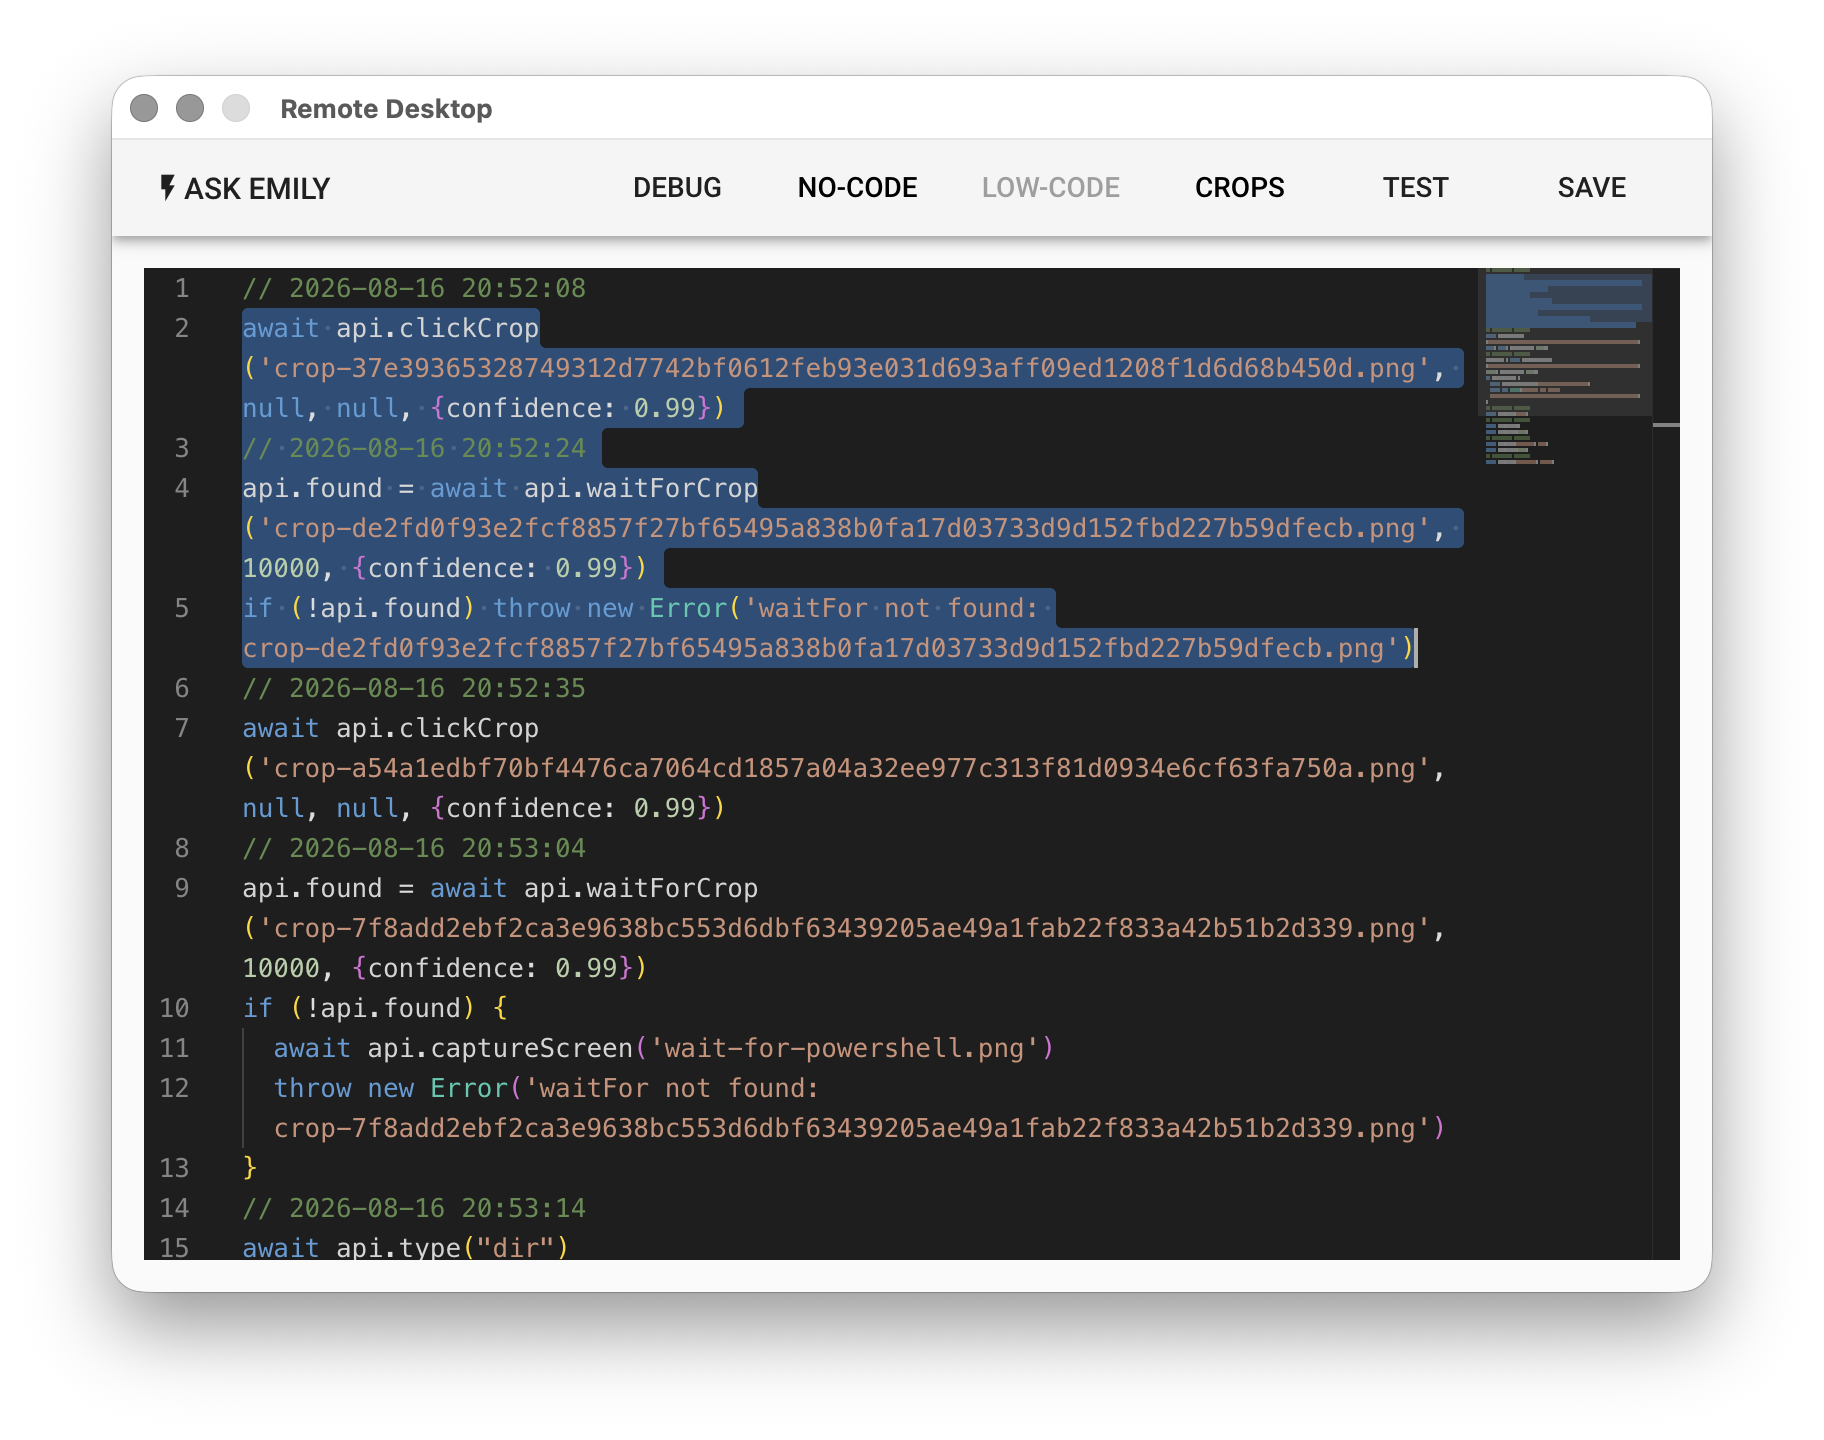
To test only part of the Low-Code script, select the lines you want to test in the "LOW-CODE" editor and then click "TEST":
File Transfer
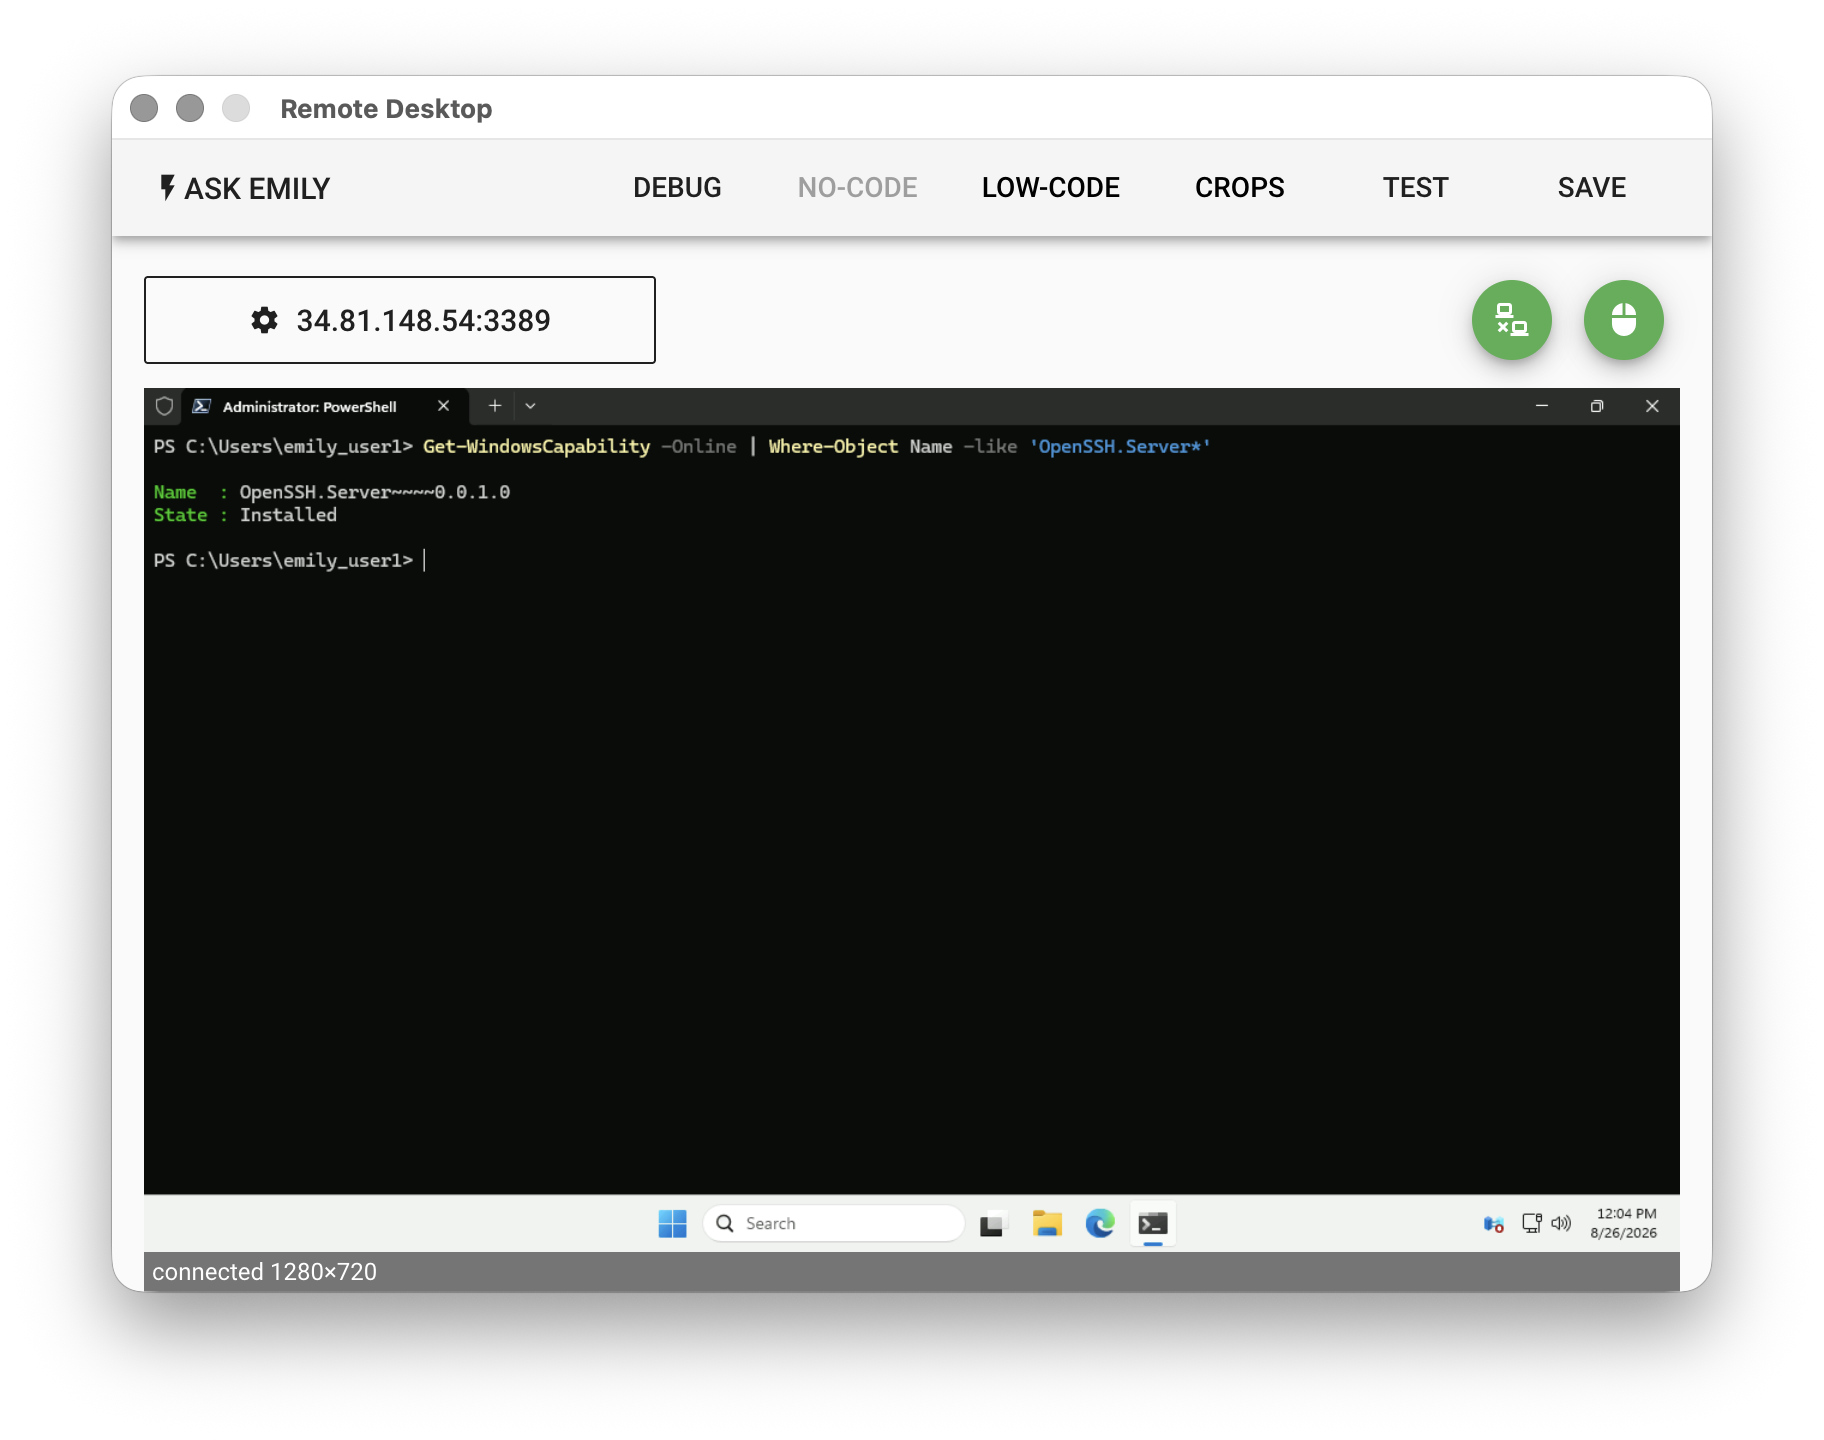
Windows offers an OpenSSH Server installation. You can check it with PowerShell as an administrator; Installed means it is already installed:
Get-WindowsCapability -Online | Where-Object Name -like 'OpenSSH.Server*'
If it is not installed yet, install it with PowerShell as an administrator:
Add-WindowsCapability -Online -Name OpenSSH.Server~~~~0.0.1.0
Then start the OpenSSH Server service with PowerShell as an administrator:
Start-Service sshd
You can also set it to start automatically at boot:
Set-Service -Name sshd -StartupType Automatic
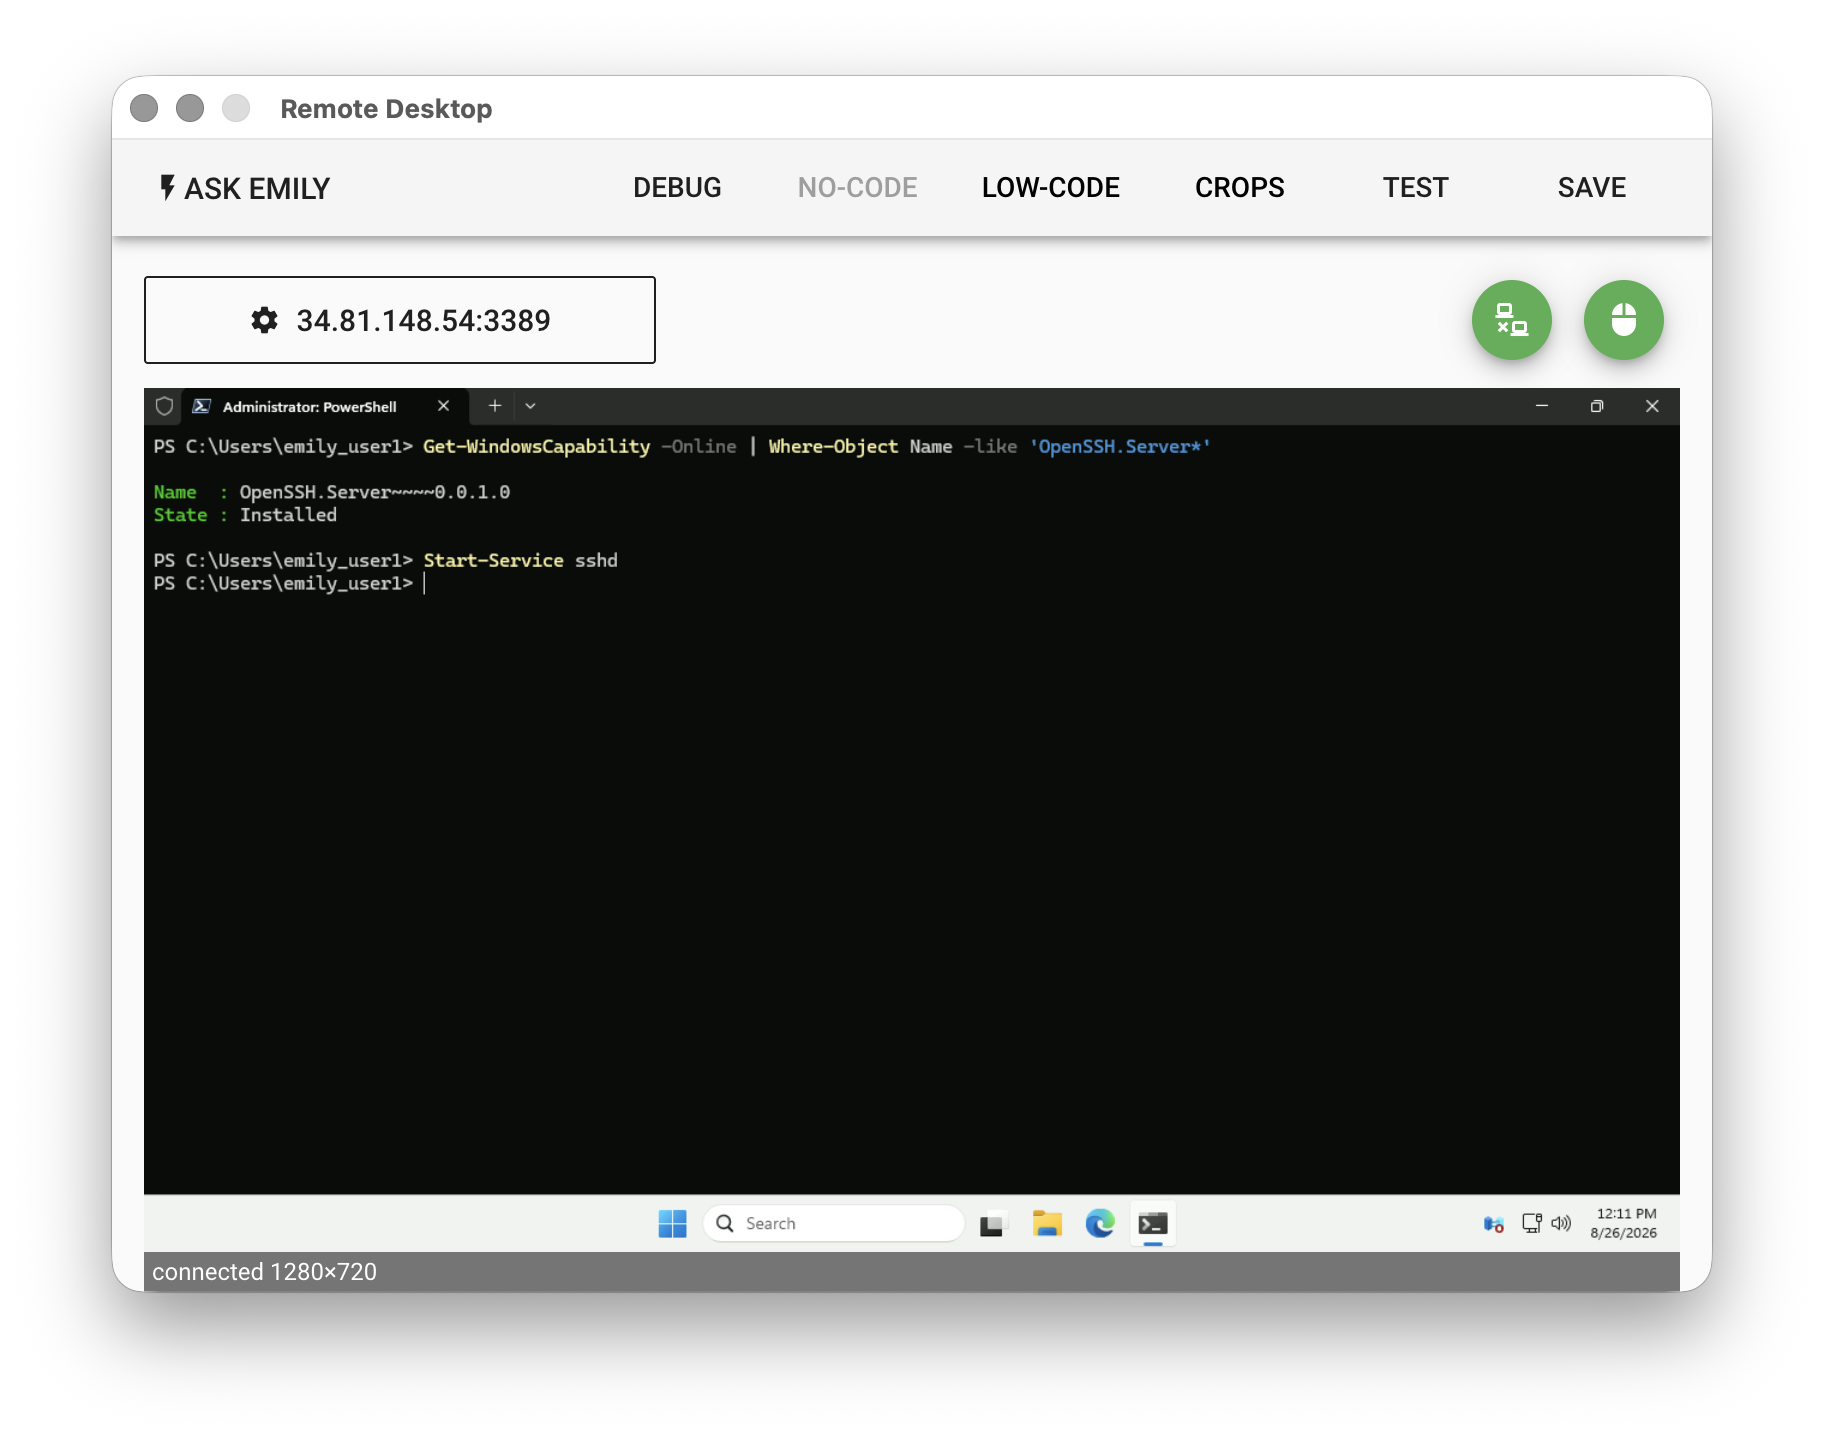
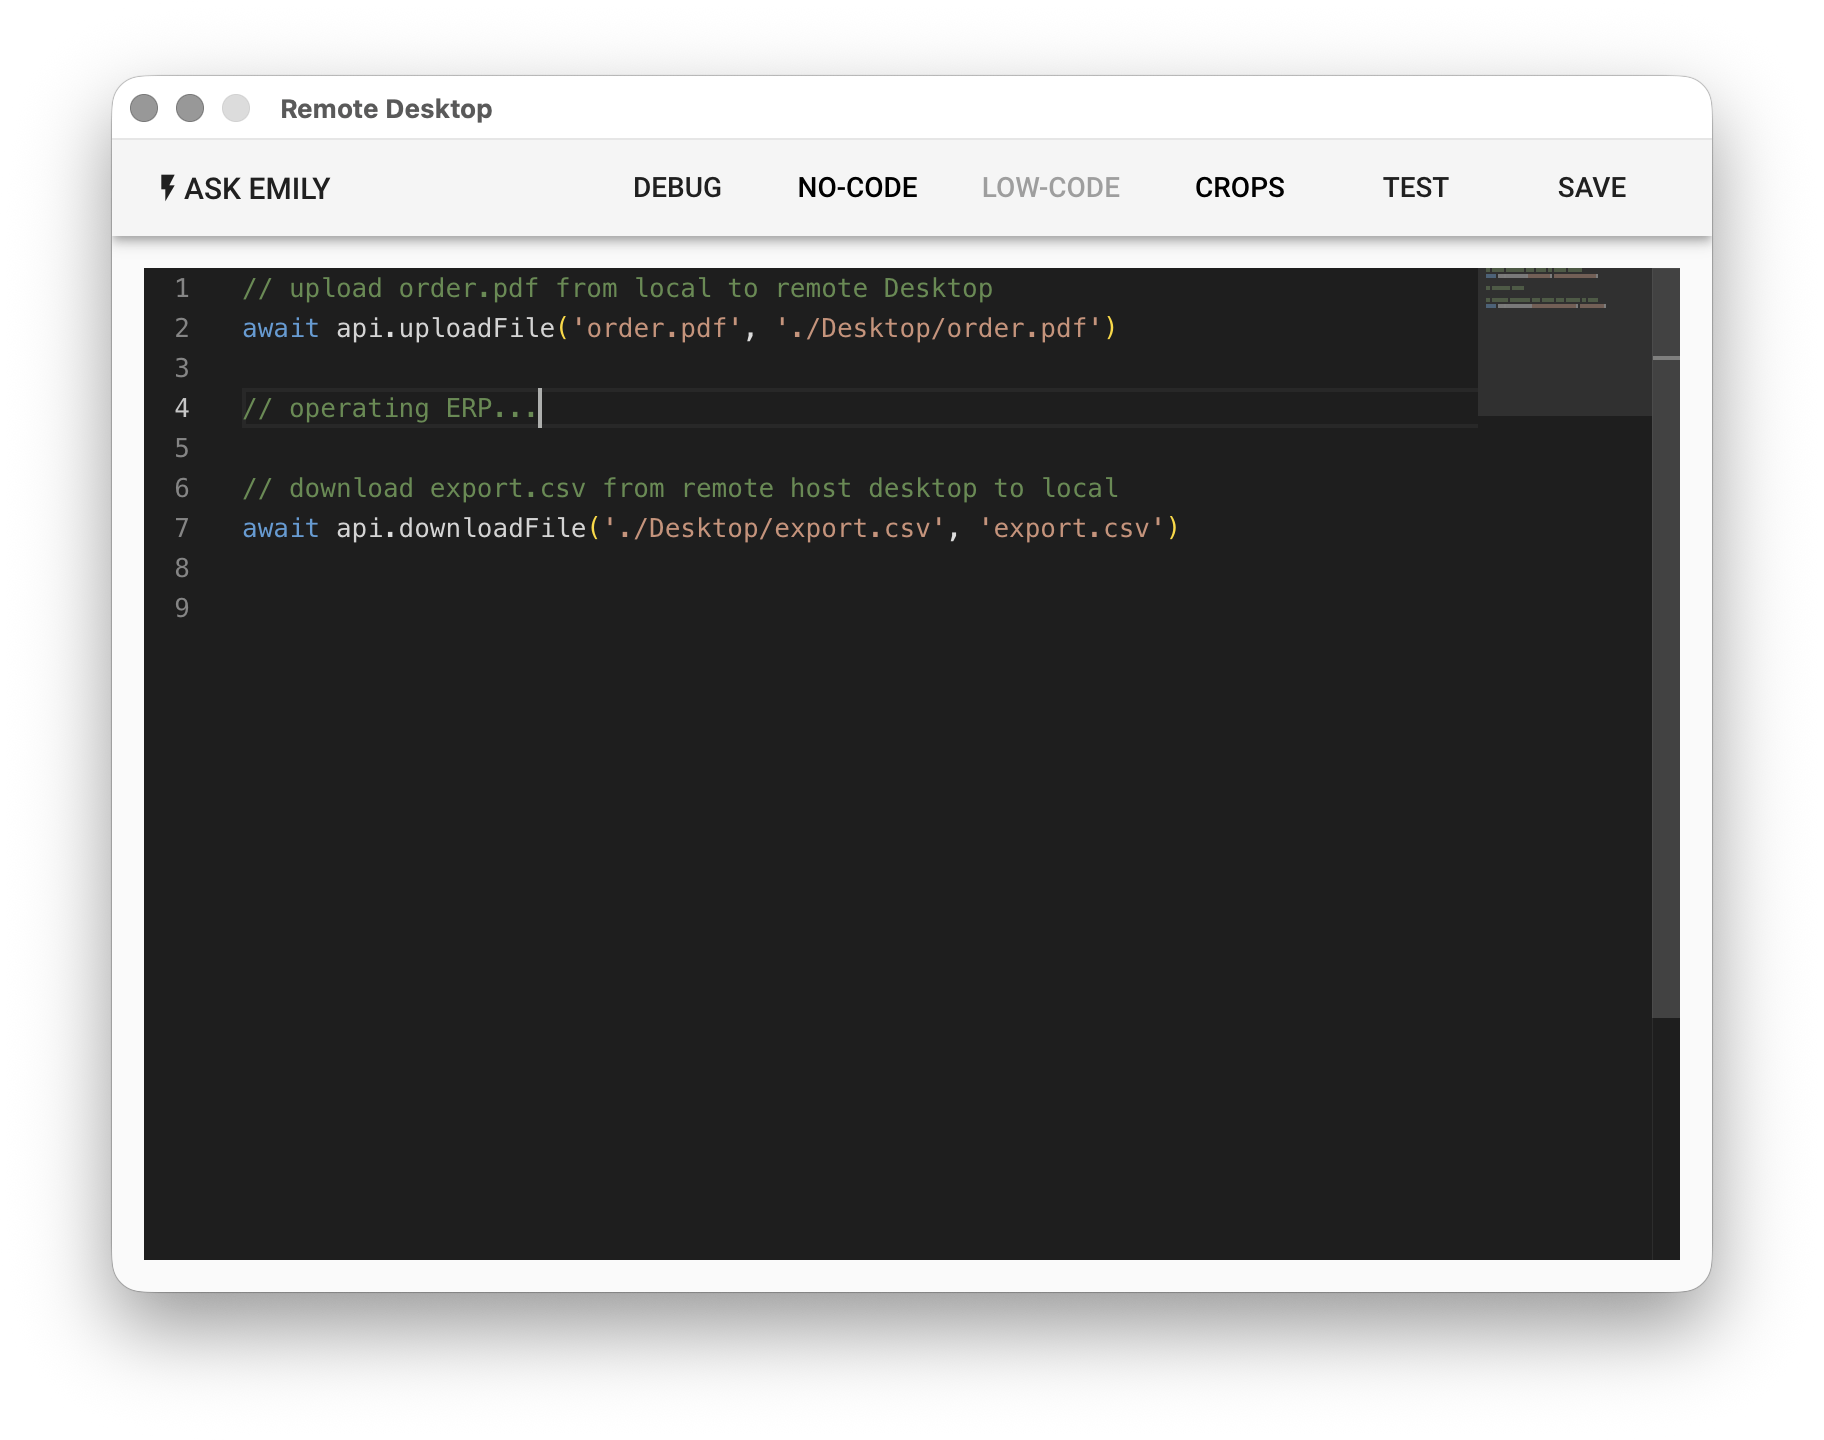
Once the OpenSSH Server is running, you can transfer files with the APIs in the "LOW-CODE" editor: