HTTP Analyzer
Send HTTP request and analyze response.
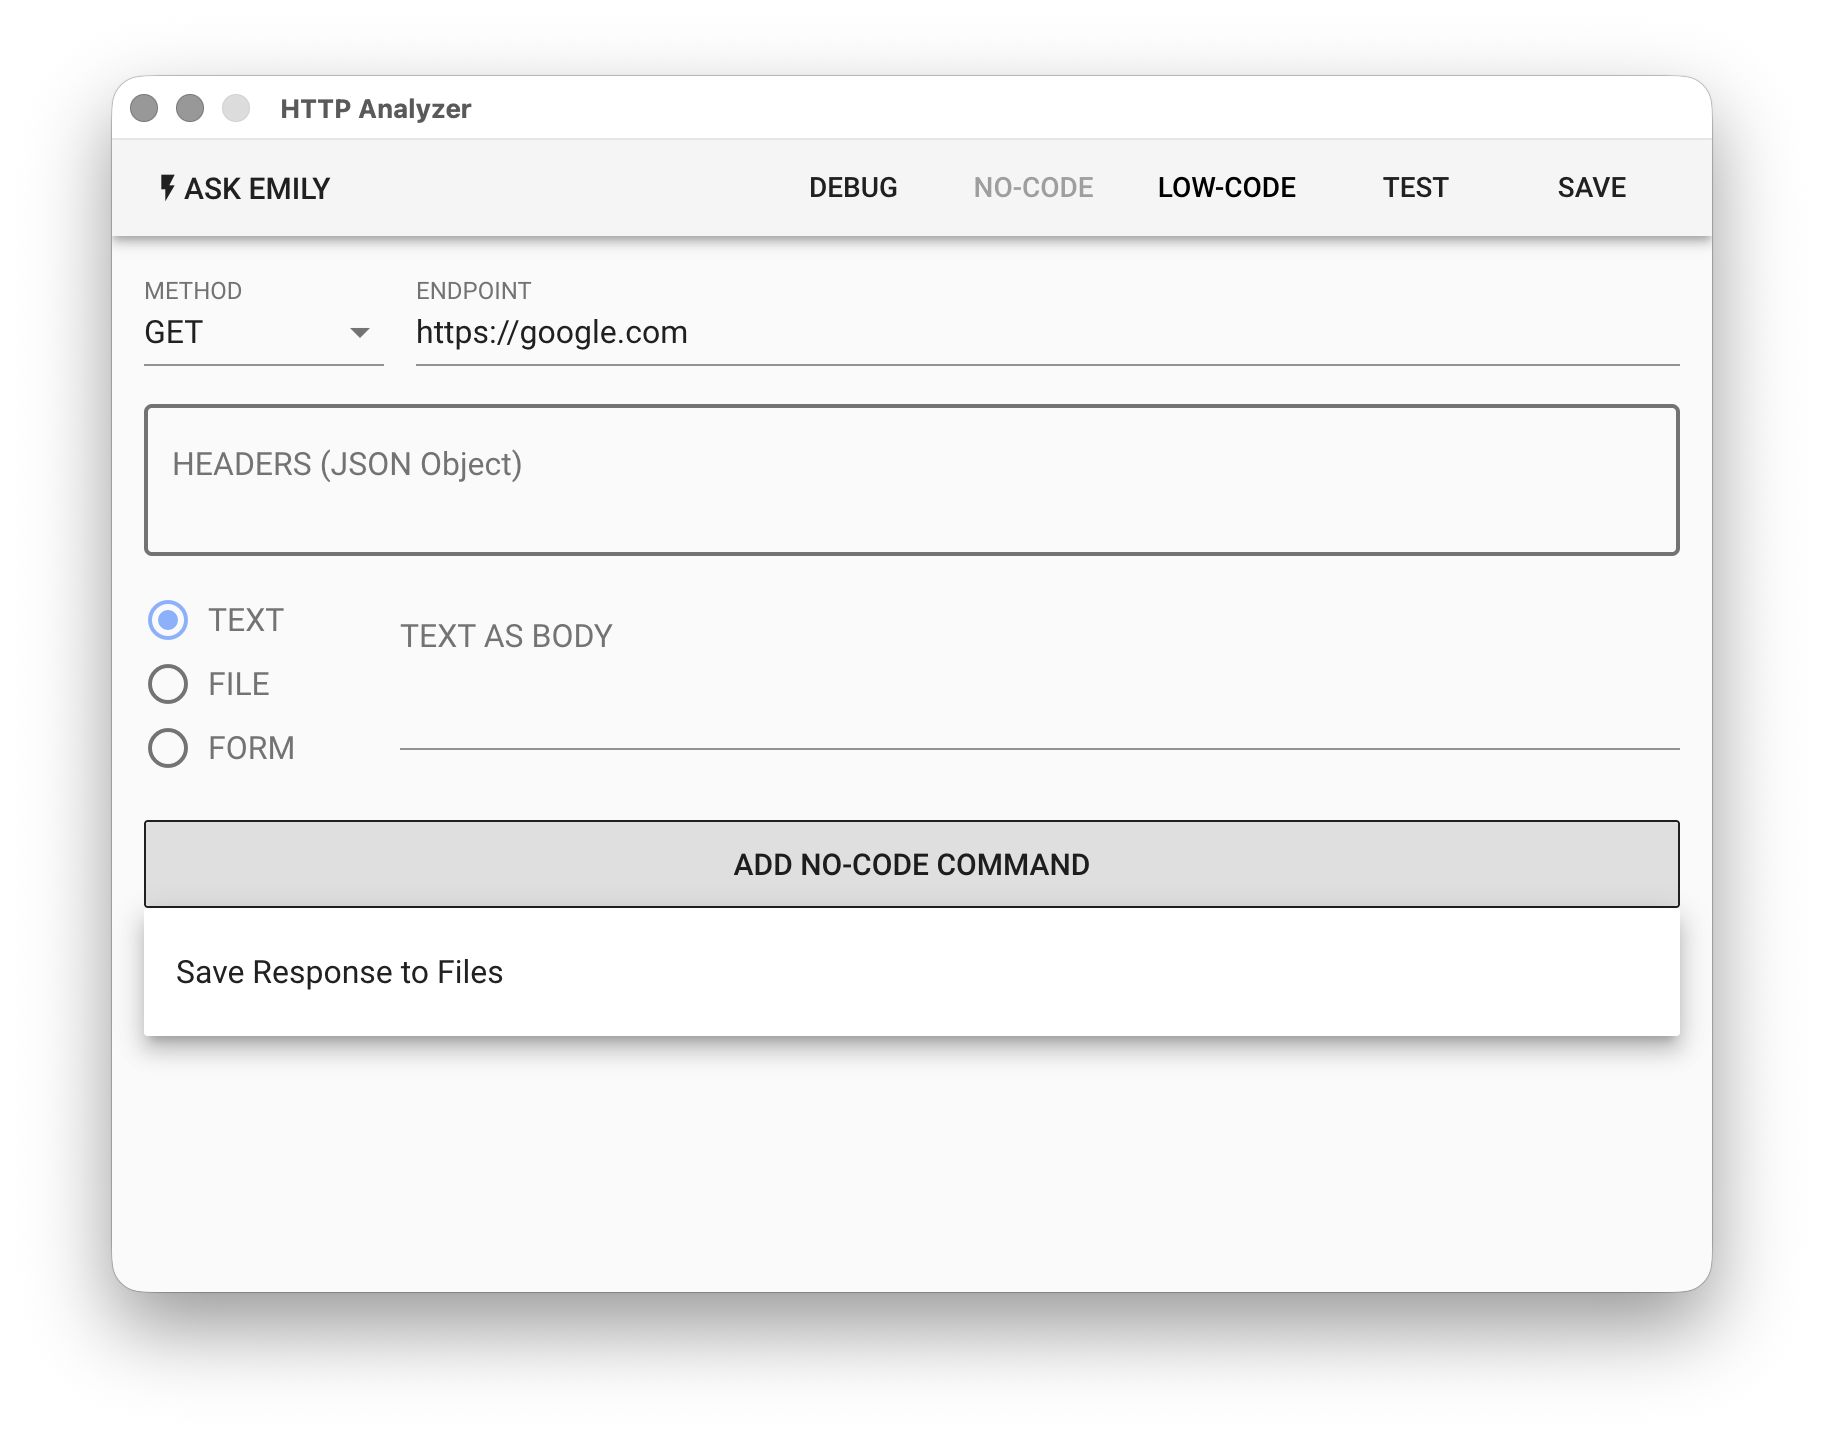
Parameters
METHOD - Select the HTTP request method: GET, POST, PUT, DELETE, HEAD
ENDPOINT - The endpoint URL that receives the HTTP request, e.g.: https://google.com
HEADERS - HTTP request header fields object, e.g.:
{
  "Content-Type": "application/json"
}
TEXT - If the request content is text or JSON data format, select TEXT and fill in the content in TEXT AS BODY.
FILE - If the request content is a file upload, select FILE and click the 📎 icon in FILE AS BODY to select a file. For both request content formats above, you must specify Content-Type in HEADERS.
FORM - If you select FORM content format, you need to fill in the FormData in JSON data format, but you do not need to specify Content-Type in HEADERS. To attach a file in FormData, you must specify the filename in the working folder and it must have a file extension. For example, the following attaches the avatar.jpg file from the working folder, with the field name "avatar":
{
  "username": "emily",
  "avatar": "avatar.jpg"
}
No-Code Editor
Provides no-code commands such as "Save response content as file". For example, "Save response content as file" can write the response's url, status, headers, contentType, body to a document in the working folder.
Low-Code Editor
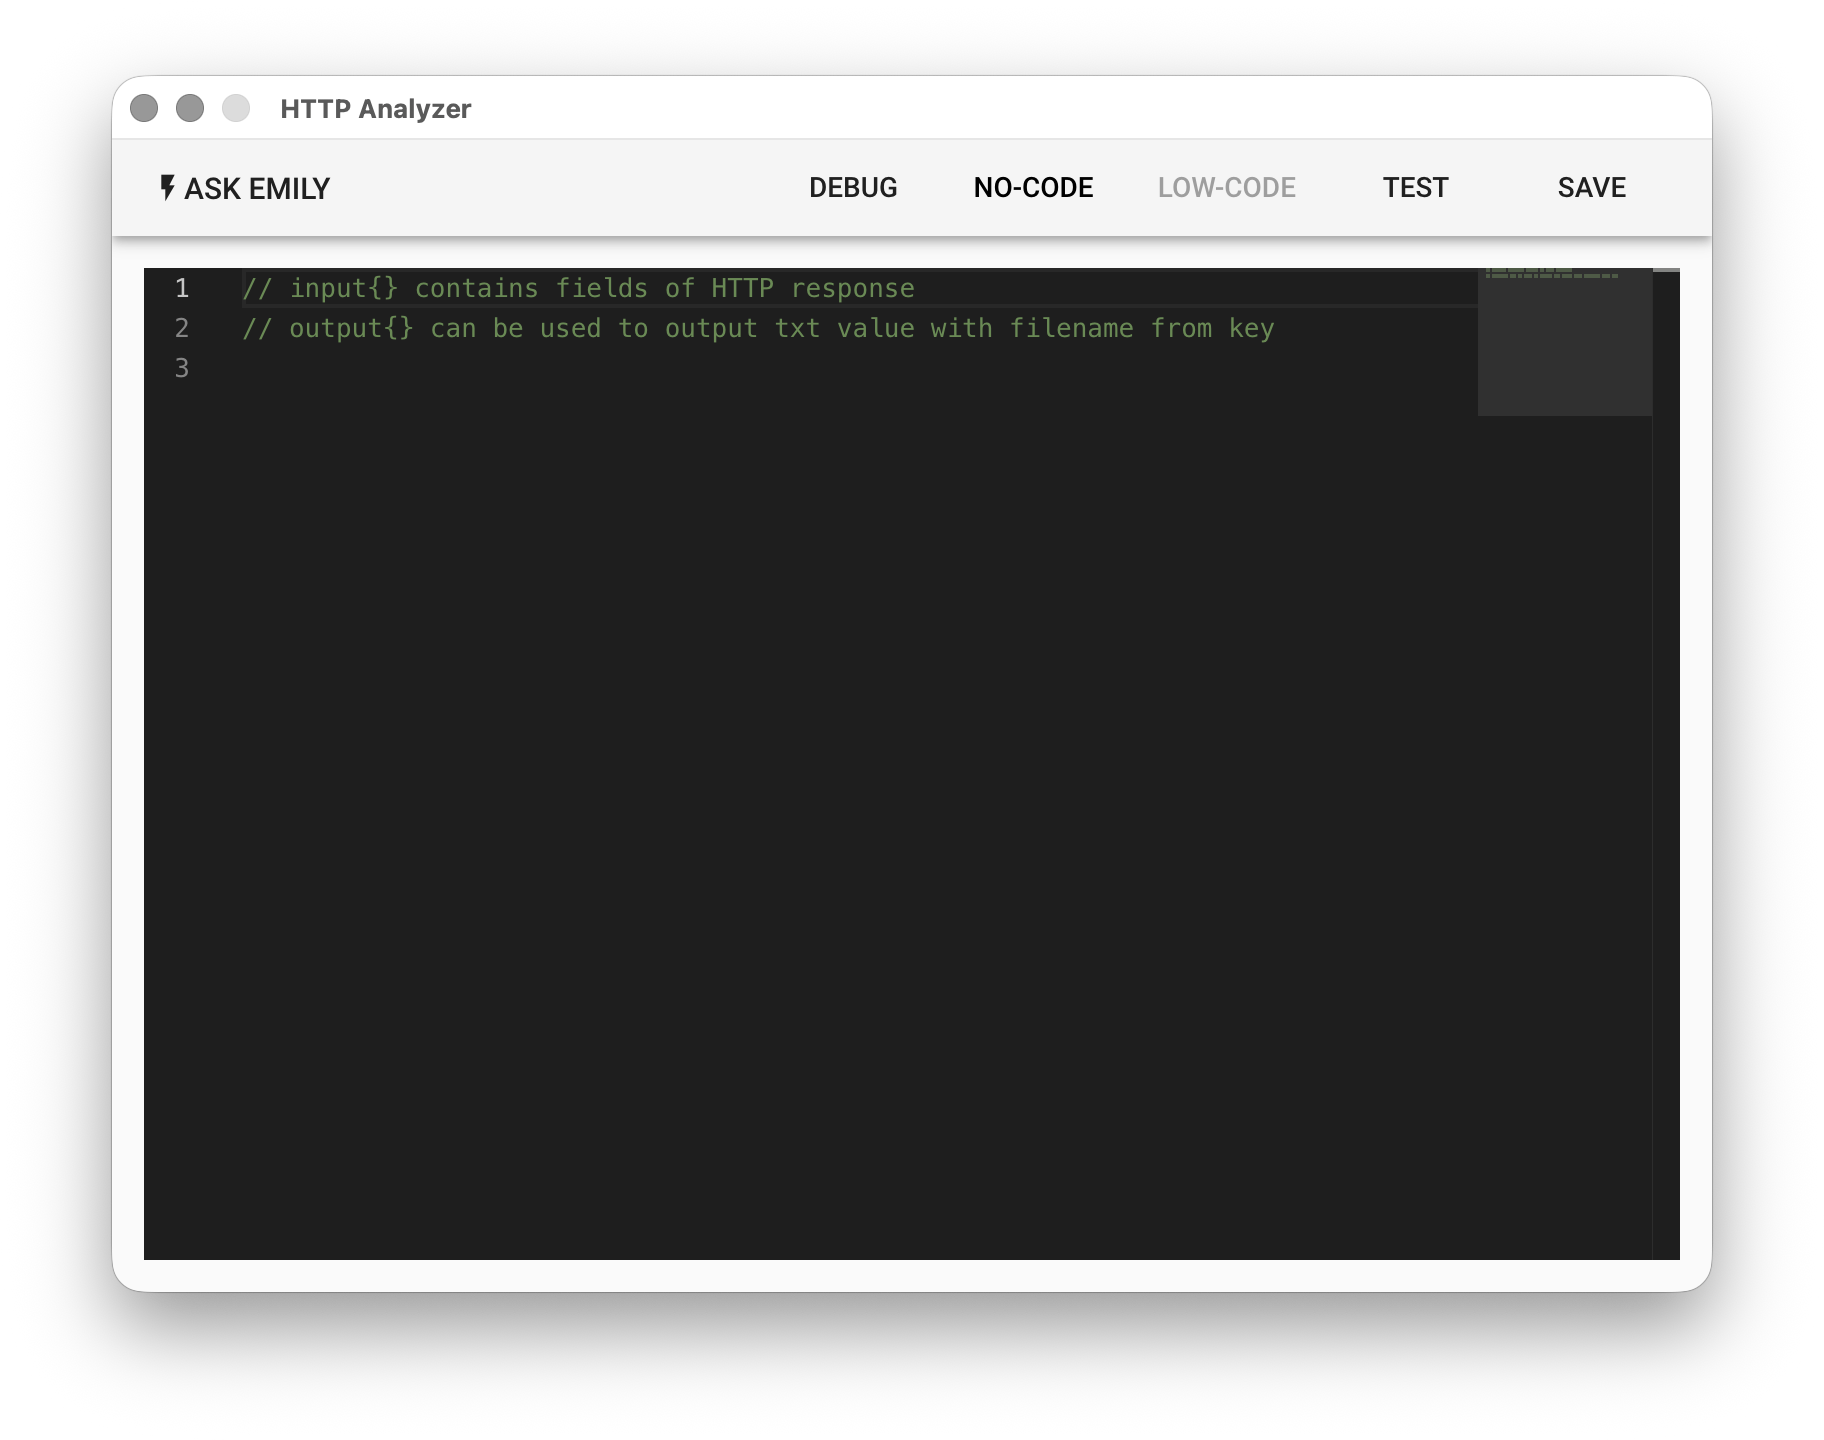
input Object
The input object is the HTTP response content:
// input object
{
  url,         // Full request URL
  status,      // Response status code
  contentType, // Response content MIME type
  headers,     // Response headers
  body,        // String or Uint8Array
}
output Object
Each key added to the output object will be exported as a TXT file in the working folder. The filename is the key, and the text content is the corresponding value.
// Output response content to the working folder

if (input.contentType === 'application/json') {
  let jsonBody = JSON.parse(input.body)
  _.forEach(jsonBody, (value, key) => {
    output[key] = value
  })
}

if (input.contentType === 'image/png') {
  api.write('result.png', input.body)
}