How to Make Your Computer Fully Automated?
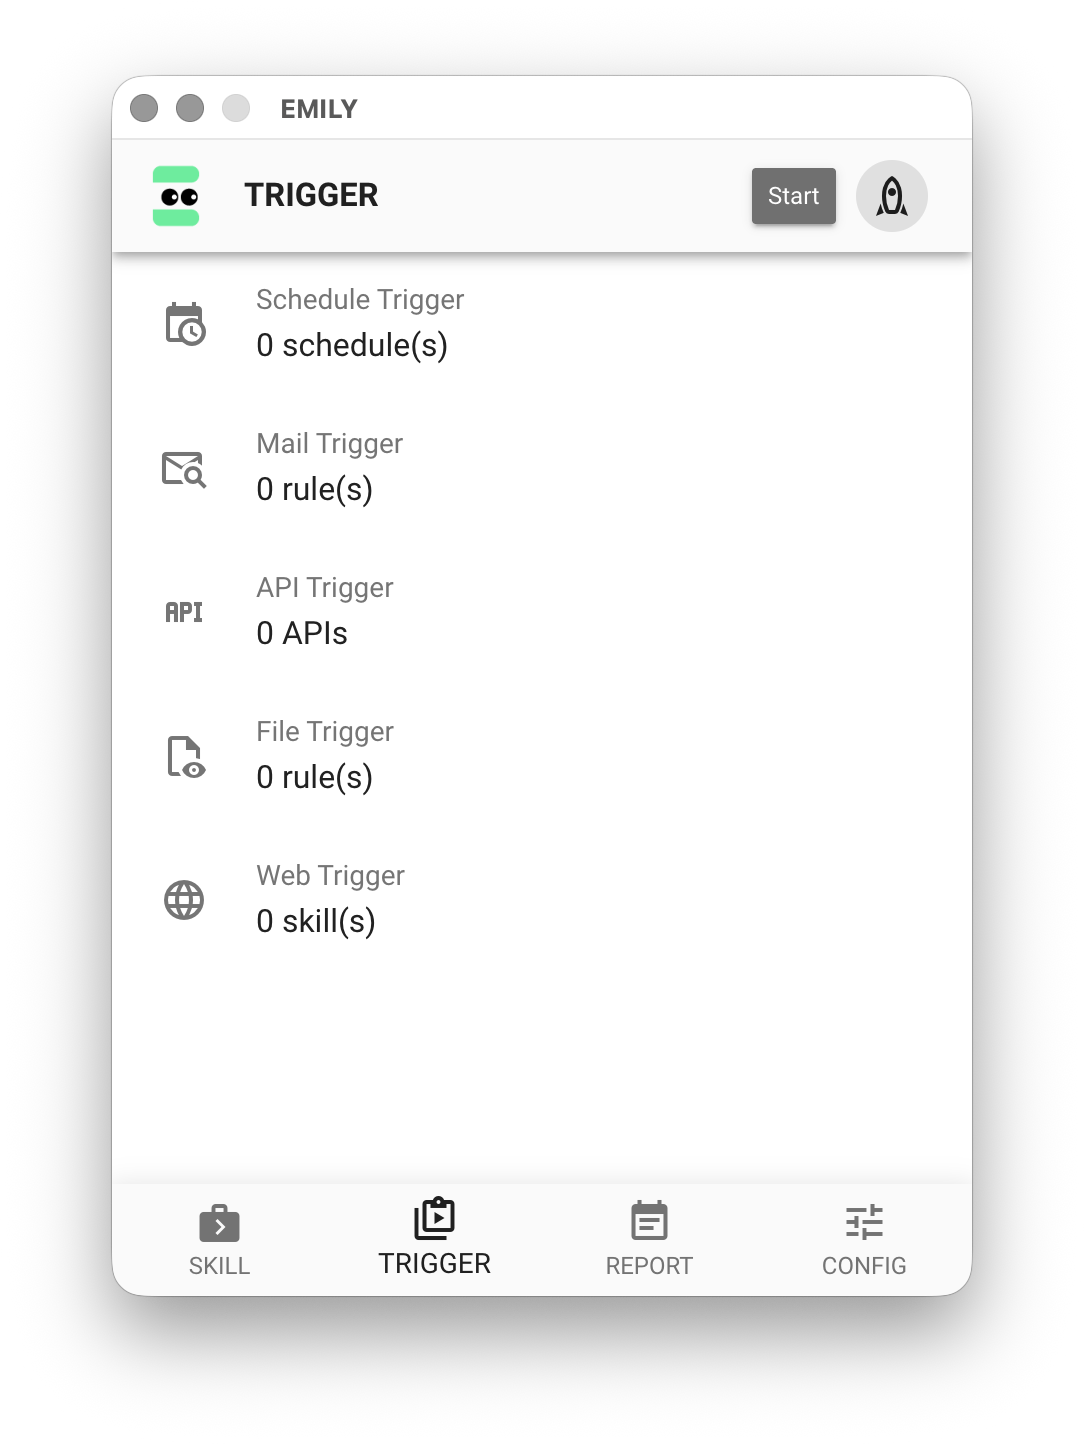
Once you have skills, the next step is to have EMILY.RPA automatically execute specified skills based on configured conditions. To achieve this, EMILY.RPA provides Schedule Trigger, Email Trigger, API Trigger, File Trigger, and Web Trigger. Users can choose the appropriate trigger type, set the trigger conditions, assign the desired skill, and add it to the Auto Triggers. Then click "Start" to enter fully automated mode. Starting from version 3.8.20251109, all types of triggers in EMILY.RPA must be started from the Auto Triggers page to function — this is to improve the stability of fully automated mode and provide better execution status monitoring.
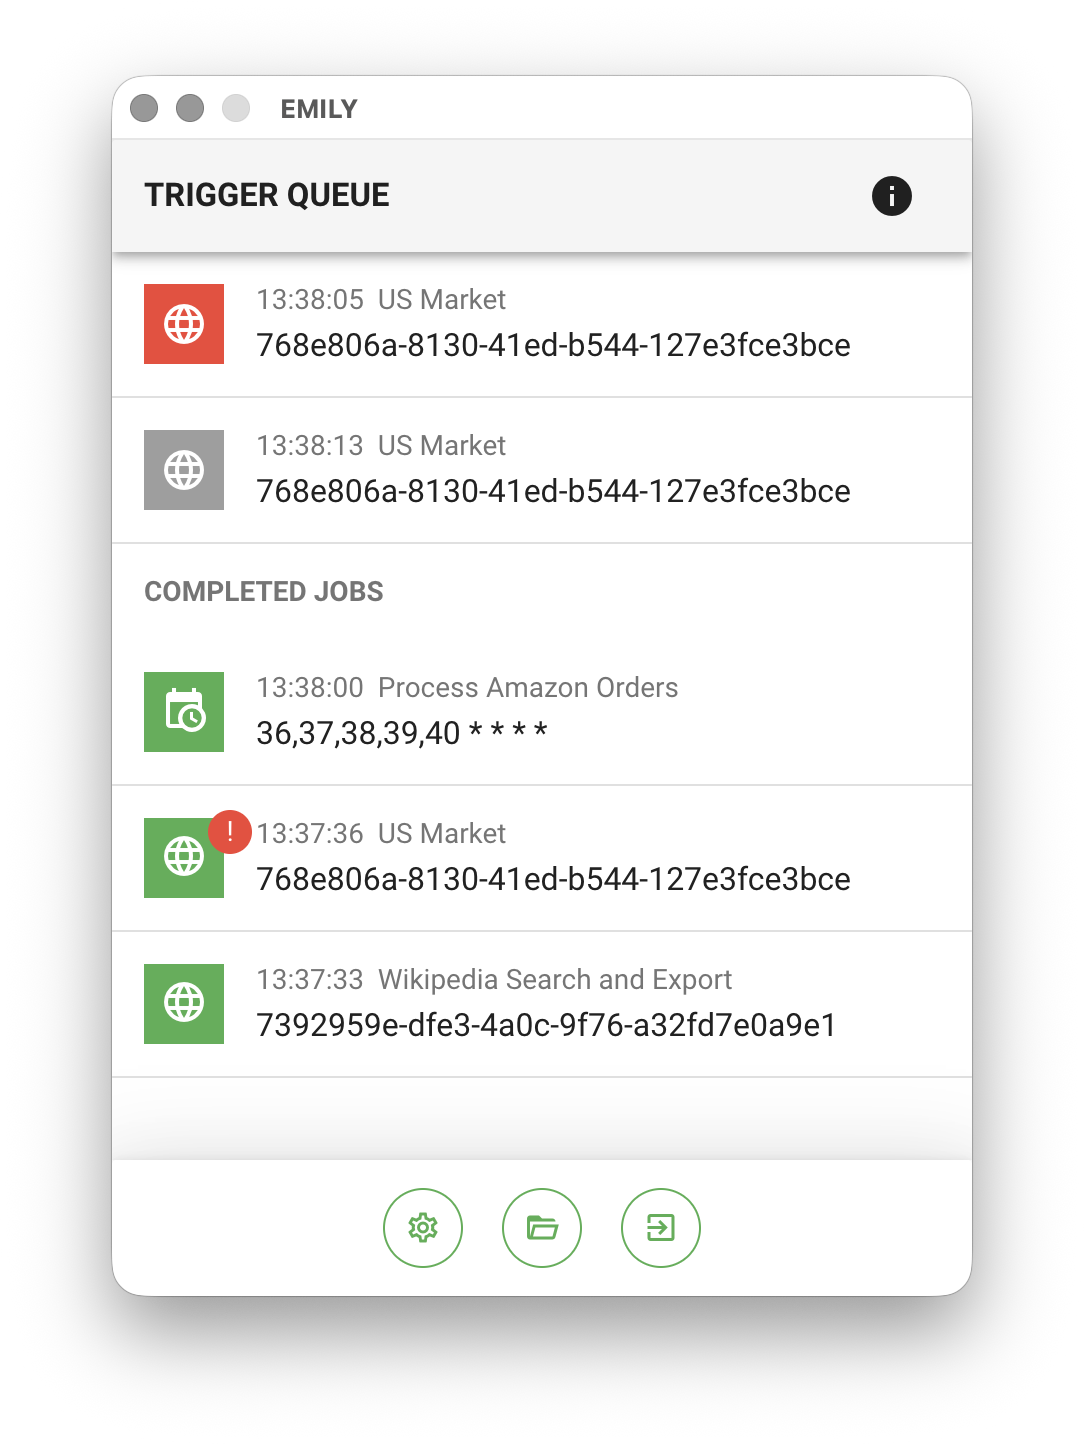
After clicking "Start" in the upper right corner of the page, EMILY.RPA enters fully automated mode and the configured triggers begin operating. The "Trigger Job Queue" displays the triggered skills waiting in the queue — the first item is the currently executing skill. Jobs are executed one by one in queue order. Clicking an item in the "Completed Jobs" list below the queue opens the execution working folder.
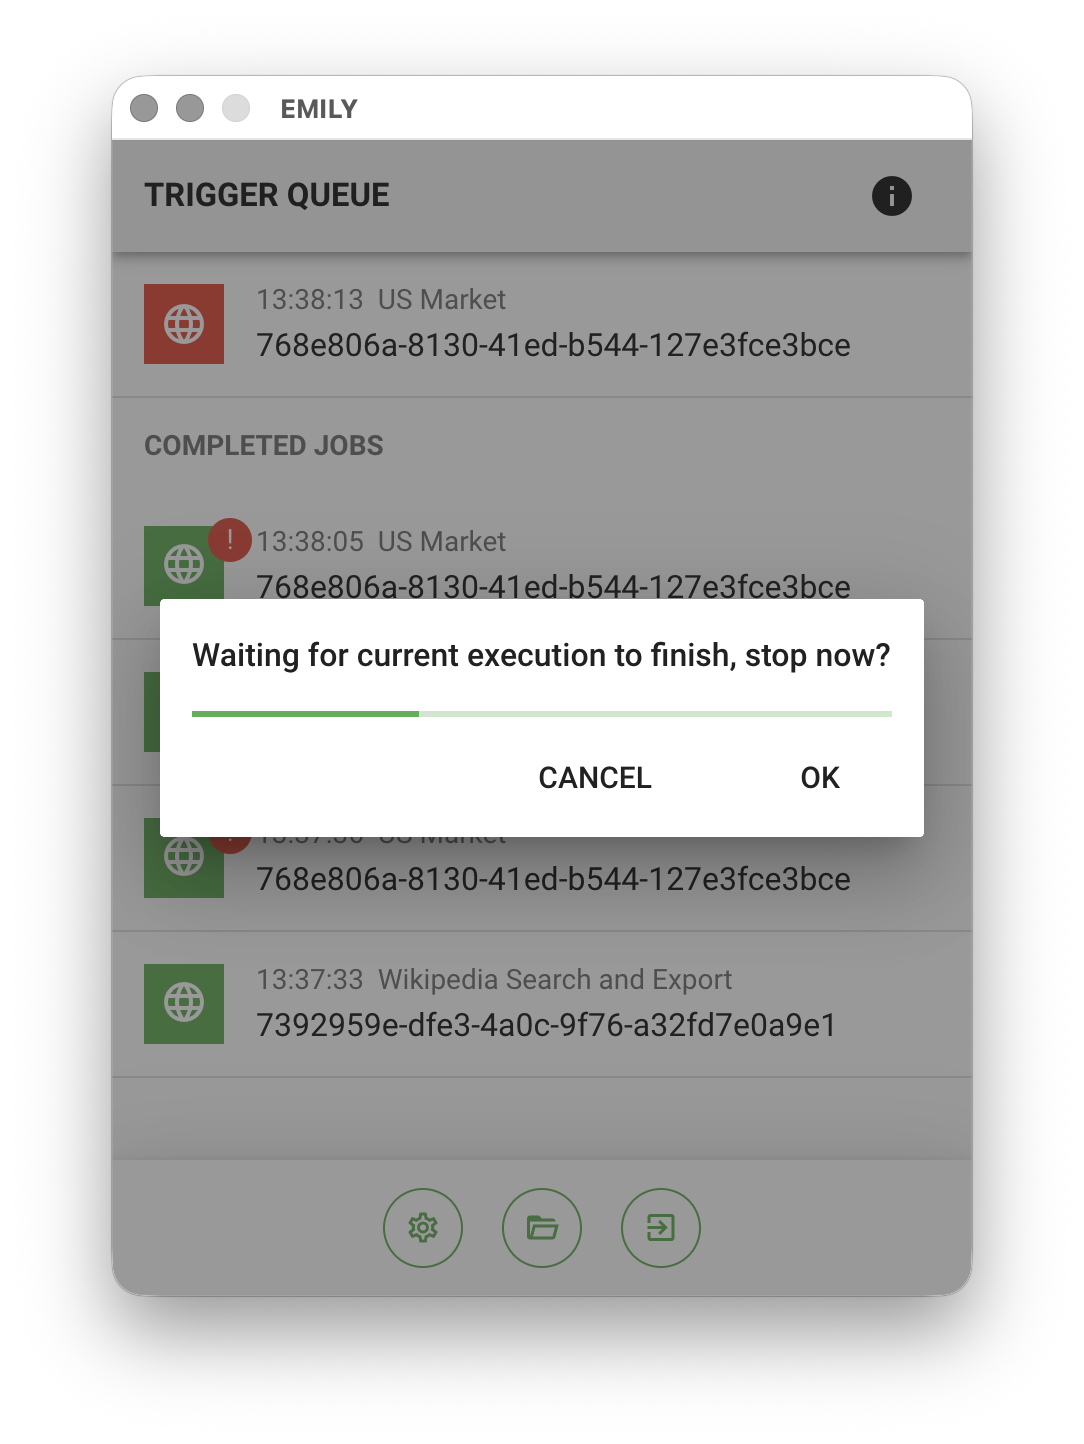
If a triggered skill is currently executing when you click the "Exit" button, you can click "Confirm" in the "Stop Fully Automated Mode Immediately" popup to exit fully automated mode right away. Otherwise, EMILY.RPA will wait for the currently executing skill to finish before exiting. Skills in the queue that have not yet been executed will be retained and continue when you next enter fully automated mode.
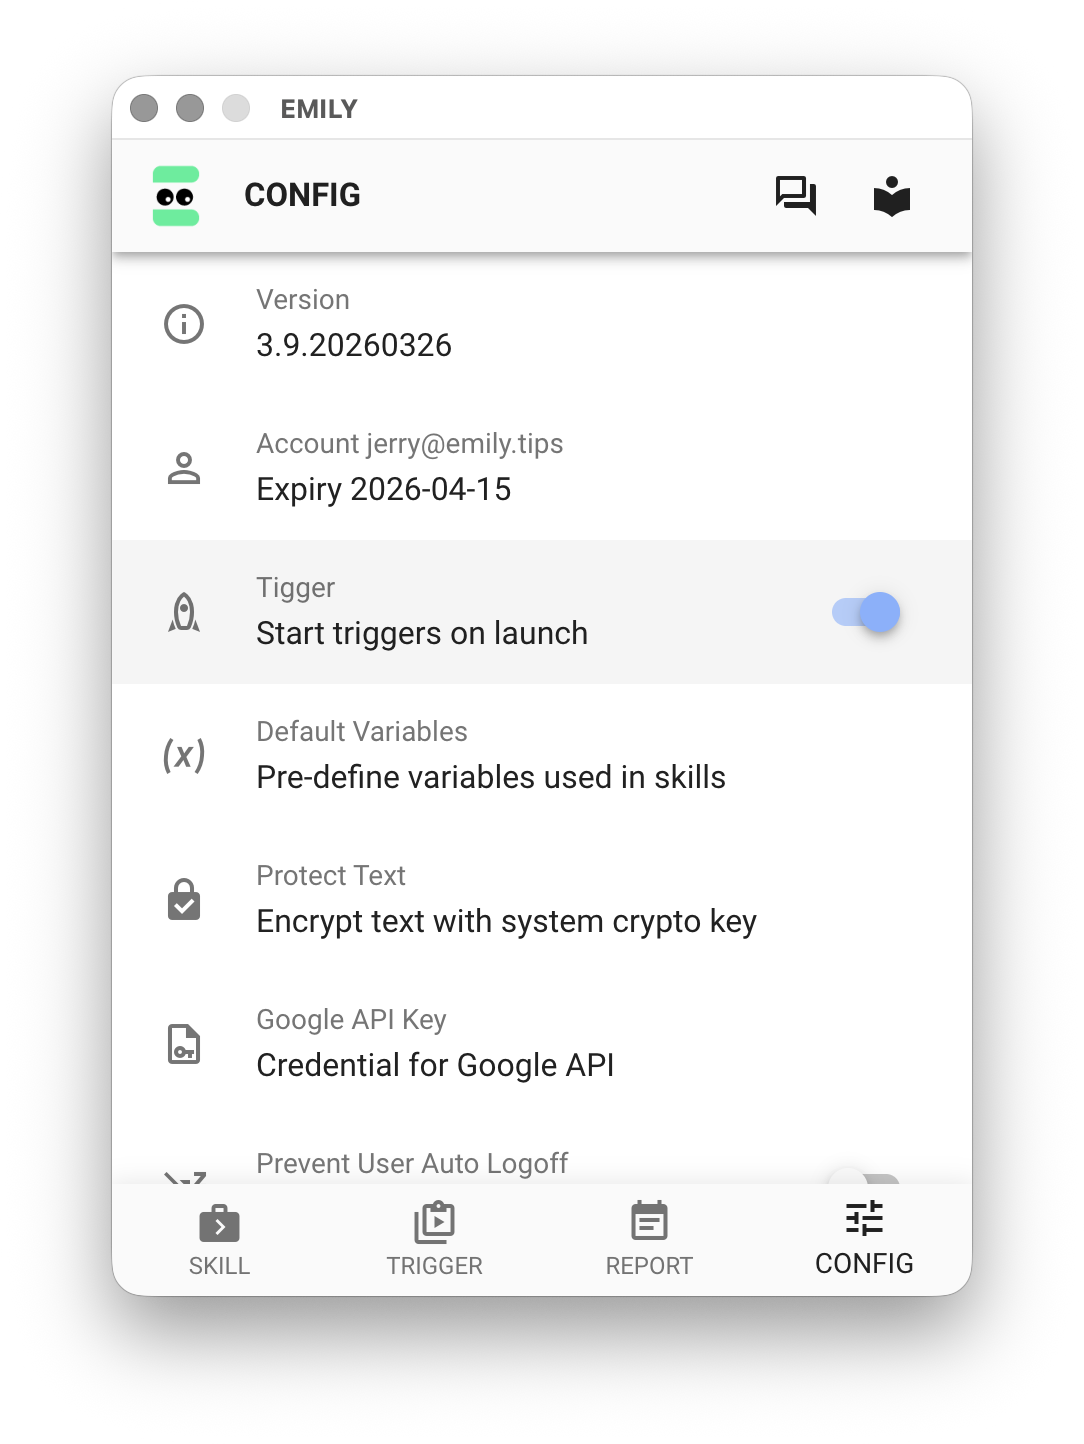
If you want EMILY.RPA to enter fully automated mode on launch, you can enable "Enter Fully Automated Mode on Startup" in the "Account Settings" page. For configuration details on each trigger type, refer to the individual trigger pages.