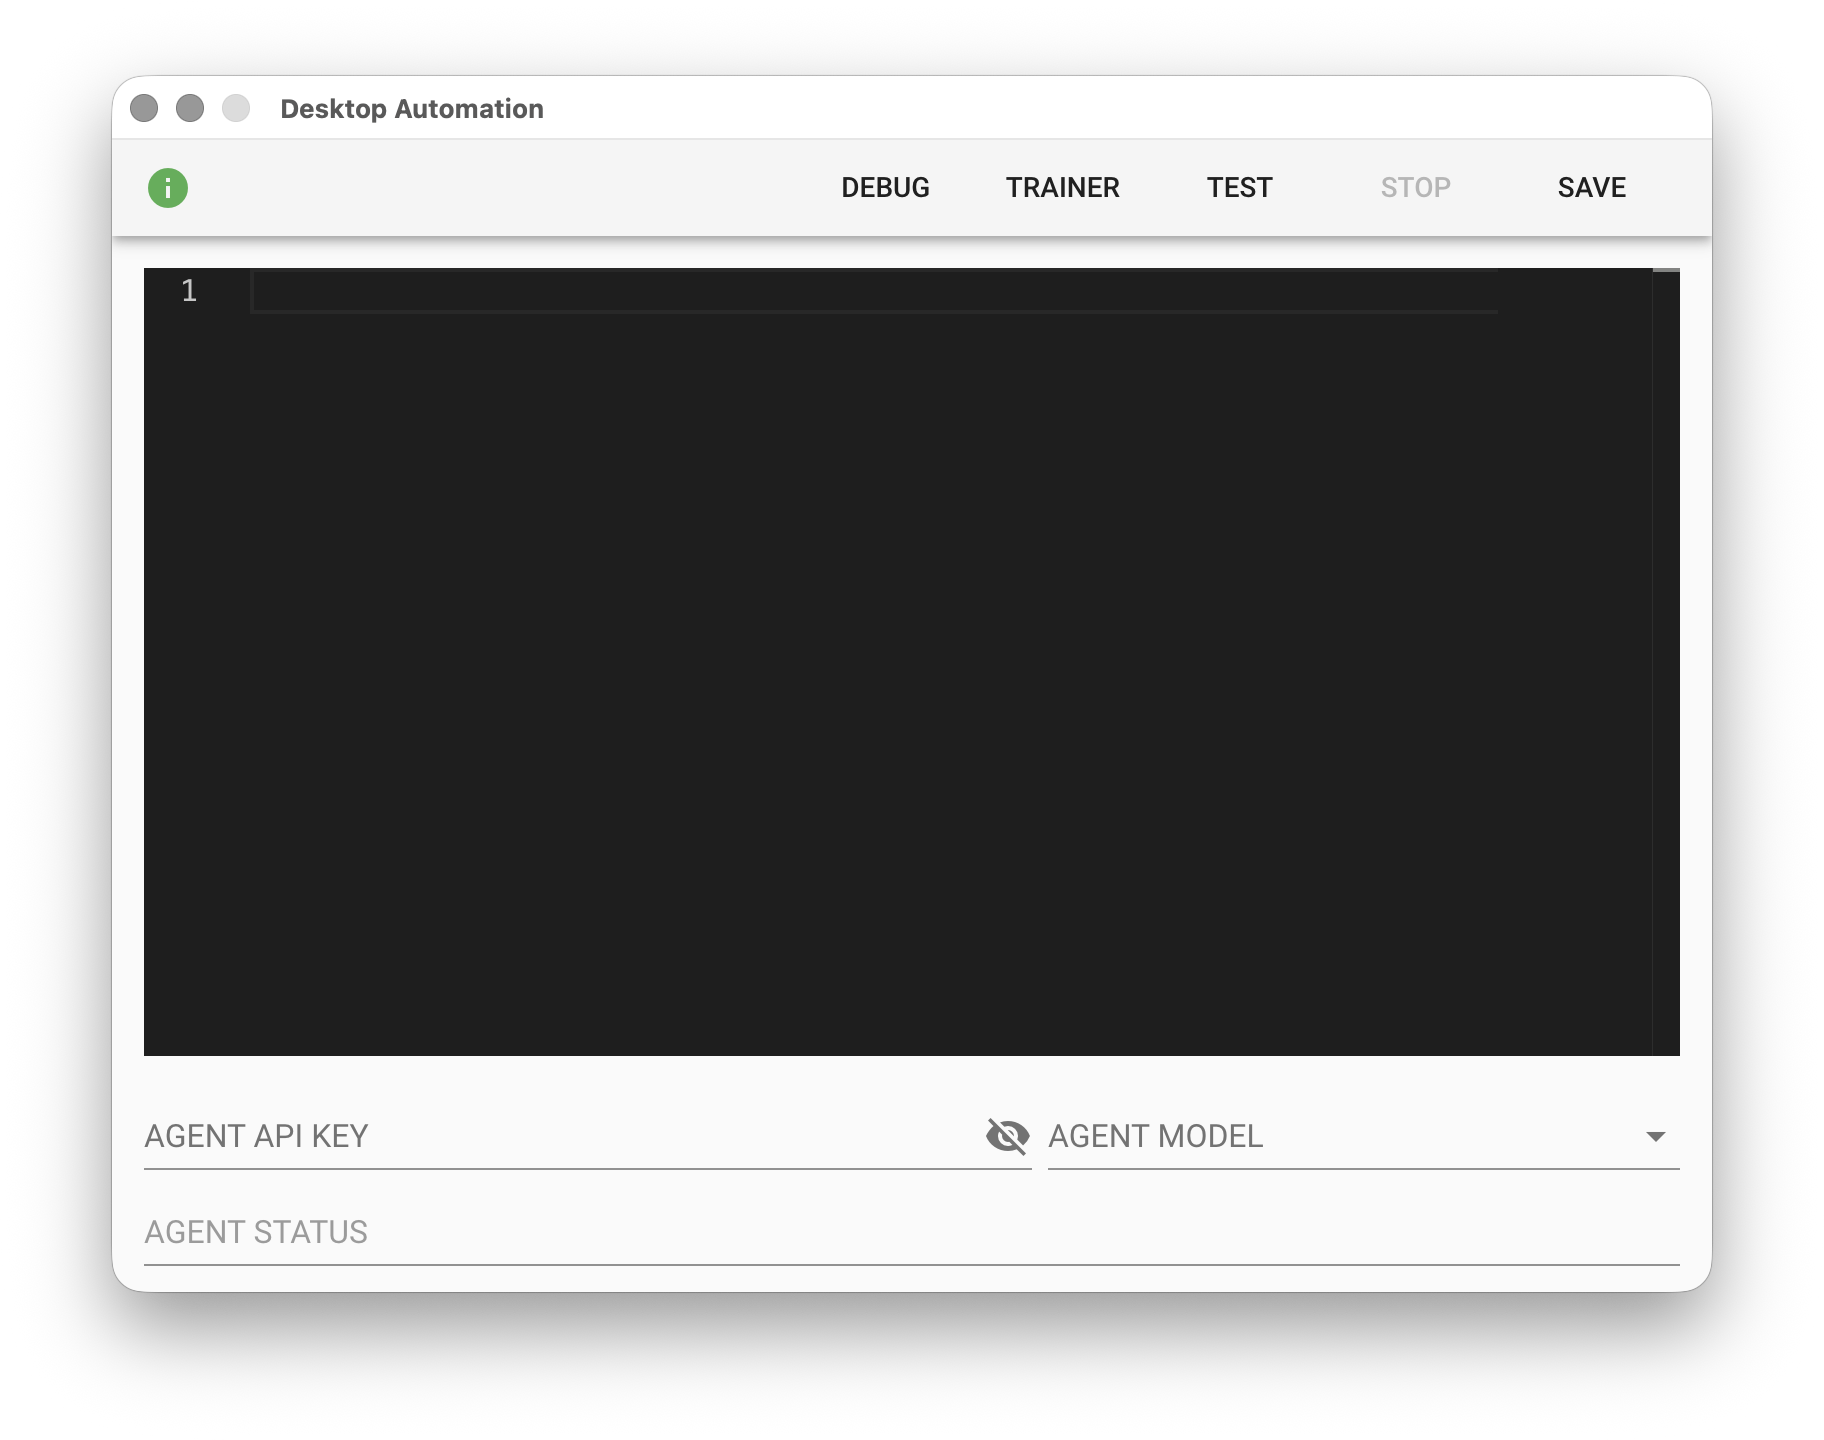
Desktop Automation
This module uses computer vision technology to analyze the screen and locate reference pattern coordinates, then operates the mouse and keyboard to automate desktop applications. When deploying skills that include desktop automation, the computer screen settings (such as resolution, color depth, text scaling, etc.) should be consistent with those used during training mode. It is recommended to design the workflow directly on the deployment computer and avoid operating the computer during execution to prevent mouse and keyboard interference.
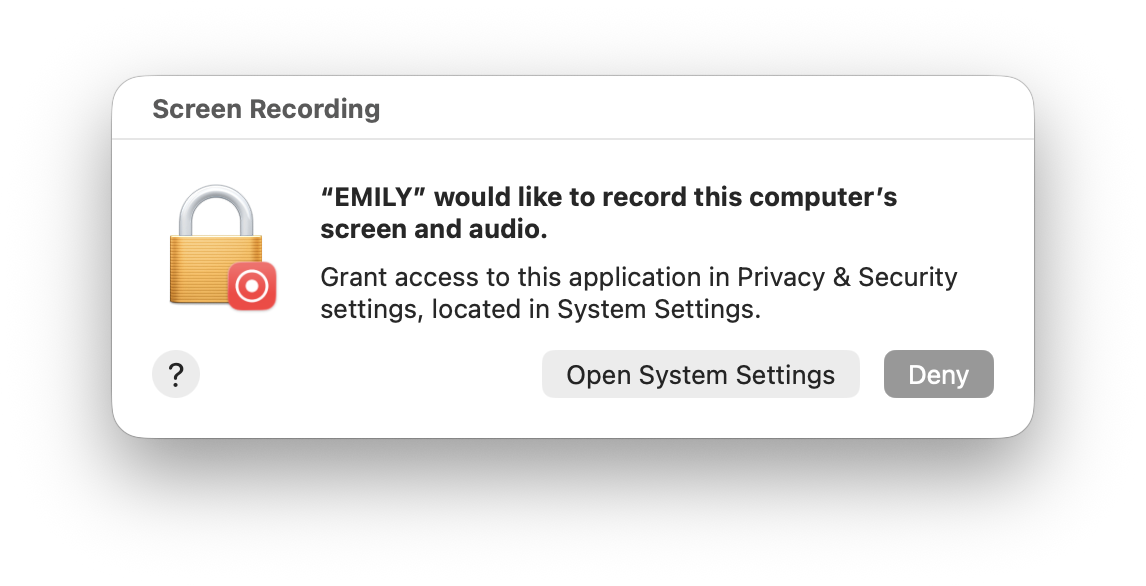
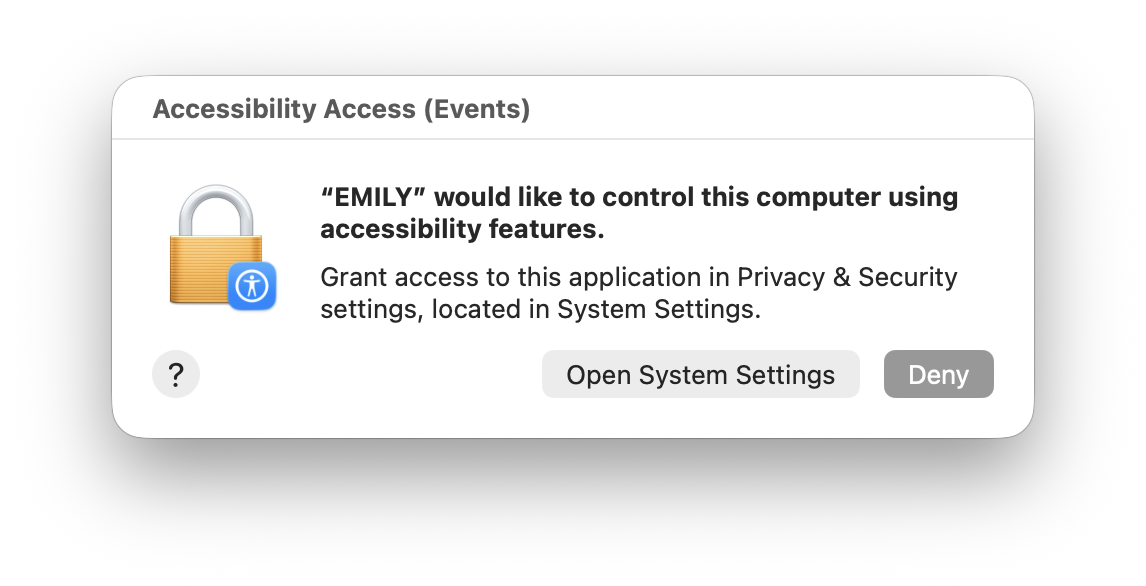
Set Permissions
Since screen analysis is required, the user needs to grant "Screen Recording" permission when opening this module for the first time. Additionally, since mouse and keyboard control is needed, the user also needs to grant "Accessibility" permission.
Notes
- Windows operating system requires Windows 10 64-bit or above, and the Microsoft VC++ runtime library must be pre-installed.
- When a DA skill is running, it occupies the mouse and keyboard. If the mouse is moved or the keyboard is used during the automation process, the results may be affected and errors may occur.
- Users must ensure that the input method (IME) state is consistent with the state during training. Sometimes the system automatically switches input methods for different applications, which may cause incorrect text input.
Training Panel
Click "TRAINER" to launch the training panel in the top-right corner of the desktop for designing desktop workflows directly on the local machine. When the training panel appears, it is recommended to minimize the main interface and module windows to free up space for the training panel.
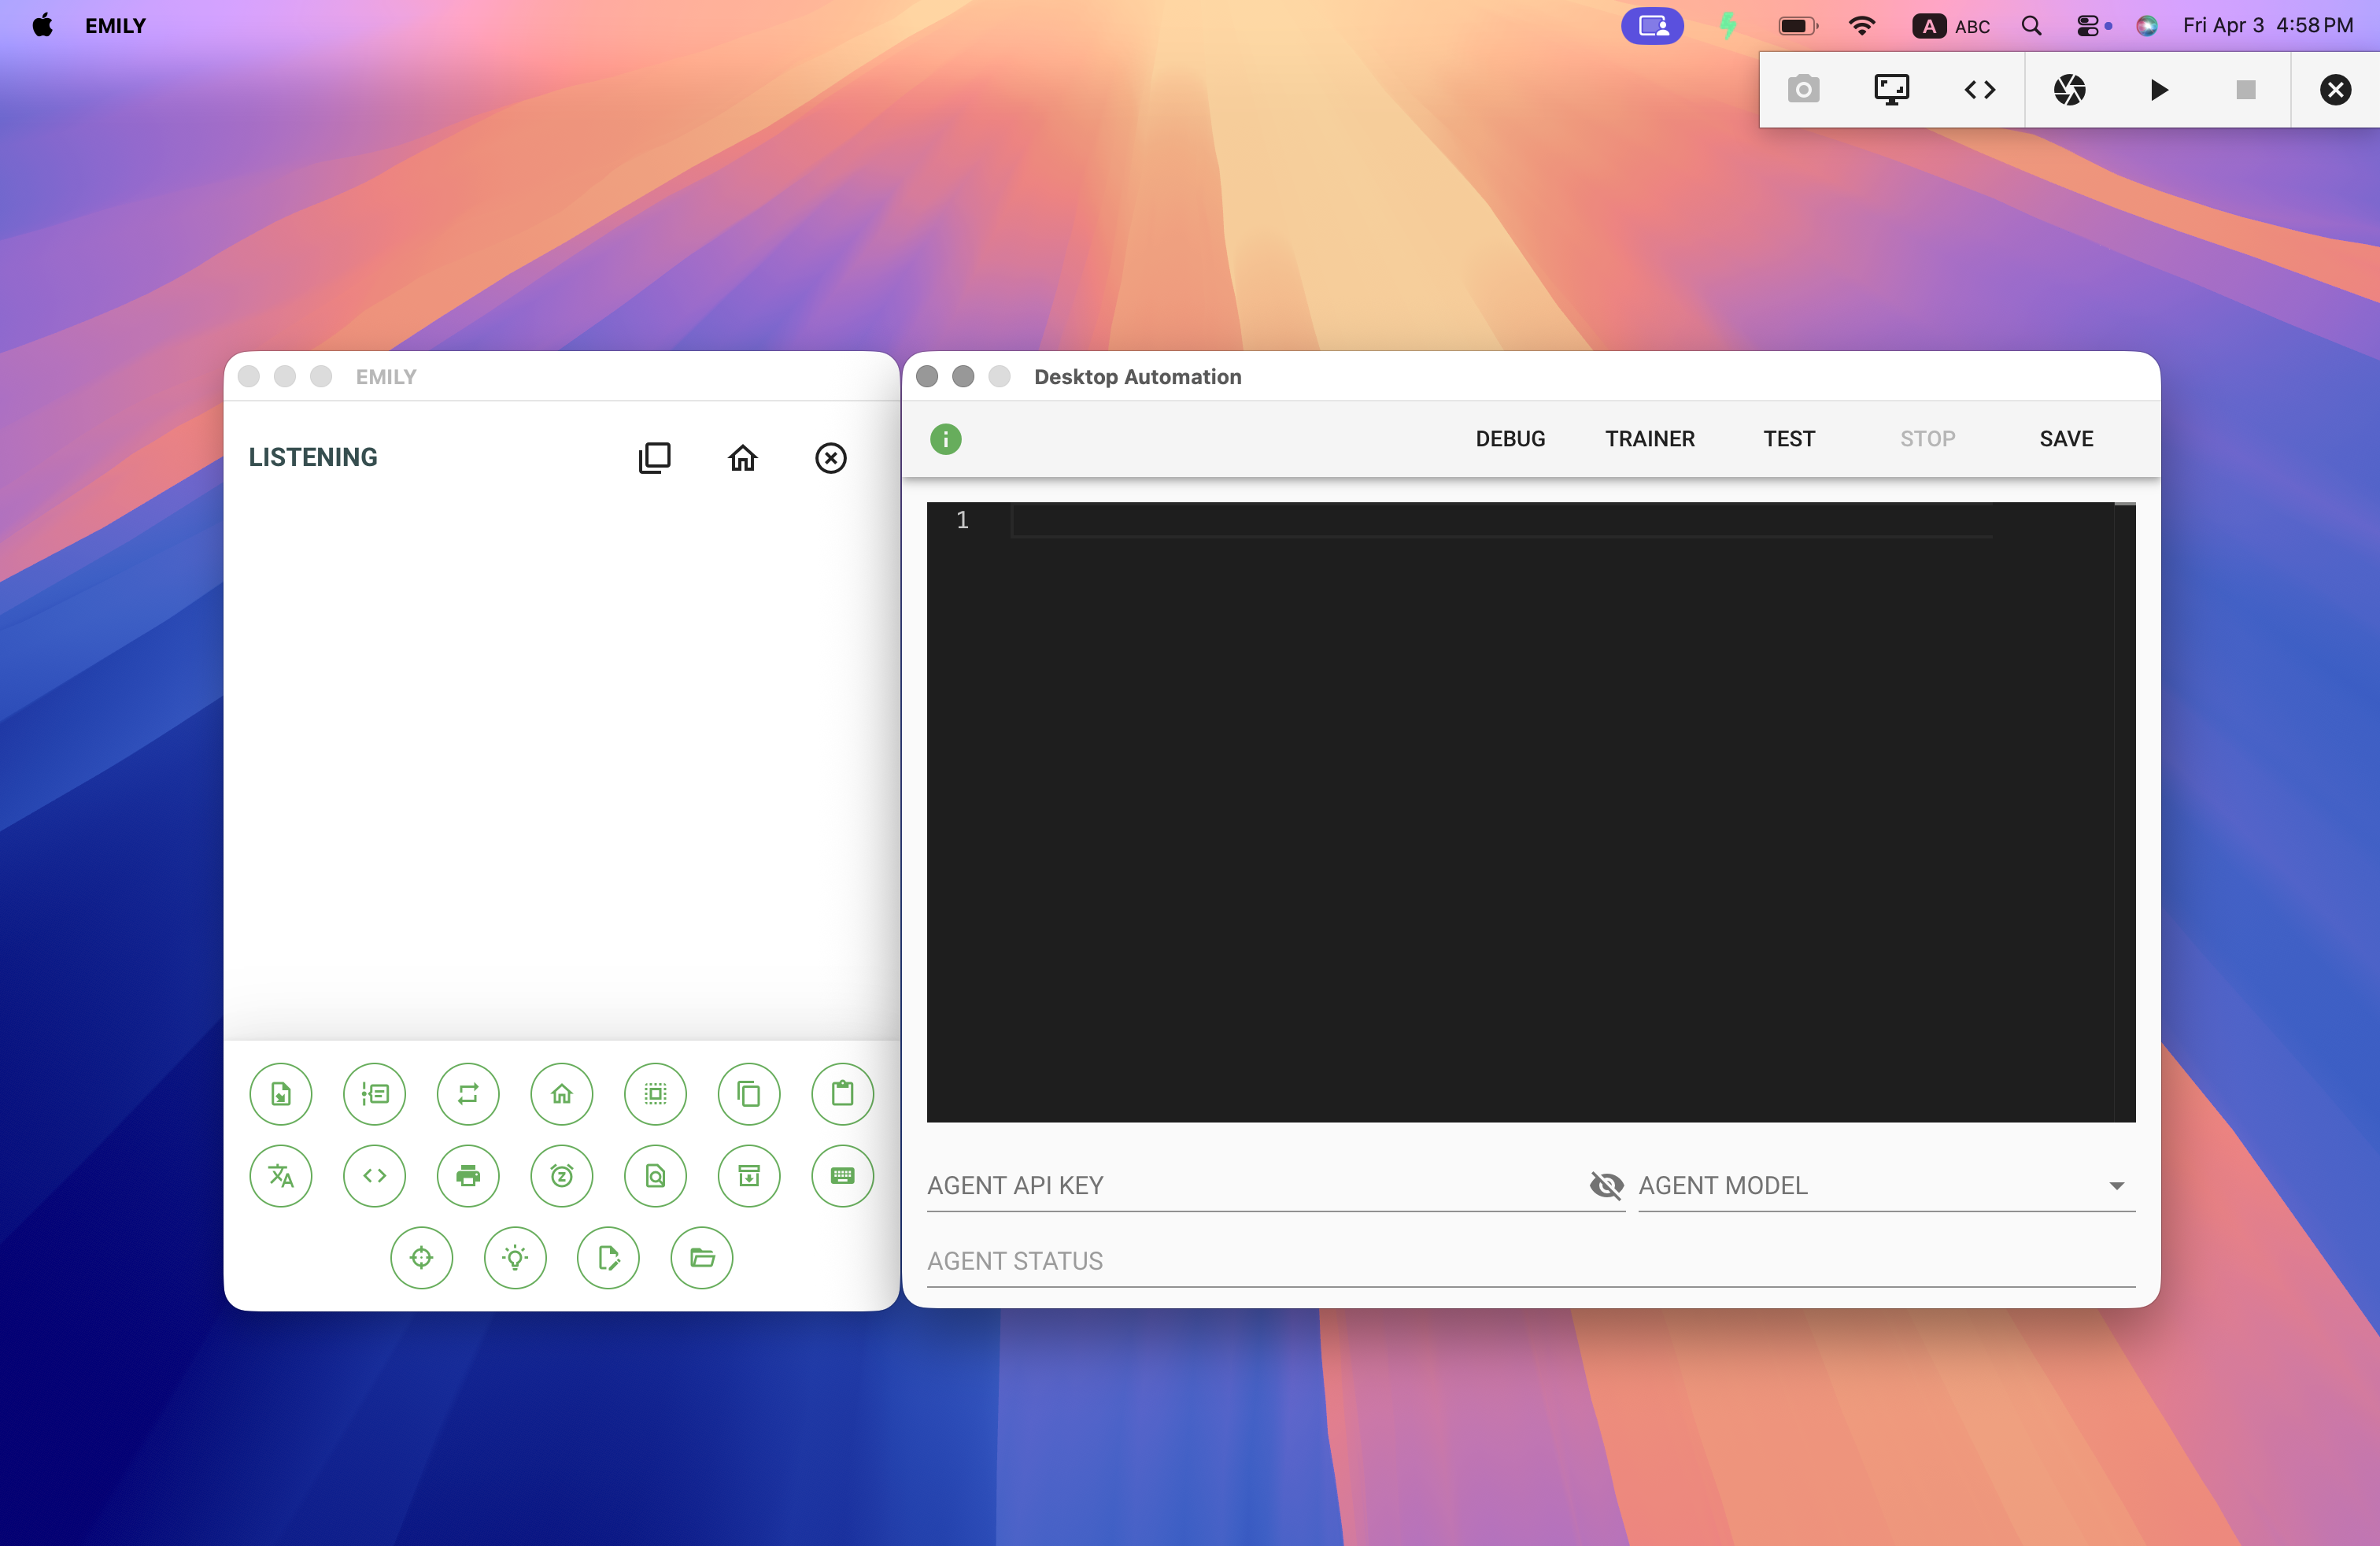
The training panel has three modes: "Desktop", "No-Code Editor", and "Low-Code Editor".
Desktop Mode - Used to directly and manually adjust the desktop or application state. You can freely adjust the desktop to the state required at the start of the workflow, then click the shutter button to capture a screenshot for No-Code mode. You can also use the Ctrl/Cmd+0 shortcut to take a snapshot, or Ctrl/Cmd+5 shortcut to take a delayed 5-second snapshot.

No-Code Editor - Uses mouse operations to bring up a menu to select new commands for the workflow, then writes the corresponding code to the Low-Code editor.

Low-Code Editor - Used to manually adjust the code generated by No-Code mode for maximum design flexibility.

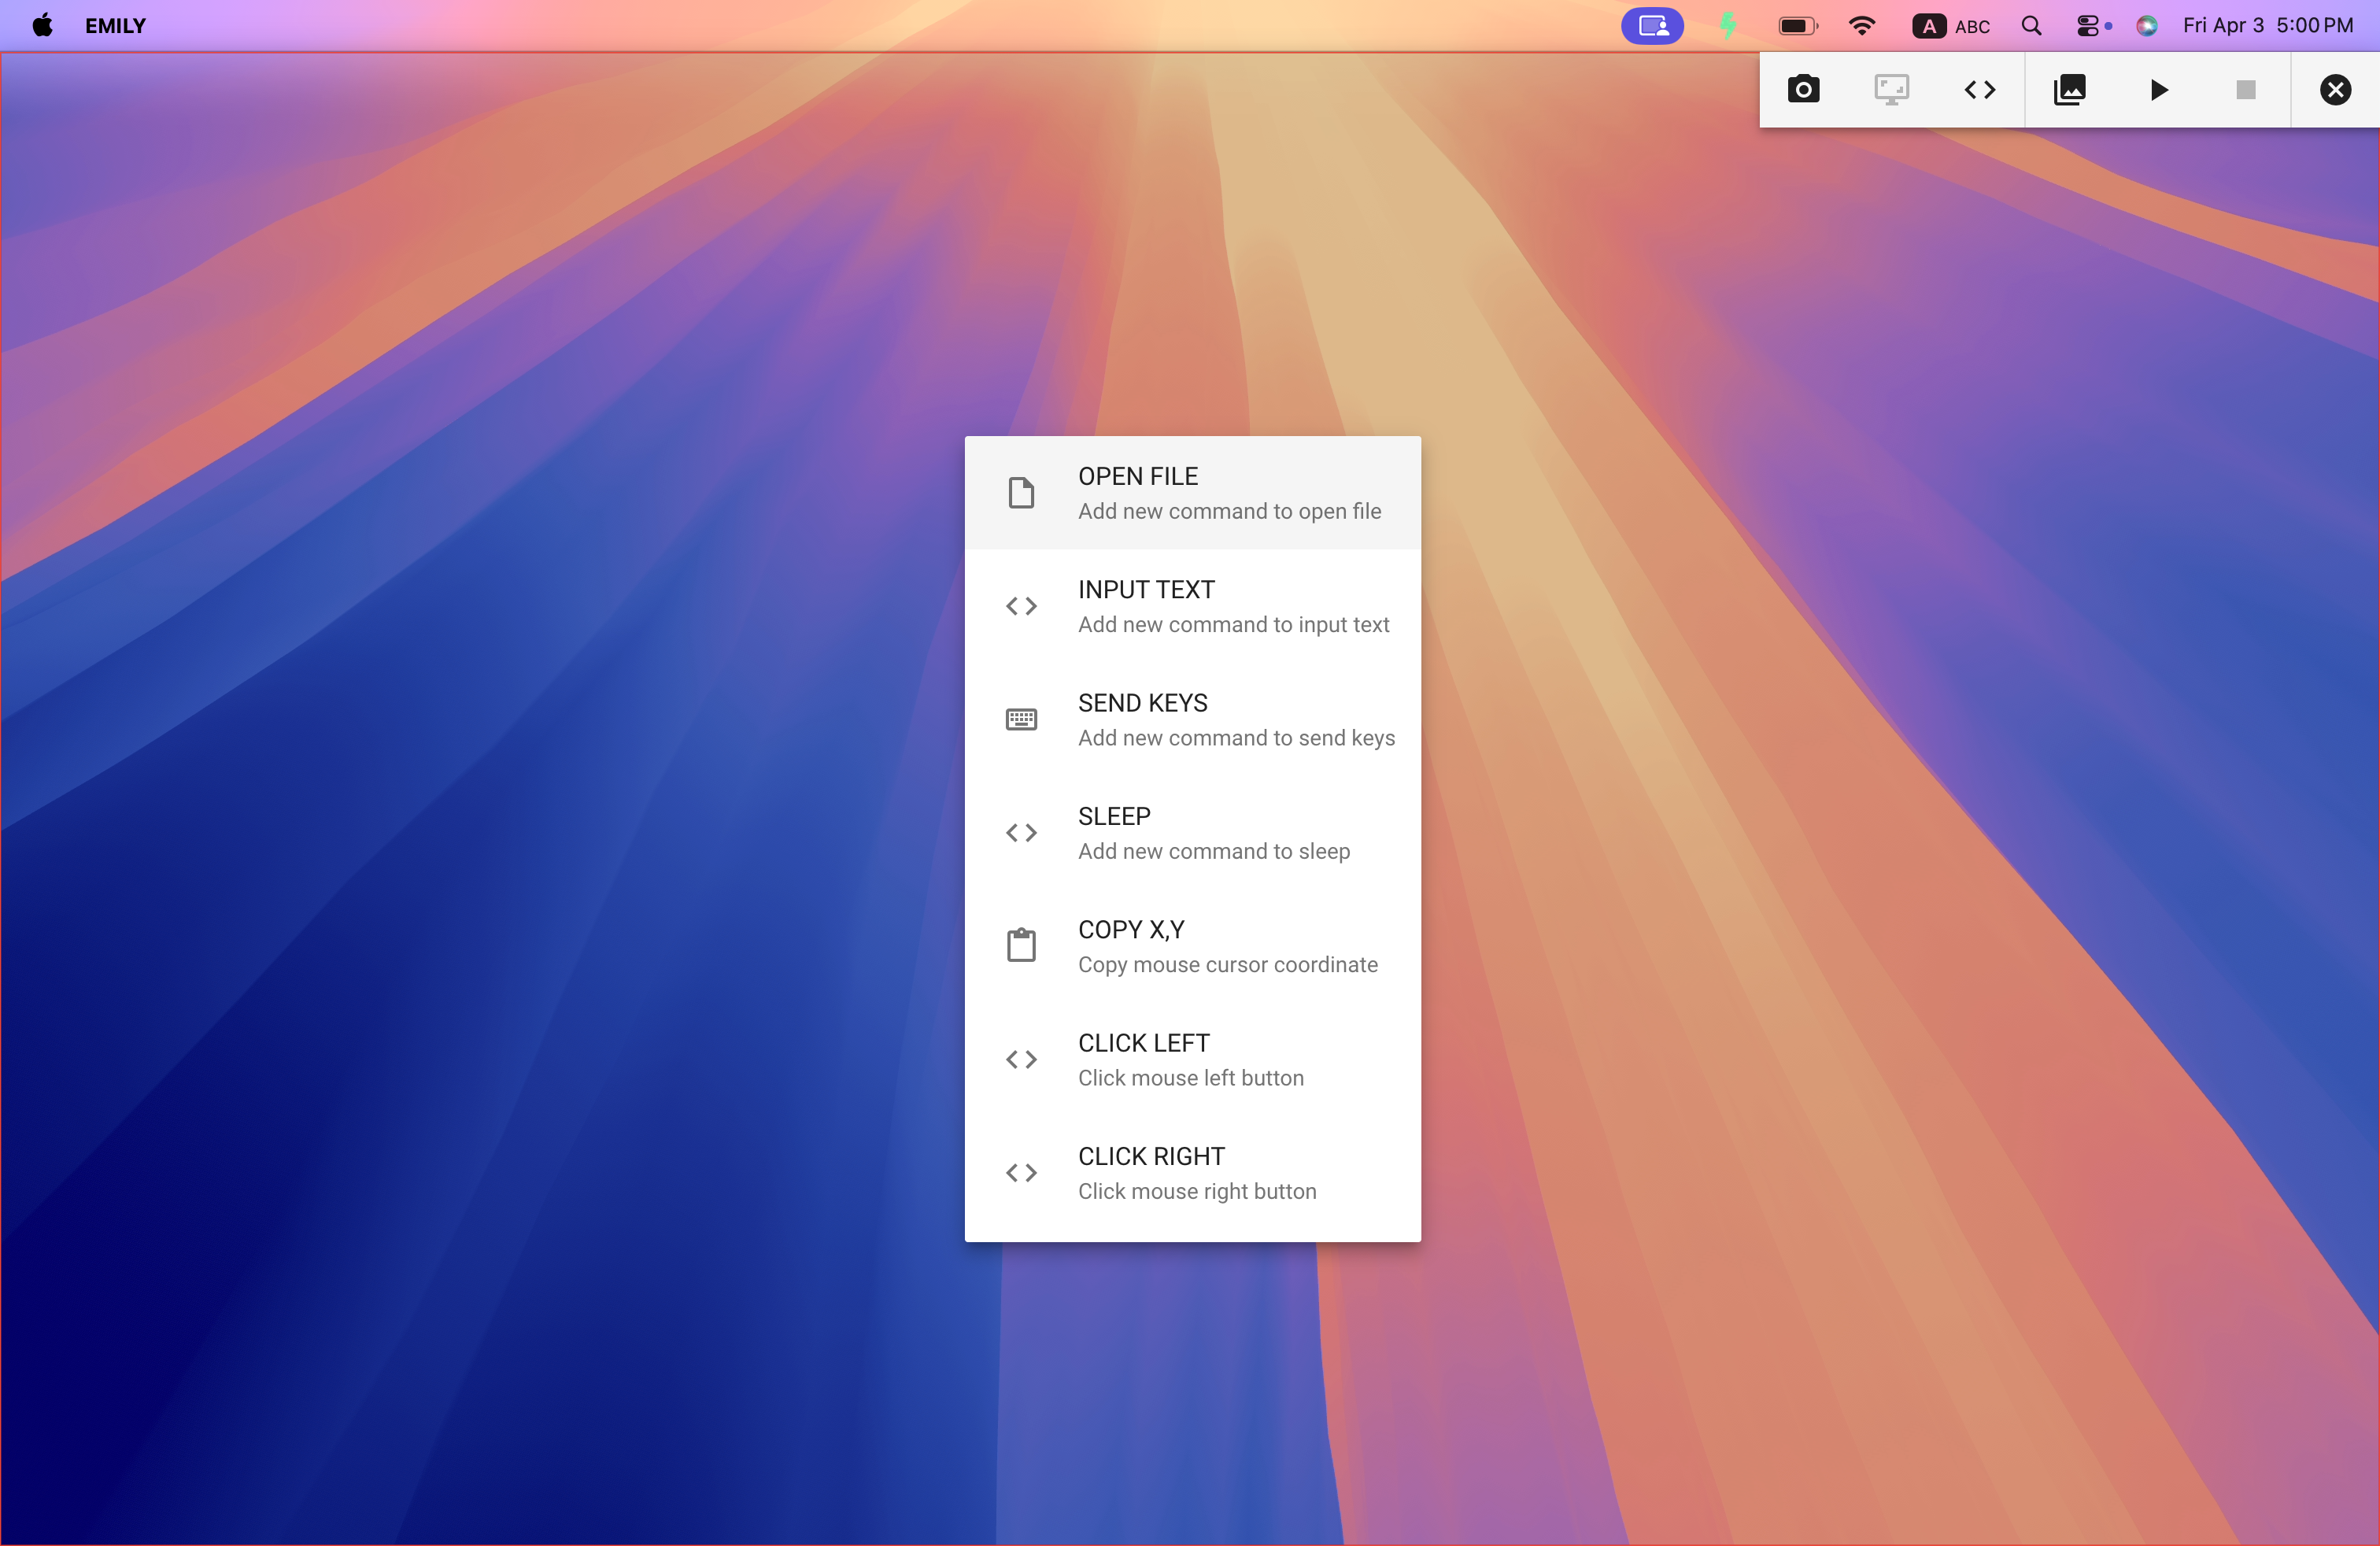
No-Code Editor
Menu commands include: "OPEN FILE", "INPUT TEXT", "SEND KEYS", "SLEEP", "COPY XY", "CLICK LEFT", "CLICK RIGHT", etc. "OPEN FILE" can either double-click a specified file to launch the associated application, or directly select an application executable to launch the application.
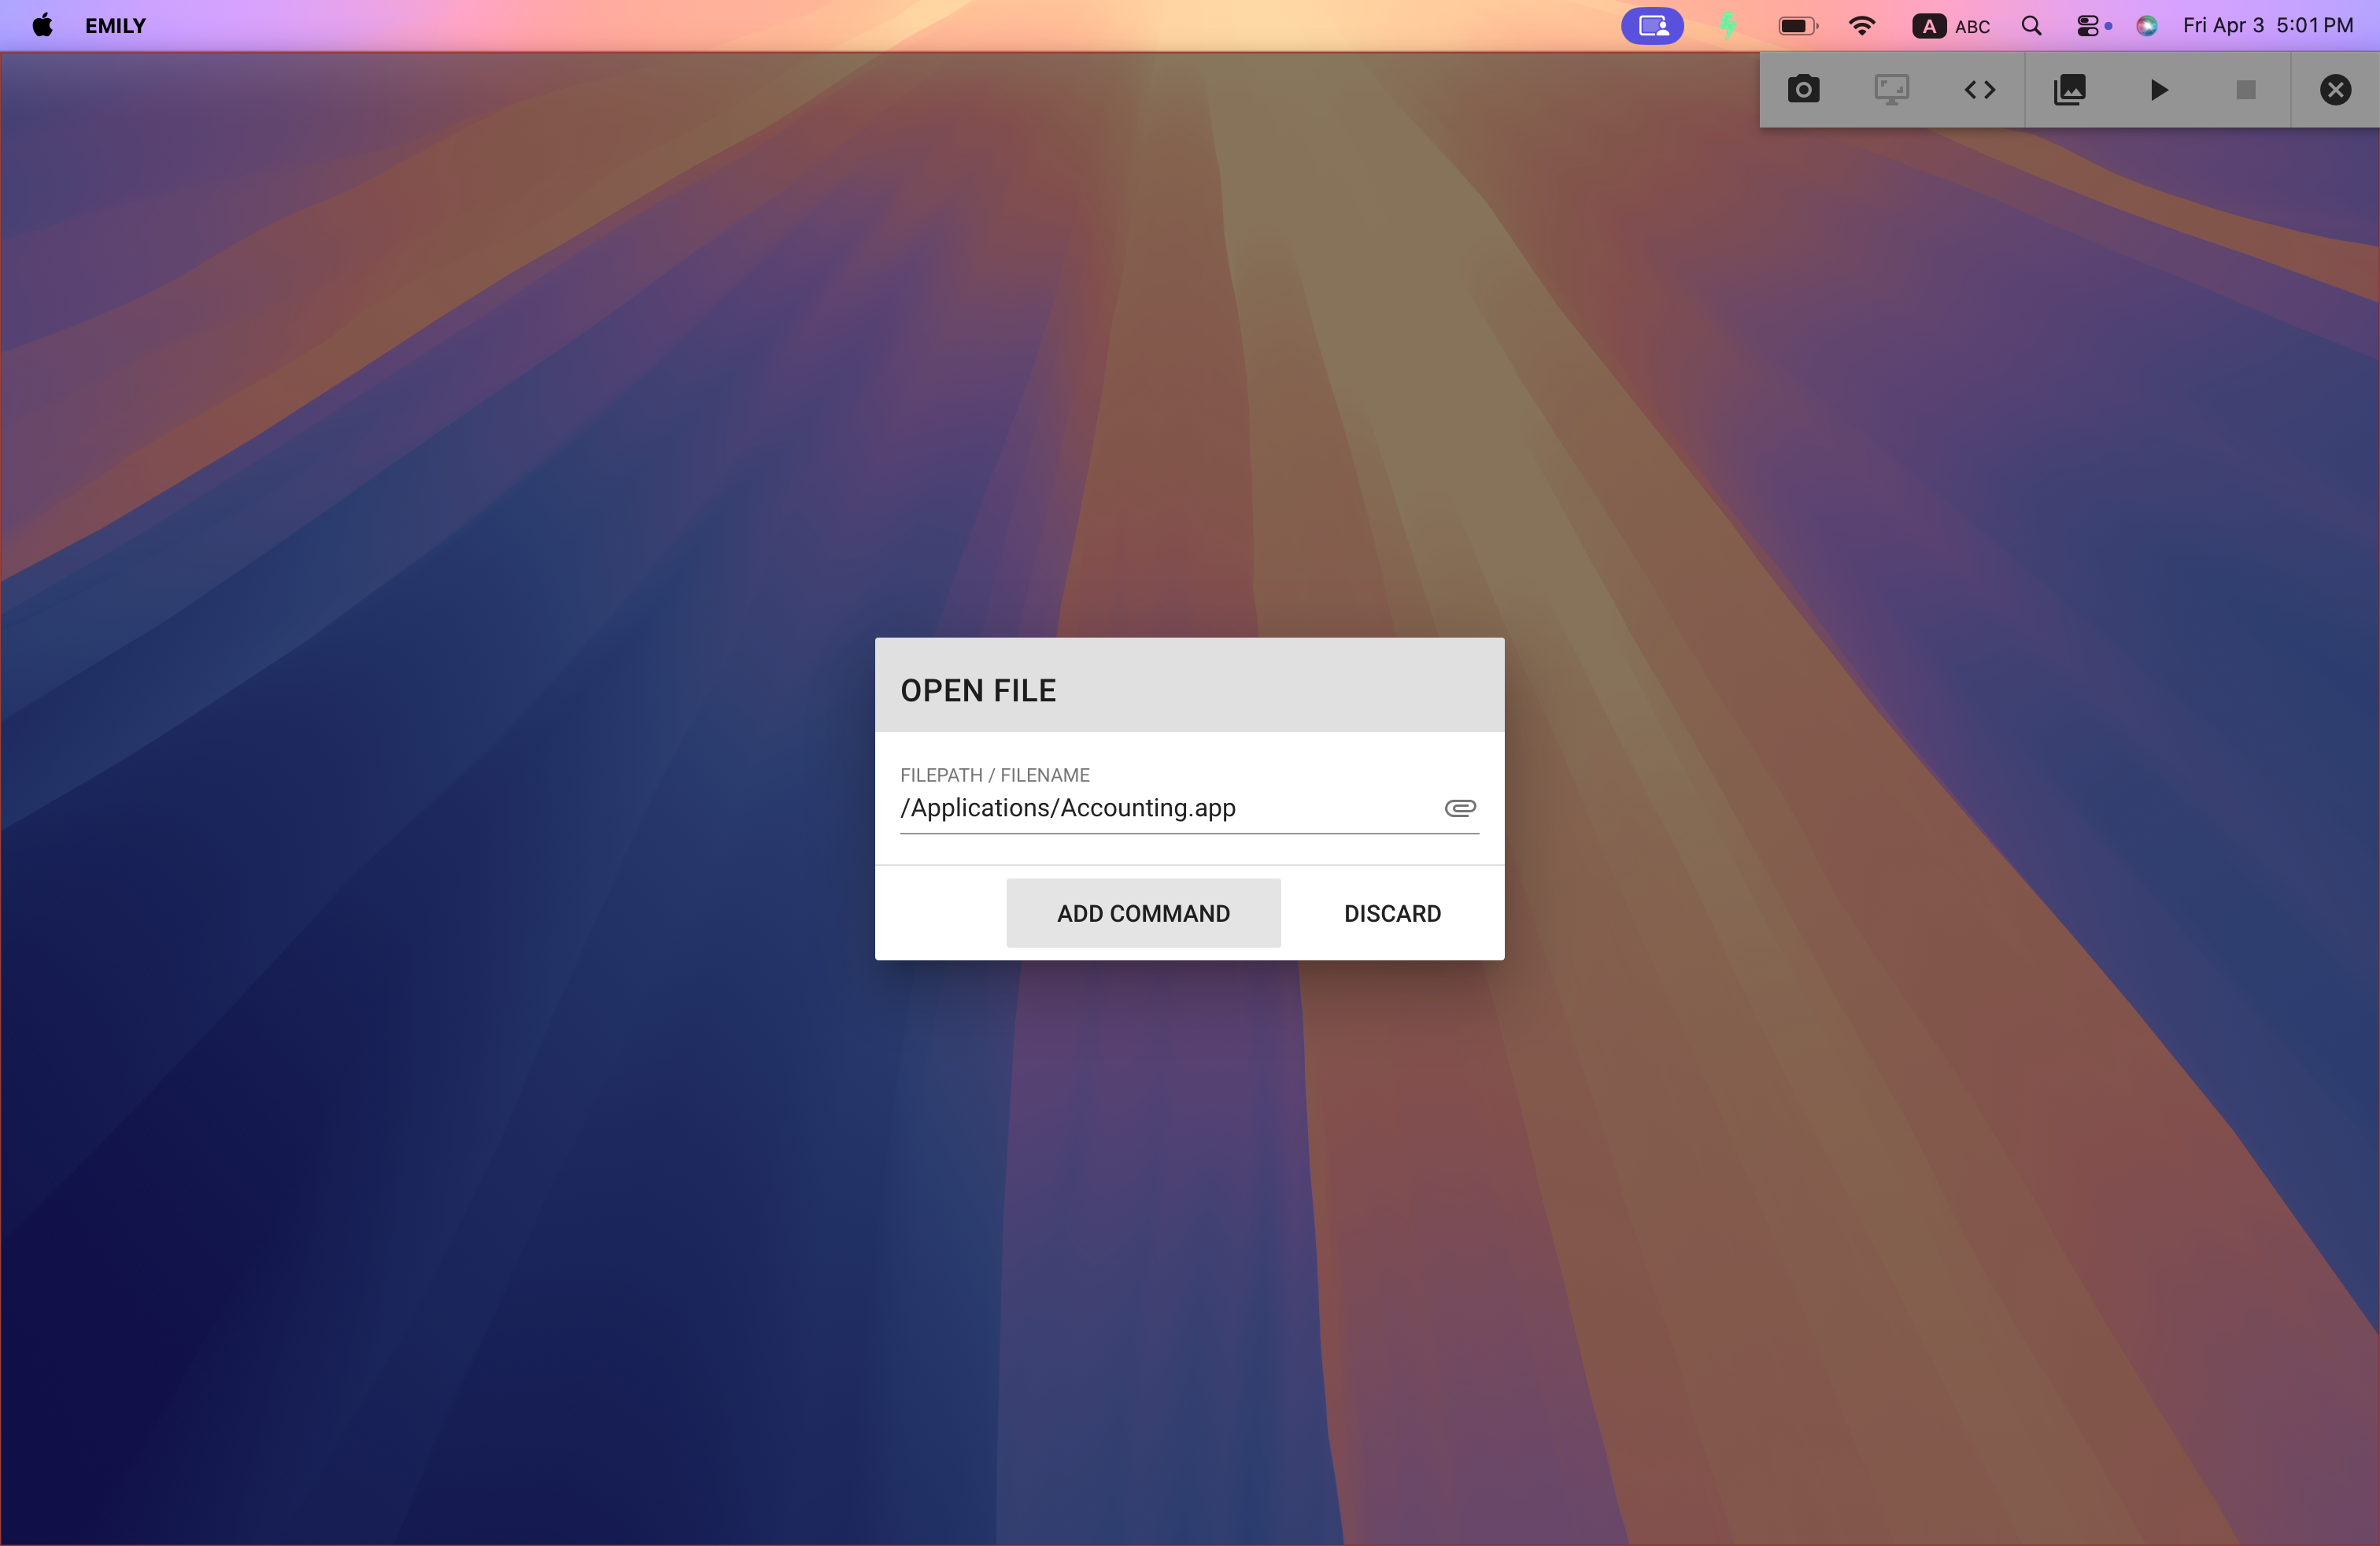
For example, click "OPEN FILE" to add a command to open the accounting software Accounting.app.
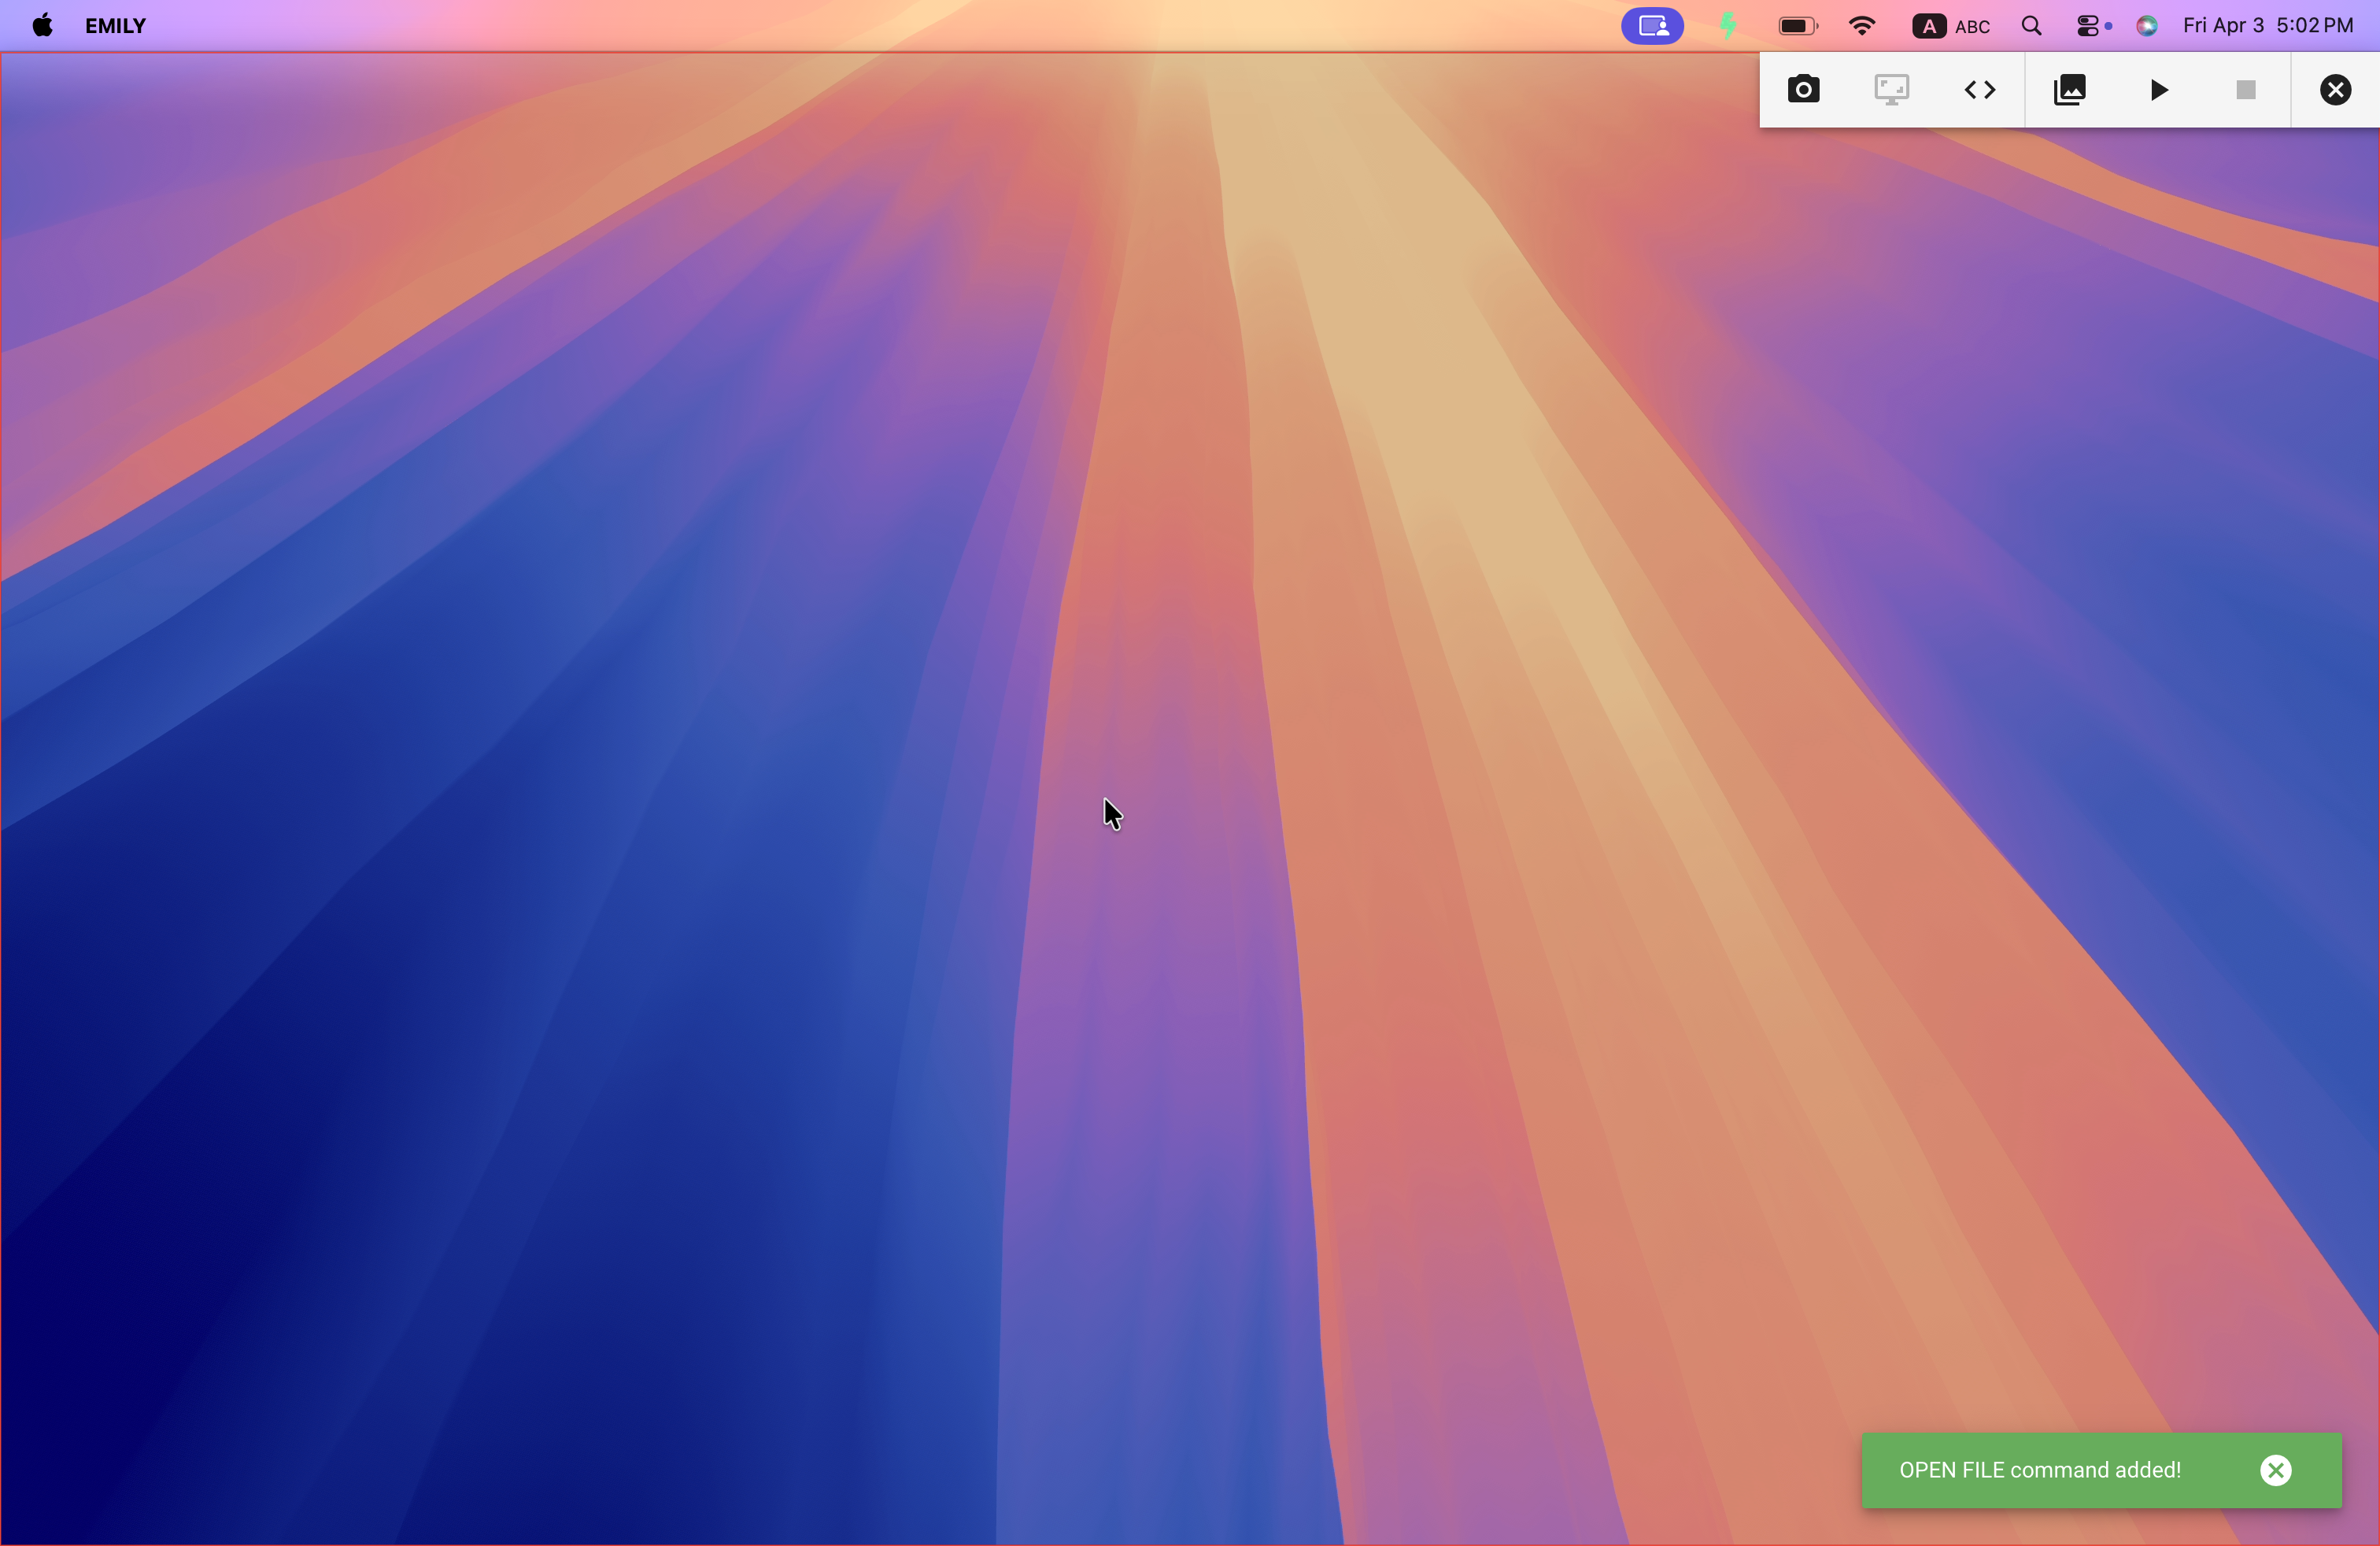
After the command is generated in the No-Code editor, a notification will appear as shown below:
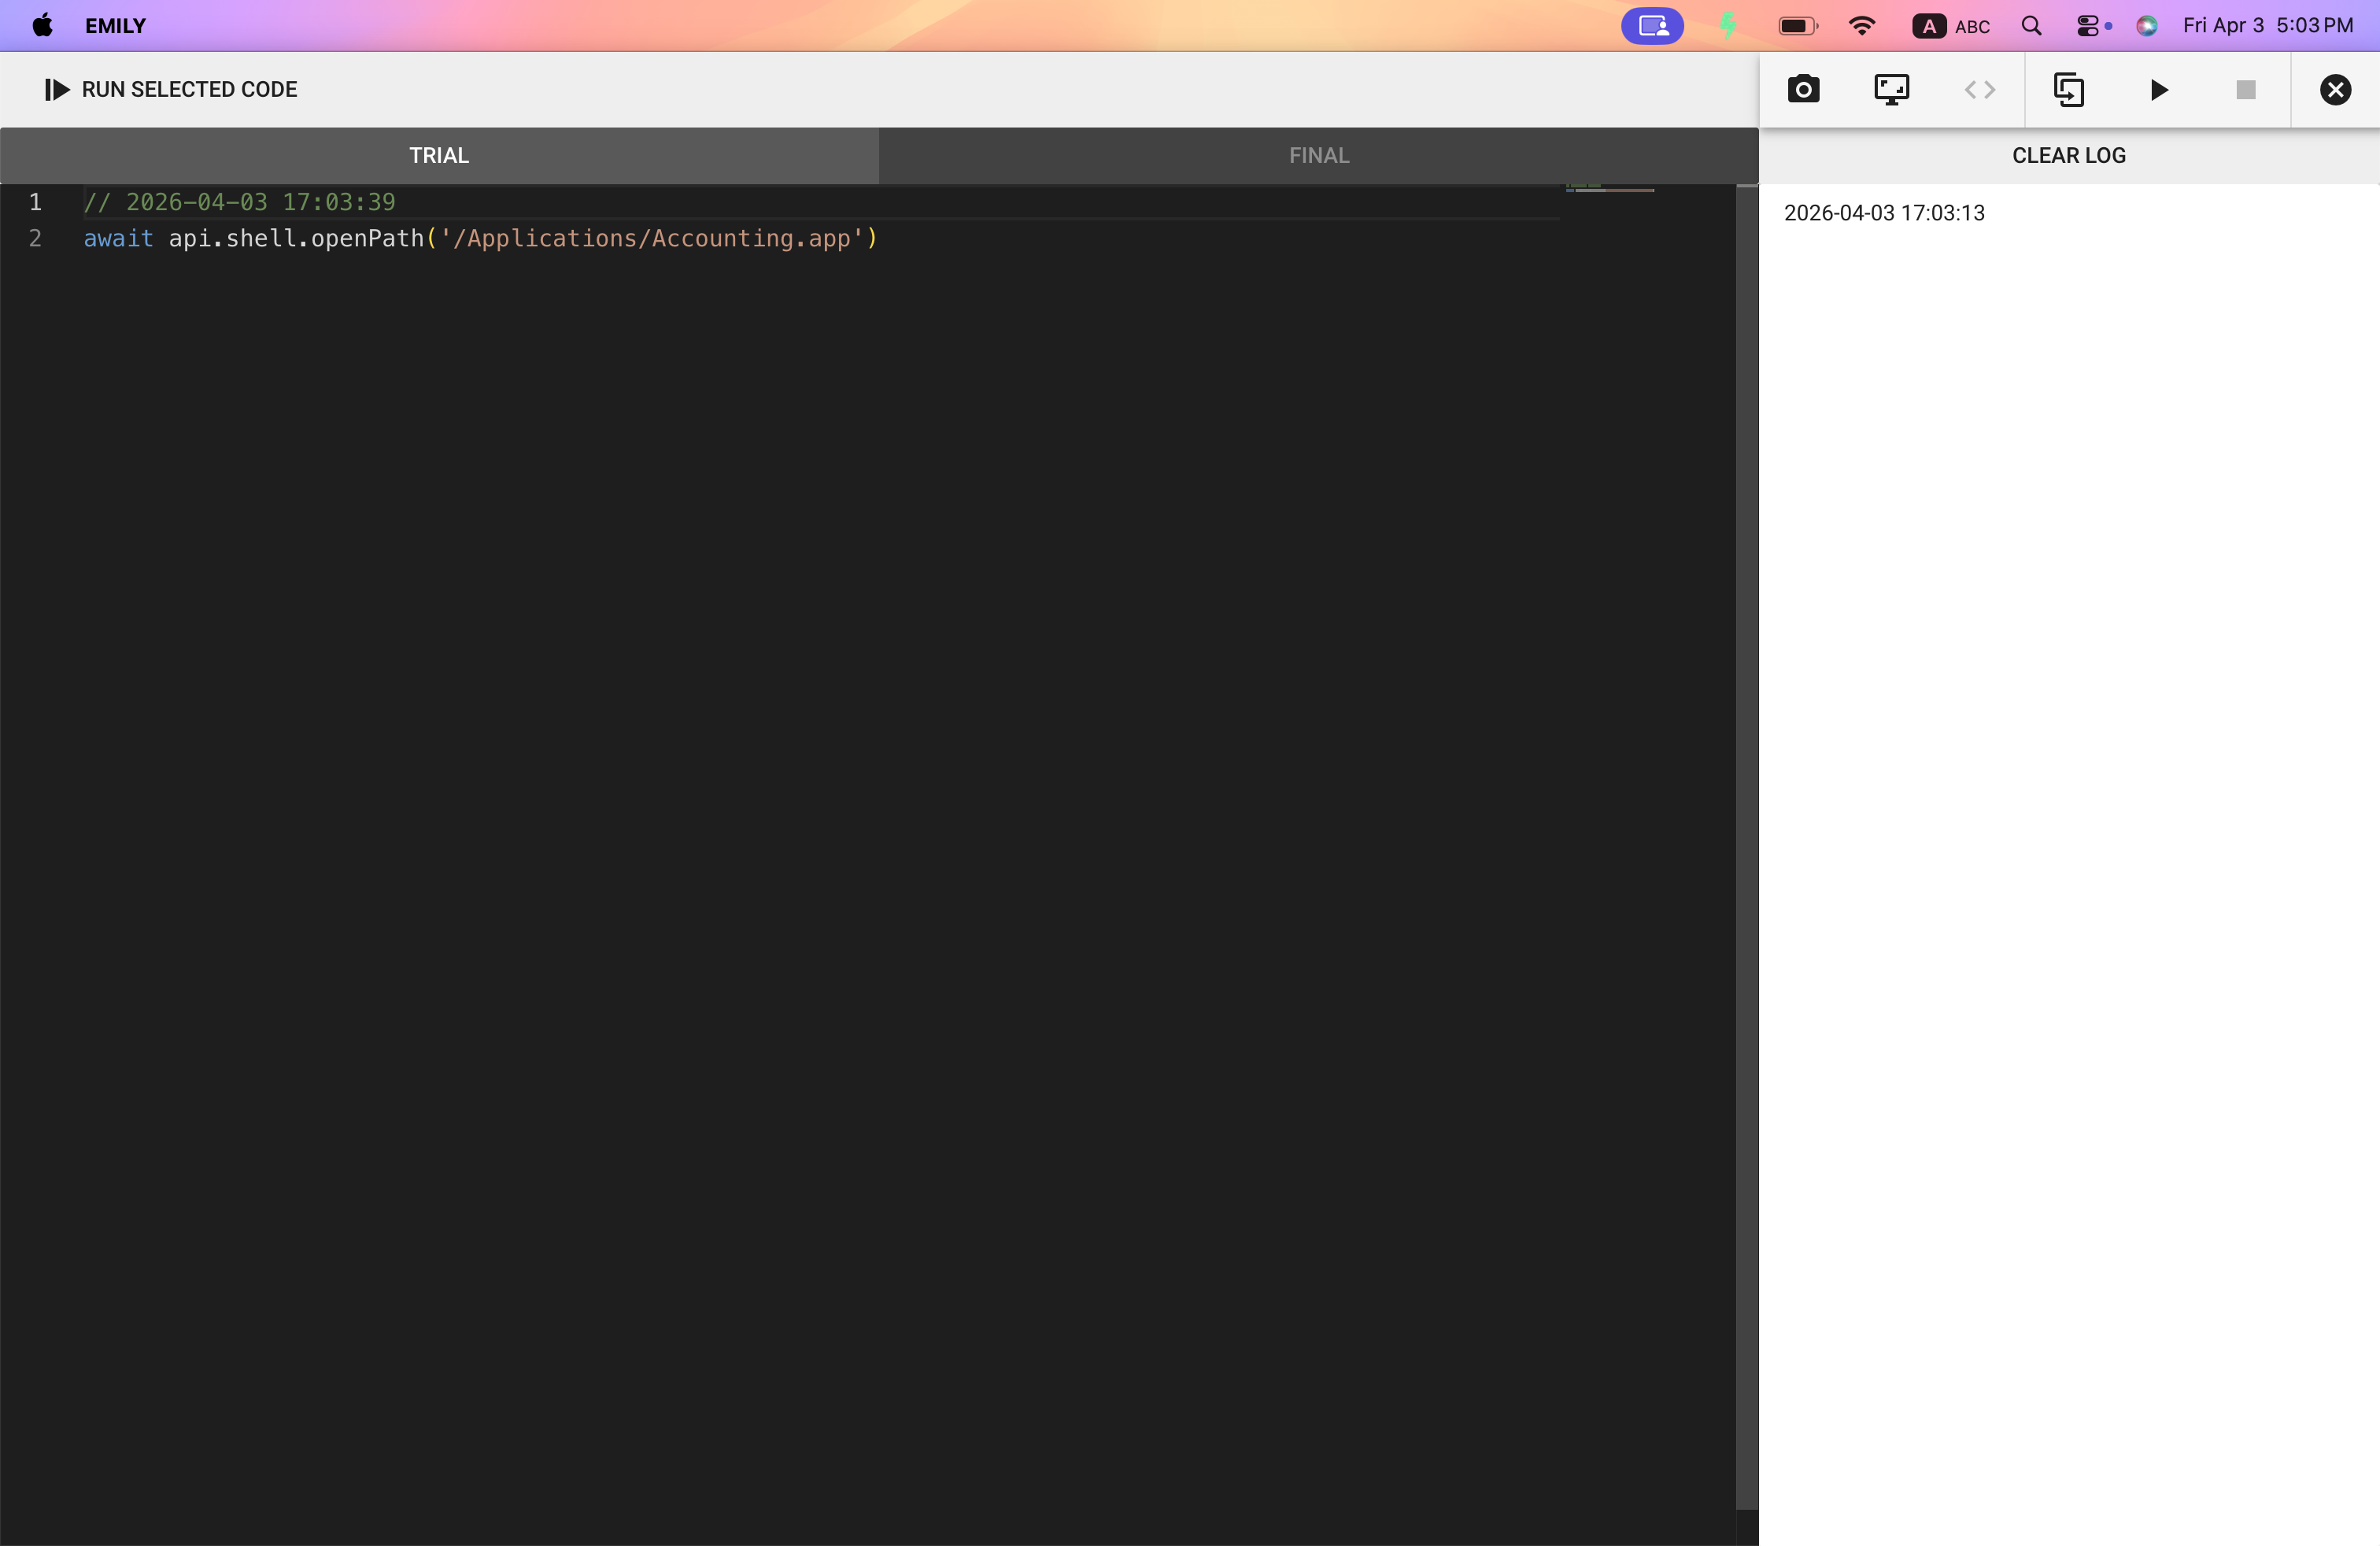
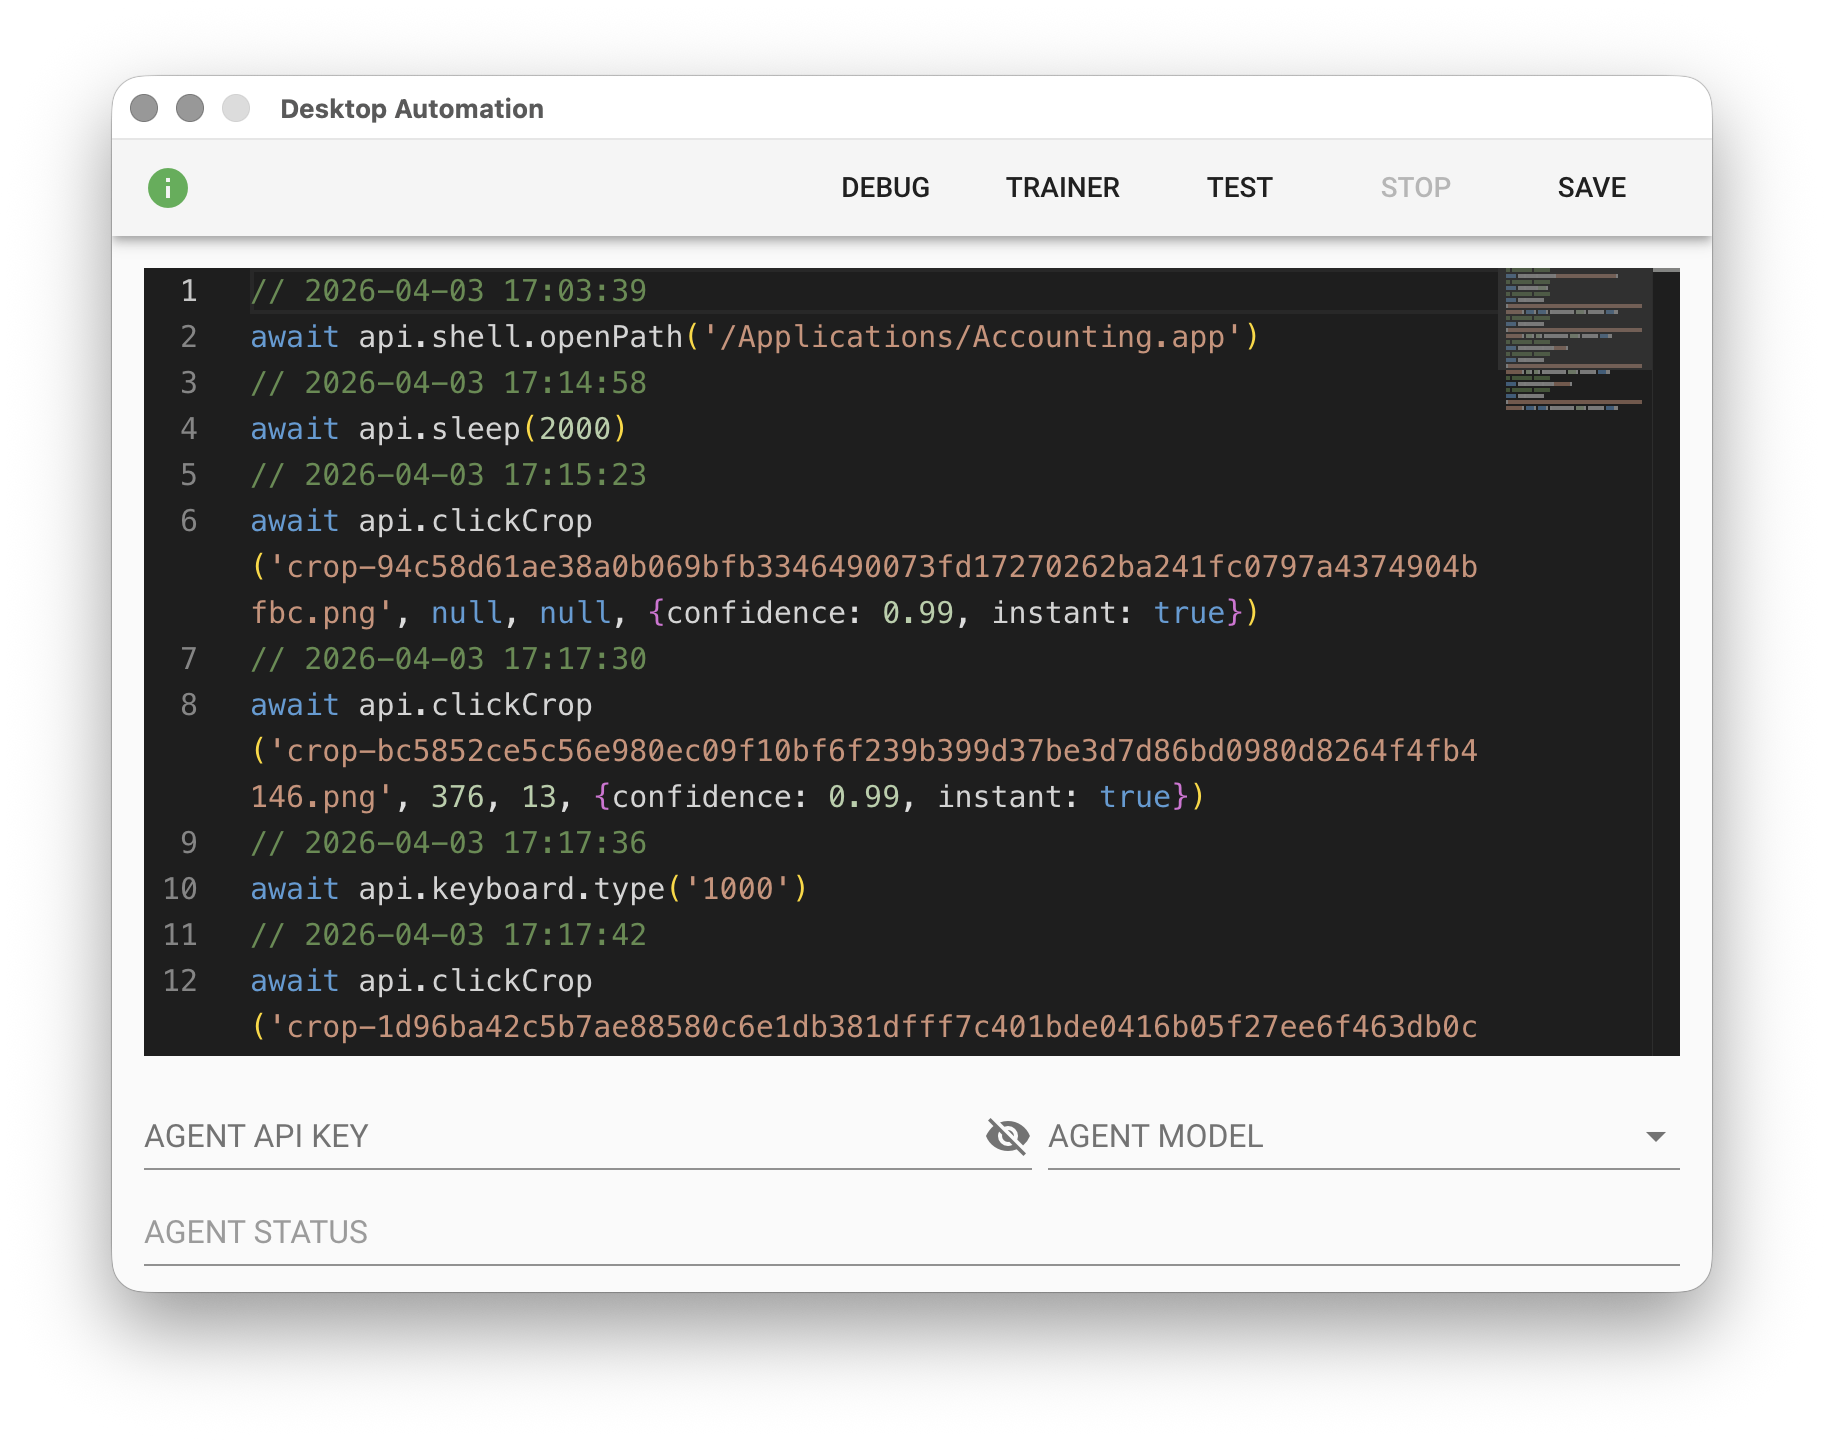
Low-Code Editor
Switch to the Low-Code editor to inspect or adjust the code. In this example, it is the code generated by the "OPEN FILE" command added earlier.
Click the "▶︎" play button on the training panel, and EMILY.RPA will automatically switch to desktop mode and start executing the Low-Code code. Press the "■" stop button or "Shift+ESC" to interrupt execution.

Next, you can take a snapshot to get the latest screen image, then switch back to the No-Code editor to continue adding the next command. Drag an area over a button on the screen image with the mouse, release the mouse to bring up the command menu, and select "CLICK CROP" to add a command. This command makes EMILY.RPA find the selected reference pattern (CROP) on the screen and then perform a mouse click. Commands that need to find a specified pattern on the screen will generate a reference image in the working folder, with filenames in the format CROP-xxx.png.
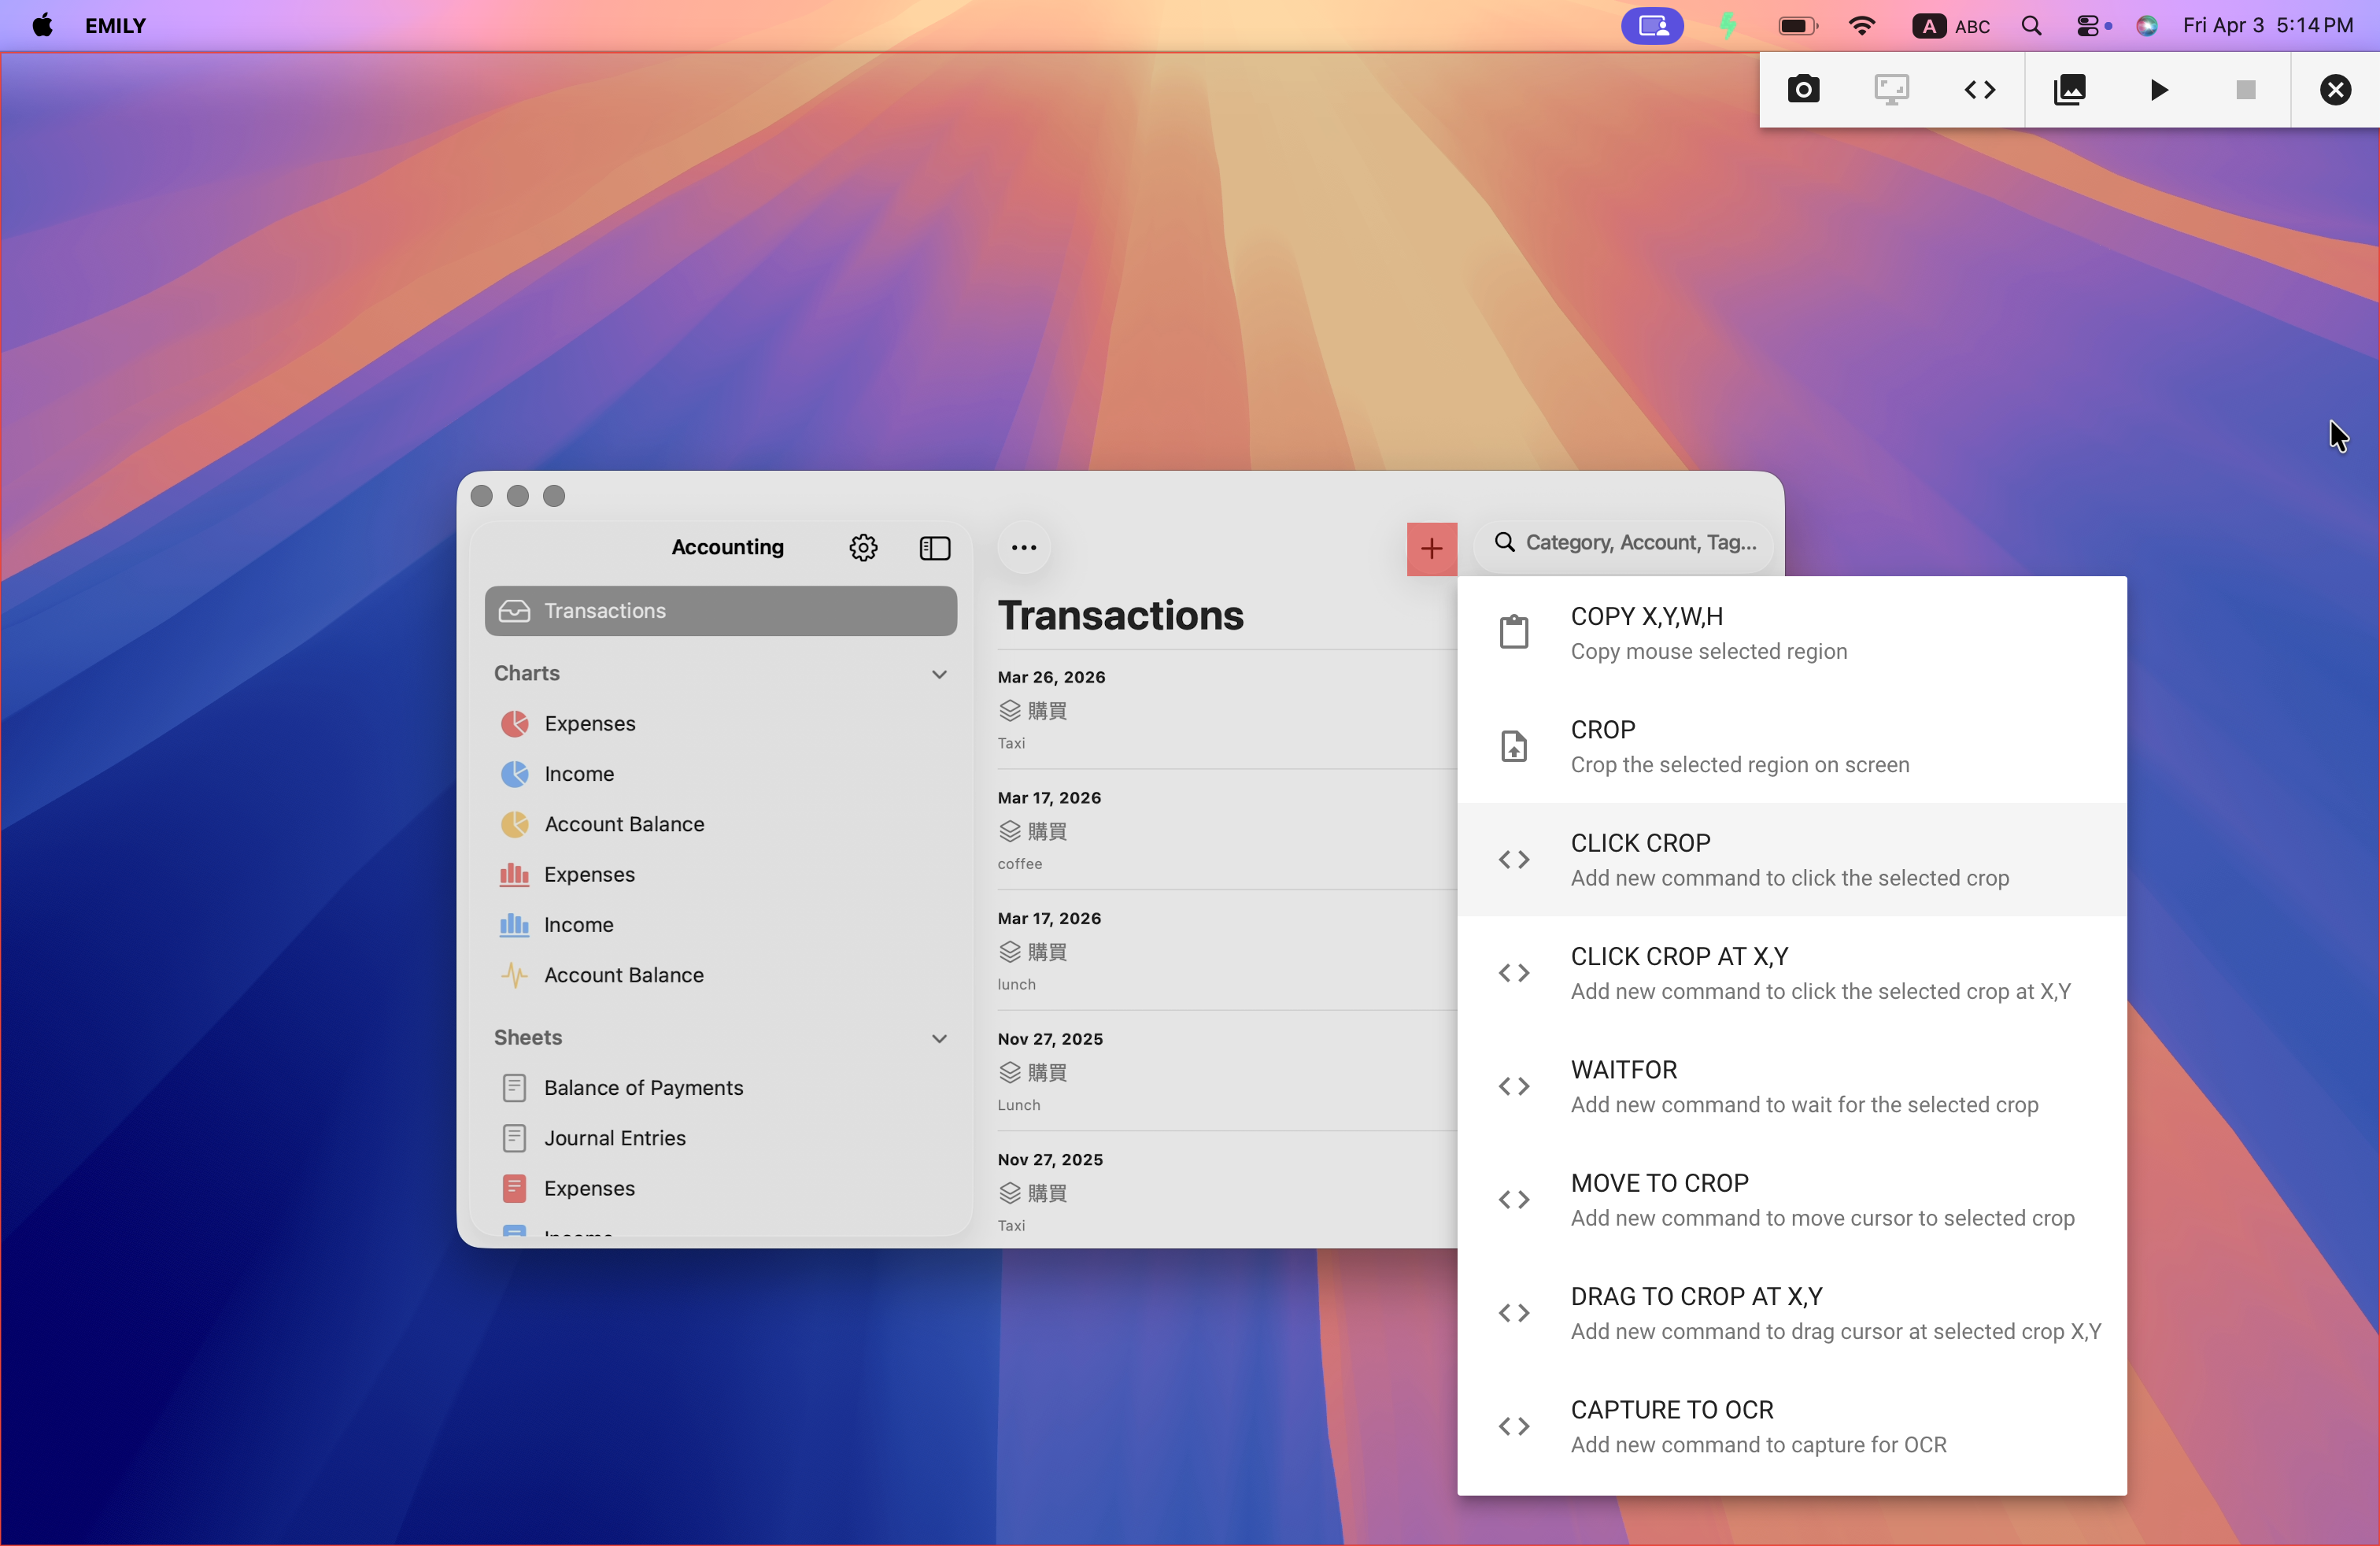
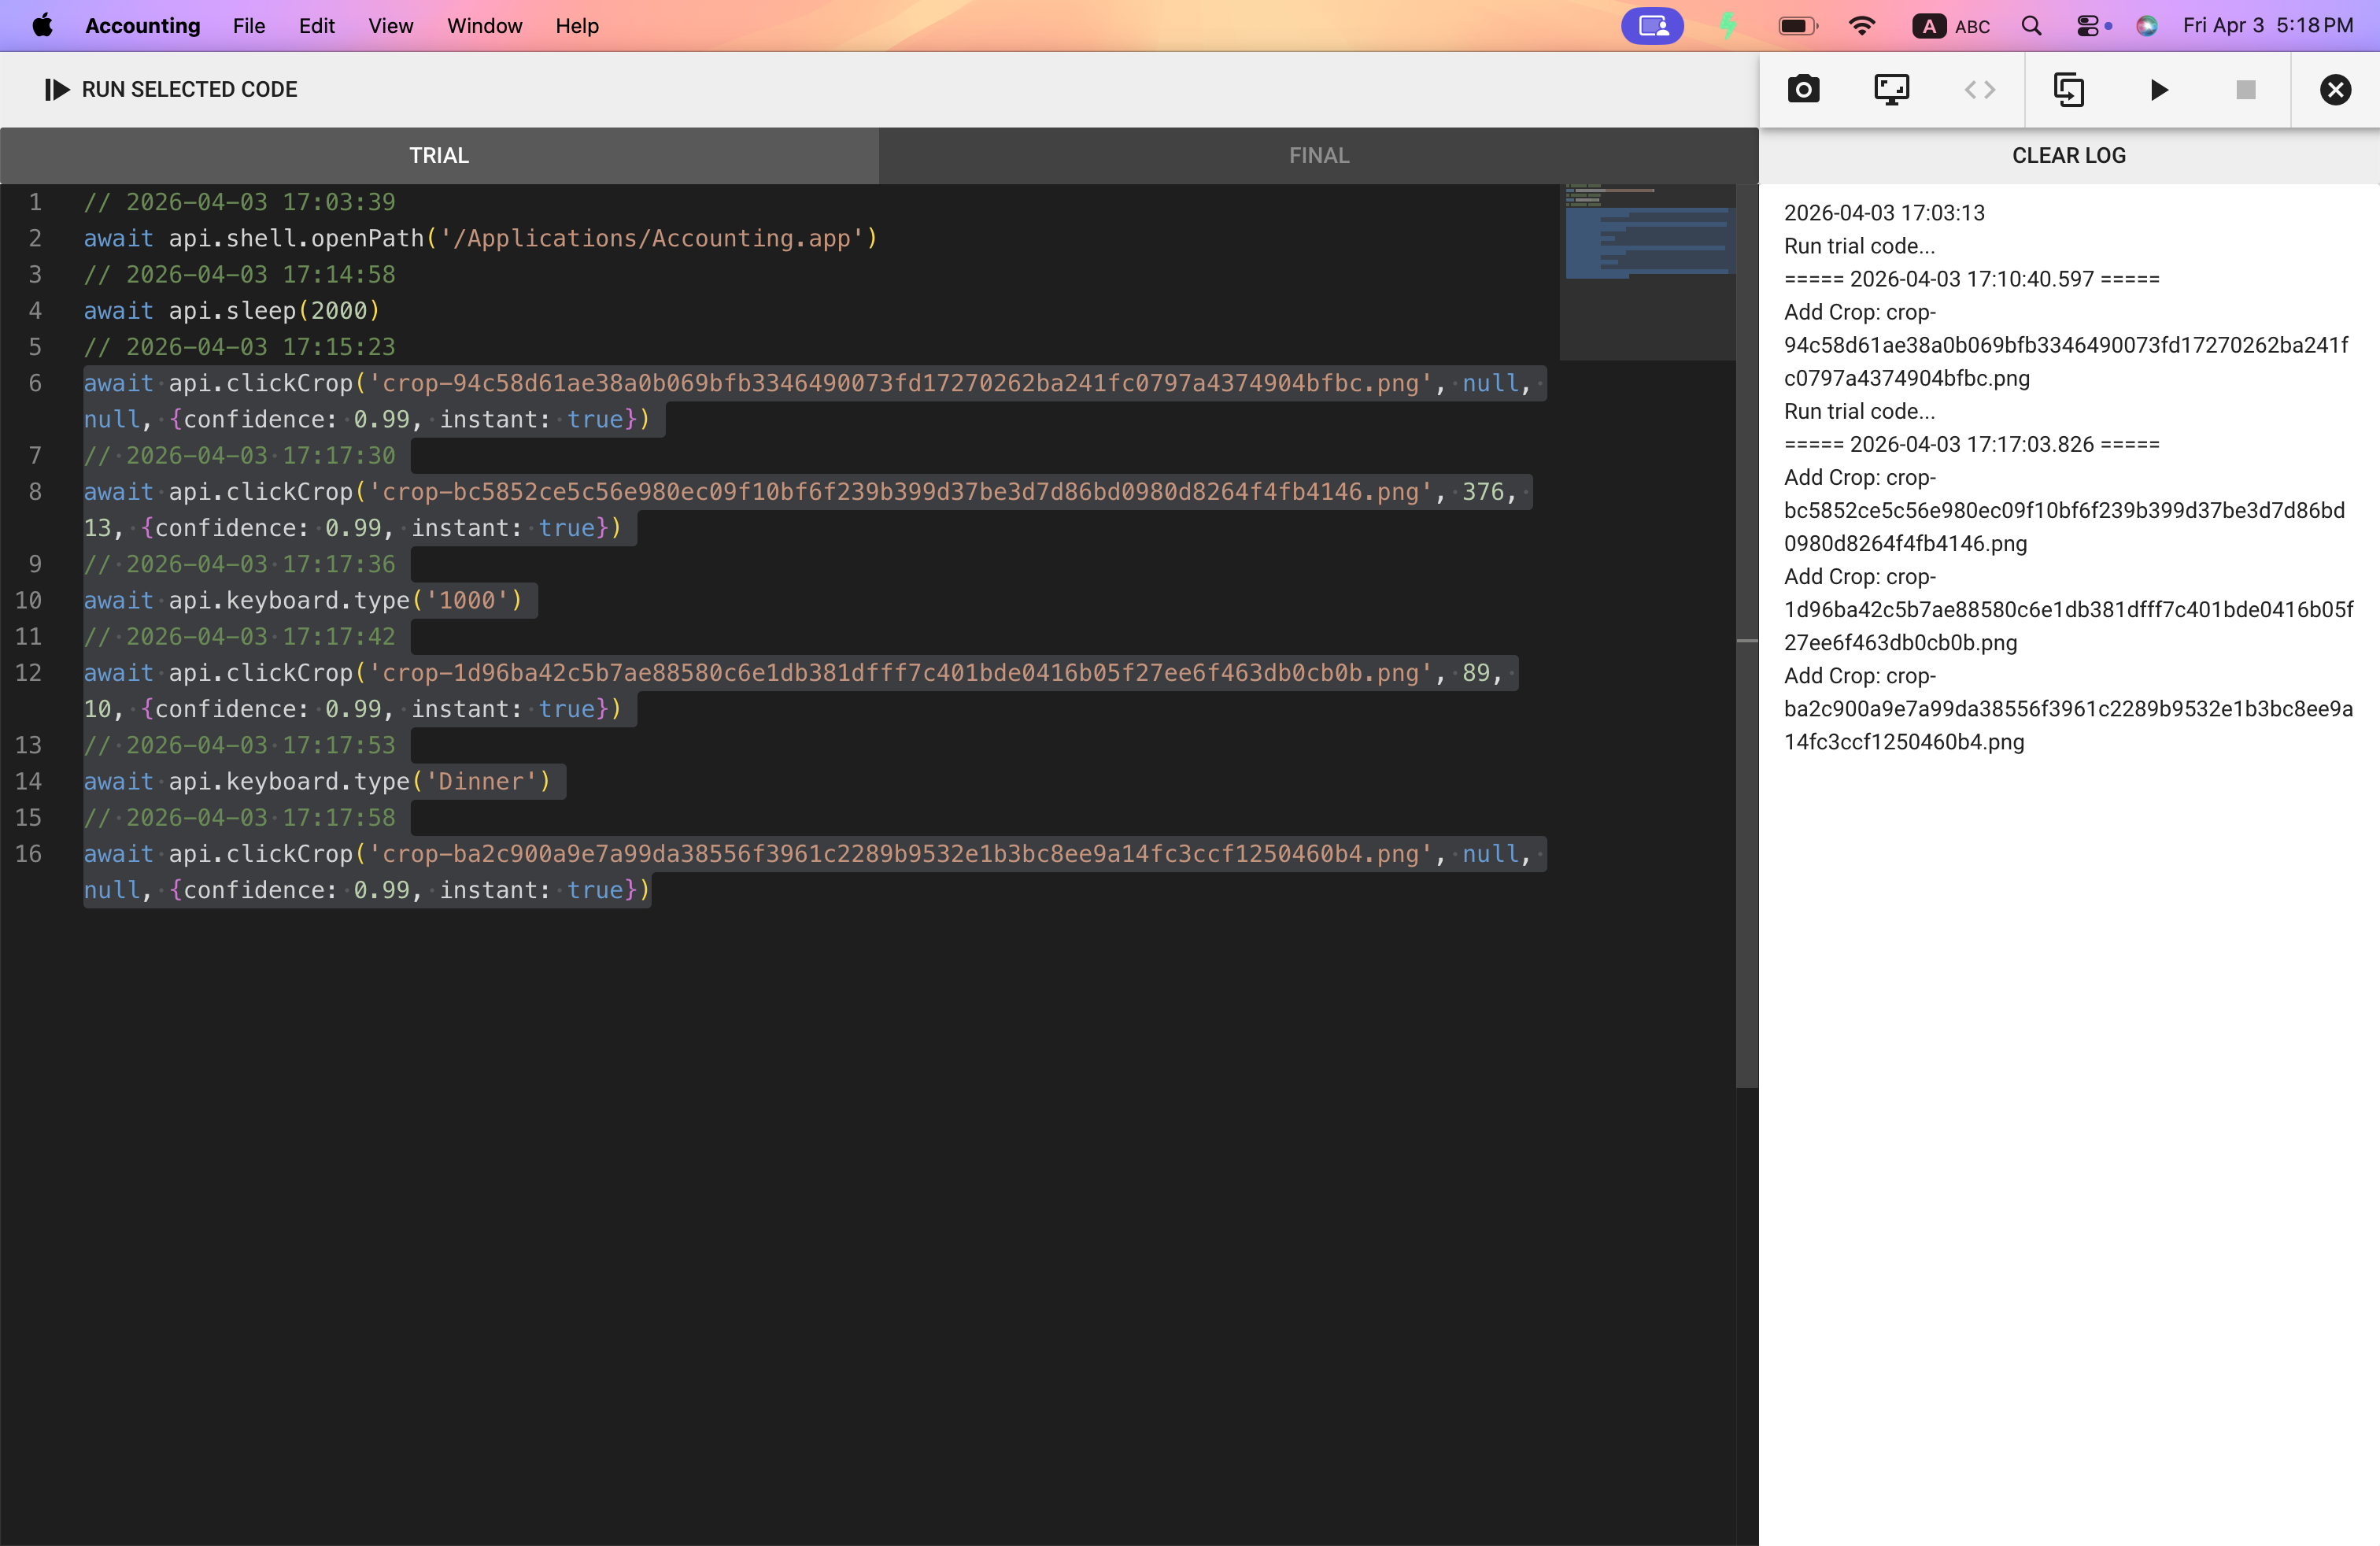
As commands are gradually added, in addition to the "▶︎" play button on the training panel which executes all steps sequentially, you can also select a code section in the code editor area and click "RUN SELECTED CODE" above the editor to execute the selected lines. The example below executes lines 6 through 16.
After completing the Low-Code code, be sure to click the "COMMIT" button (to the left of the play button) on the training panel in the Low-Code editor. The first click on "COMMIT" pushes the code from the TRIAL area to the FINAL area. The second click pushes the code from the FINAL area back to the module window.
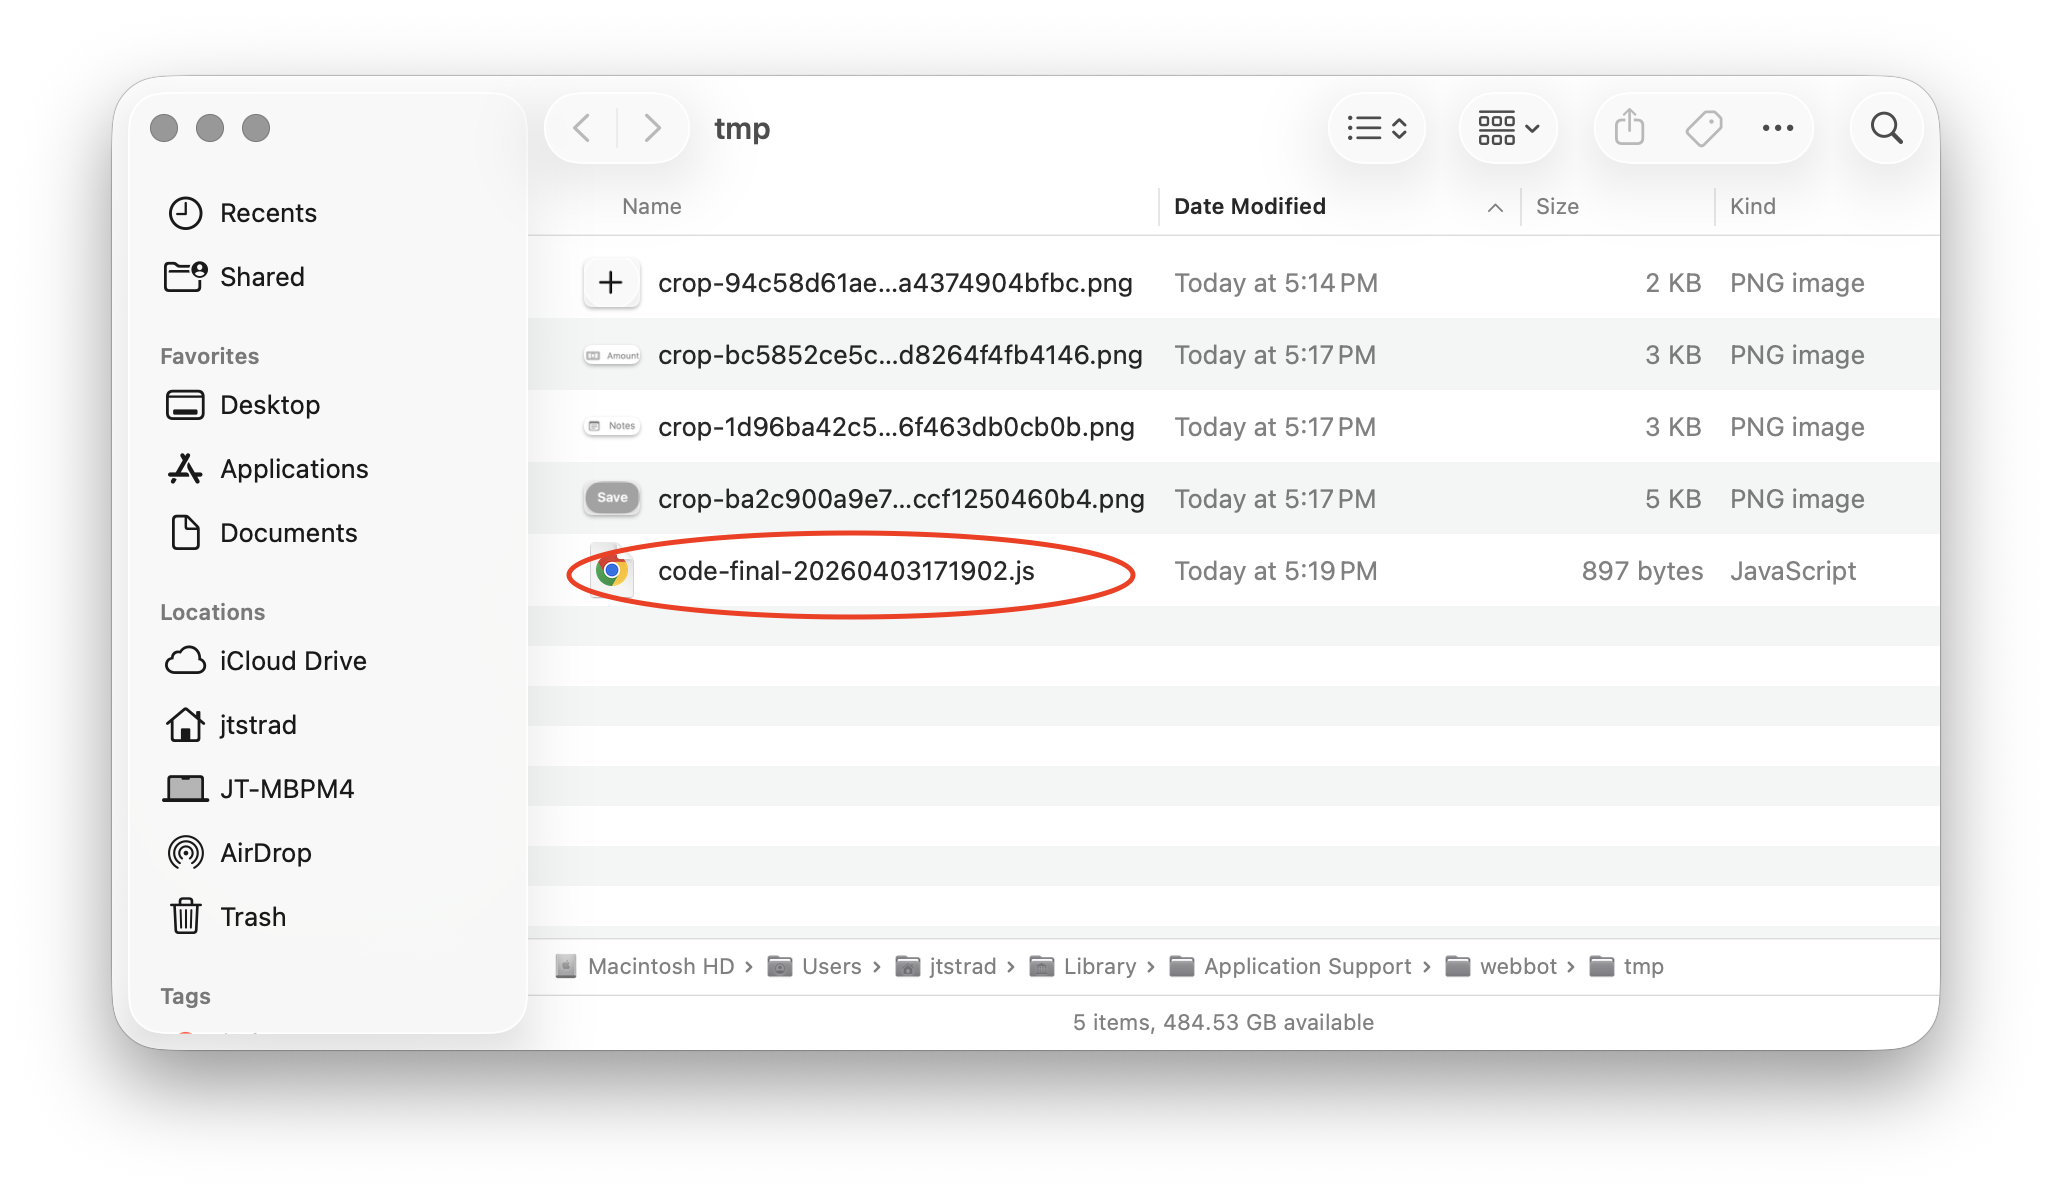
Finally, press "SAVE" to complete and save the desktop automation. If you forget to save, you can open the training mode working folder, where the code from the FINAL area will be saved in a file named code-final-xxxx.js:
api.screen Object
api.screen provides screen information and screen analysis-related async functions.
// Get screen dimensions
let size = await api.screen.size()
console.log(size)

// Find the most similar position to the specified image within a specified screen area (optional)
let found1 = await api.screen.find('crop-1234.png', {left:0,top:0,width:600,height:600})
console.log(found1)

// Find all possible positions on the screen with 95% or higher similarity to the specified image
let found2 = await api.screen.find('crop-1234.png', {confidence:0.95, all:true})
console.log(found2)

// Wait up to 10 seconds for the most similar position to the specified image to appear in a specified screen area (optional)
let found3 = await api.screen.waitFor('crop-5678', 10000, {left:0,top:0,width:600,height:600,confidence:0.95})

// Capture a 100x100 pixel image from screen position (0,0)
await api.screen.capture('snapshot.png', 0, 0, 100, 100)
api.mouse Object
api.mouse provides mouse operation-related async functions.
// Set mouse control parameters: delay between clicks / movement speed / movement steps
const msDelay = 0  // 0 ms between clicks/scrolls
const mouseSpeed = 2000 // 2000 pixels per second of moving mouse
const mouseSteps = 30  // 30 how many steps in a mouse movement
api.mouse.config(msDelay, mouseSpeed, mouseSteps)

// Move mouse cursor to (x,y)
await api.mouse.move(x, y)

// Get mouse cursor position {x,y}
let pos = await api.mouse.getPosition()
console.log(pos)

// Left-click, then double-click, then right-click
await api.mouse.clickLeft()
await api.mouse.doubleClick()
await api.mouse.clickRight()
// Mouse press and release
await api.mouse.press()
await api.mouse.release()

// Drag the mouse cursor from the current position while holding the left button to (x,y)
const button = 0 // 0: left button, 1: scroll wheel button, 2: right button
await api.mouse.drag(x, y, button)

// Operate the mouse scroll wheel: up/down/left/right
await api.mouse.scrollUp(n)
await api.mouse.scrollDown(n)
await api.mouse.scrollLeft(n)
await api.mouse.scrollRight(n)ode
api.keyboard Object
api.keyboard provides keyboard input-related async functions.
// Send 'hello' from the keyboard
await api.keyboard.type('hello')

// Press and release a key
await api.keyboard.press(api.key.A)
await api.keyboard.release(api.key.A)

// Send common keyboard control keys: ENTER/ESC/BACK/TAB
await api.keyboard.enter()
await api.keyboard.escape()
await api.keyboard.backspace()
await api.keyboard.tab()

// Send keyboard shortcut ALT+F4
await api.keyboard.keys(api.key.LeftAlt, api.key.F4)

// Send keyboard shortcuts: Select All / Copy / Paste
await api.ctrlA()
await api.ctrlC()
await api.ctrlV()
api Object
Provides other async functions to simplify workflow design and shell operations.
// Find the most similar position to crop-2345 (95% confidence), then click at relative offset (x,y) and wait 500ms before the next command. Move mouse cursor instantly without trajectory after finding (instant: true)
await api.clickCrop('crop-2345', x, y, {confidence:0.95, wait:500, instant: true})

// Find the most similar position to crop-3456 (95% confidence), then move the mouse cursor to relative offset (x,y) and wait 500ms before the next command
await api.moveToCrop('crop-3456', x, y, {confidence:0.95, wait:500})

// Capture a screen area of width w and height h at relative offset (x,y) from found3 (example above) and perform OCR
// searchLine is a regular expression for searching text results, used with moveCursor below
// moveCursor is a boolean indicating whether to move the mouse cursor to the center of the found searchLine on screen
// language is the OCR recognition language: 'eng', 'chi_tra'
let result = await api.captureToOcr(found2, x, y, w, h, searchLine, moveCursor, language)
console.log(result.text)

// Paste text shortcut
await api.pasteText('hello')

// Read/write clipboard synchronous functions
api.clipboard.writeText('hello')
console.log(api.clipboard.readText())

// Read CSV file API, delimiter is comma, skip 0 rows from the beginning to read headers
let rows = await api.readCSV('input.csv', ',', 0)
// Write CSV file API, headers are name, age in order
await api.writeCSV('output.csv', [{name:'Alice',age:20},{name:'Bob',age:25}], ['name','age'])

// Wait 5 seconds
await api.sleep(5000)

// Execute another skill
await api.run('bed383cd-ec5b-497e-ae4d-b9ad906e0abe')

// Open a file from the working folder
await api.shell.openPath('output.csv')
// Open any file
await api.shell.openPath('/Users/emily/Desktop/input.xlsx')
// Open file explorer and select the file
await api.shell.showItemInFolder('/Users/emily/Desktop/input.xlsx')
// Move file to trash
await api.shell.trashItem('/Users/emily/Desktop/input.xlsx')
// Open a web link
await api.shell.openExternal('https://google.com')

// Execute PowerShell script
let result1 = await api.powerShell('Get-Process')

// Execute PowerShell PS1 file script
let result2 = await api.powerShell('./myscript.ps1')
Provides an asynchronous function for Desktop Use Agent to operate the desktop.
// Let the AI Agent view the screen and operate the mouse or keyboard to achieve the goal. You can limit the maximum number of execution steps; the default is 10.
await api.desktopUse('Click the "Add Transaction" button', { maxActions: 10 })
api.key Object
The following table lists all keys. For example, the space key is api.key.Space
Space Escape Tab Backspace Enter
LeftAlt RightAlt LeftControl RightControl LeftShift RightShift LeftSuper RightSuper
F1 F2 F3 F4 F5 F6 F7 F8 F9 F10 F11 F12
Num0 Num1 Num2 Num3 Num4 Num5 Num6 Num7 Num8 Num9
A B C D E F G H I J K L M N O P Q R S T U V W X Y Z
Grave Minus Equal LeftBracket RightBracket Backslash Semicolon Quote Comma Period Slash
Left Up Right Down
Print Pause Insert Delete Home End PageUp PageDown
NumPad0 NumPad1 NumPad2 NumPad3 NumPad4 NumPad5 NumPad6 NumPad7 NumPad8 NumPad9
Add Subtract Multiply Divide Decimal
CapsLock ScrollLock NumLock