---
title: "Exchange Mail Sender"
description: "EMILY.RPA Exchange Mail Sender module: send Exchange Online email over SMTP using an Exchange Online-compatible account."
source: https://docs.emily.tips/en/wap/smtp-exchange
---
# Exchange Mail Sender
Send Exchange Online email via SMTP. Requires an Exchange Online-compatible account. For configuration details, refer to [Exchange Online Access Configuration](/faq/config-exchange-online).
## Parameters
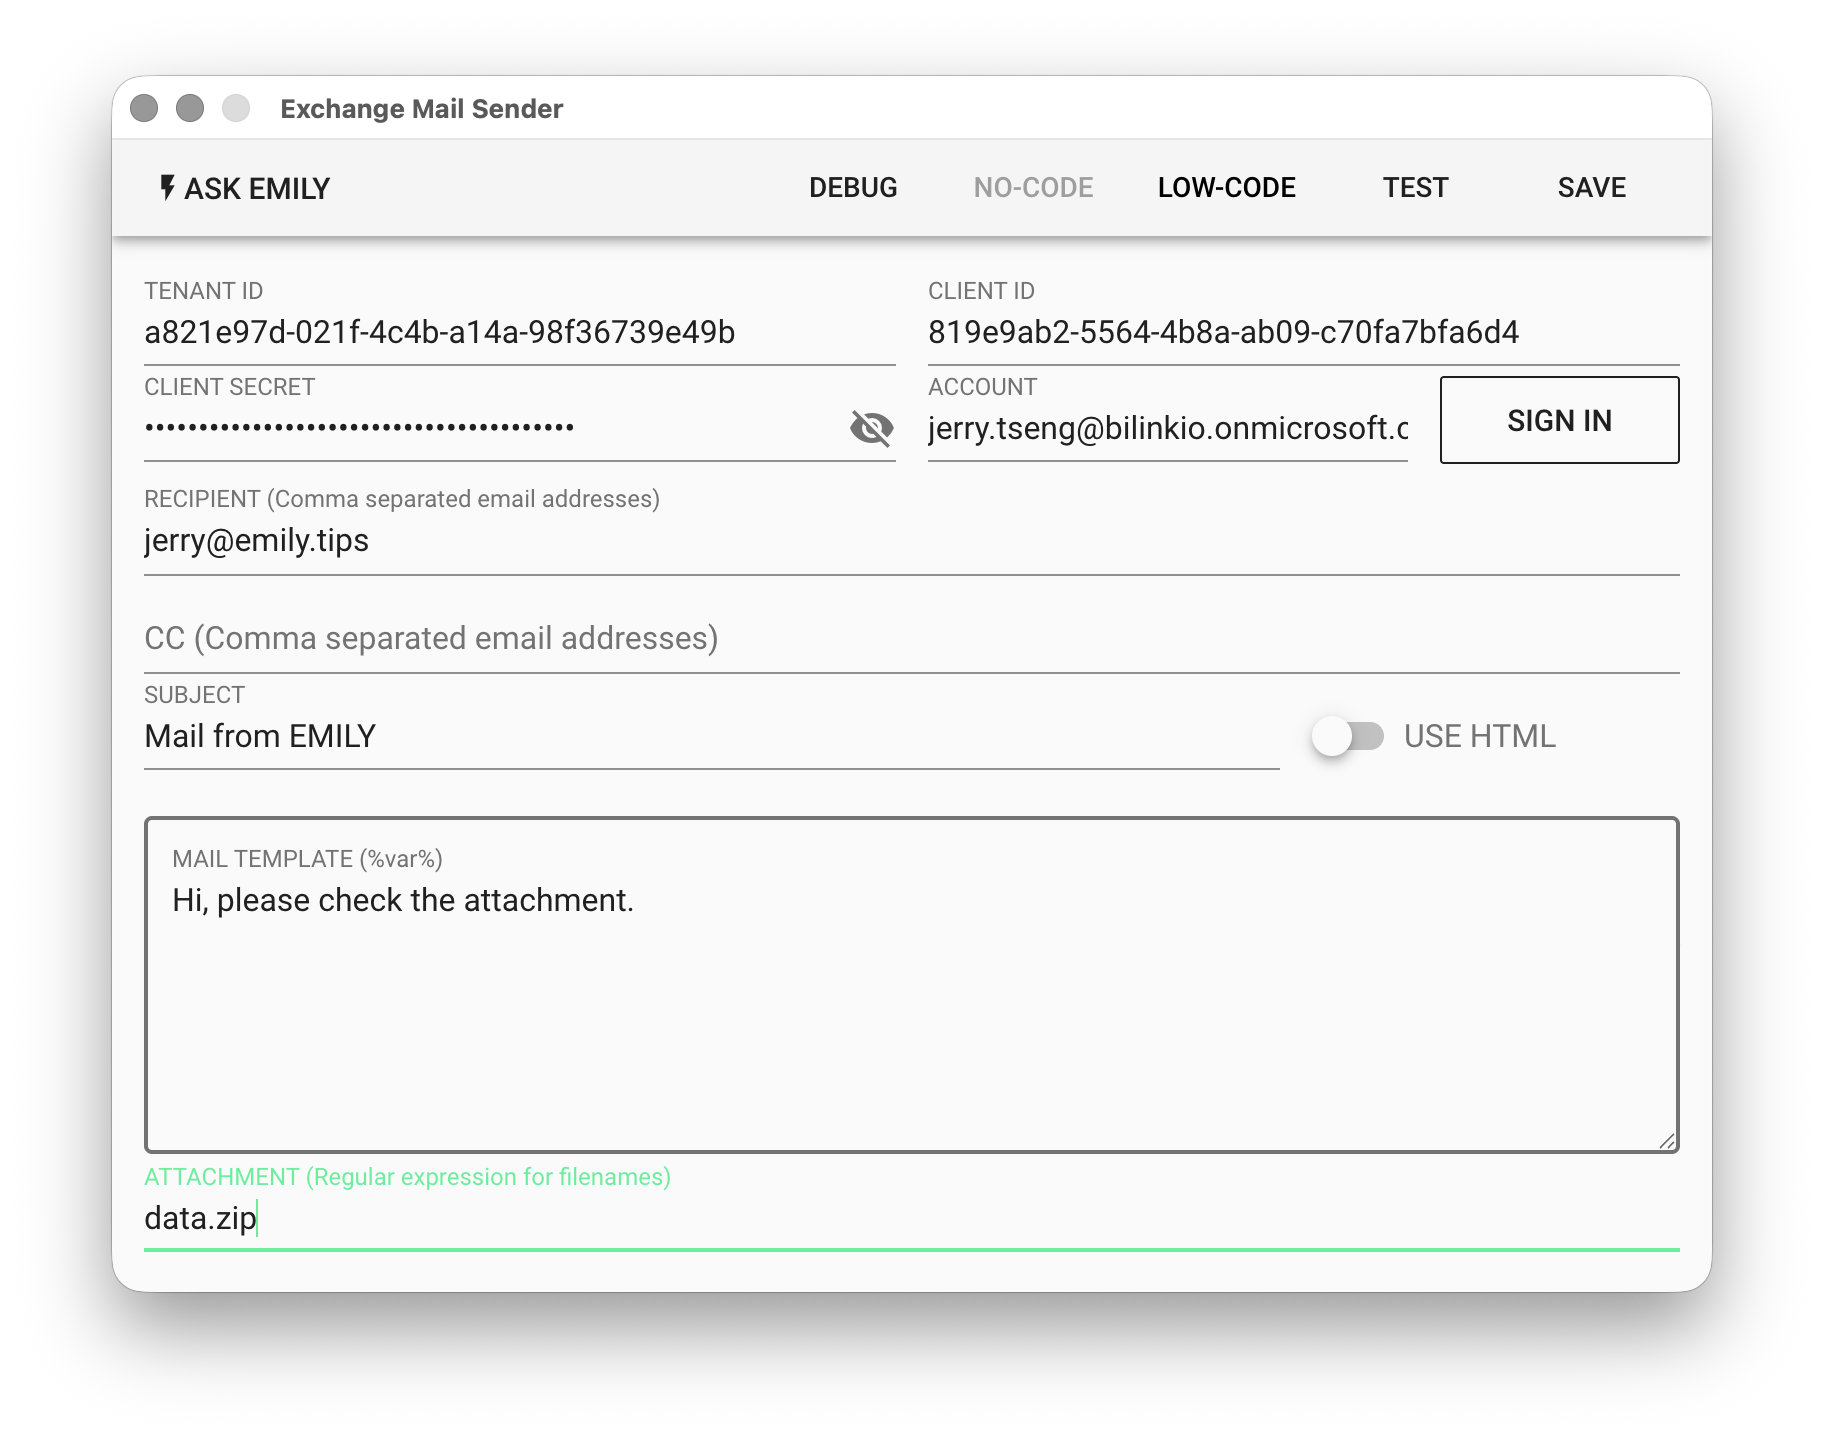
**`TENANT ID`** - The Azure Active Directory tenant ID associated with the user's email account in the Azure Portal.
**`CLIENT ID`** - The client ID of the registered **Enterprise Application** within the above **Tenant**.
**`CLIENT SECRET`** - Enter the value of the above **Client Secret**.
**`ACCOUNT`** - After filling in `TENANT ID`, `CLIENT ID`, and `CLIENT SECRET`, click "**SIGN IN**" to open a browser for user authentication, and the `ACCOUNT` will be automatically populated.
**`RECIPIENT`** - Recipient address. For multiple recipients, separate with commas. Supports the **%FILENAME%** template, for example:
```
alice@mail.com,bob@mail.com,%contact%
```
**`CC`** - Carbon copy address. Multiple recipients follow the same format as above.
**`SUBJECT`** - Email subject. Supports the **%FILENAME%** template.
**`USE HTML`** - Whether the email body template uses HTML syntax.
**`MAIL TEMPLATE`** - Email body template. Supports the **%FILENAME%** template.
```
Dear %user%
Thanks for subscribing %serviceName% service.
```
**`ATTACHMENT`** - Add specified attachments using a regular expression string: `invoice-[0-9]{3}\.jpg`
### EMBED IMAGE
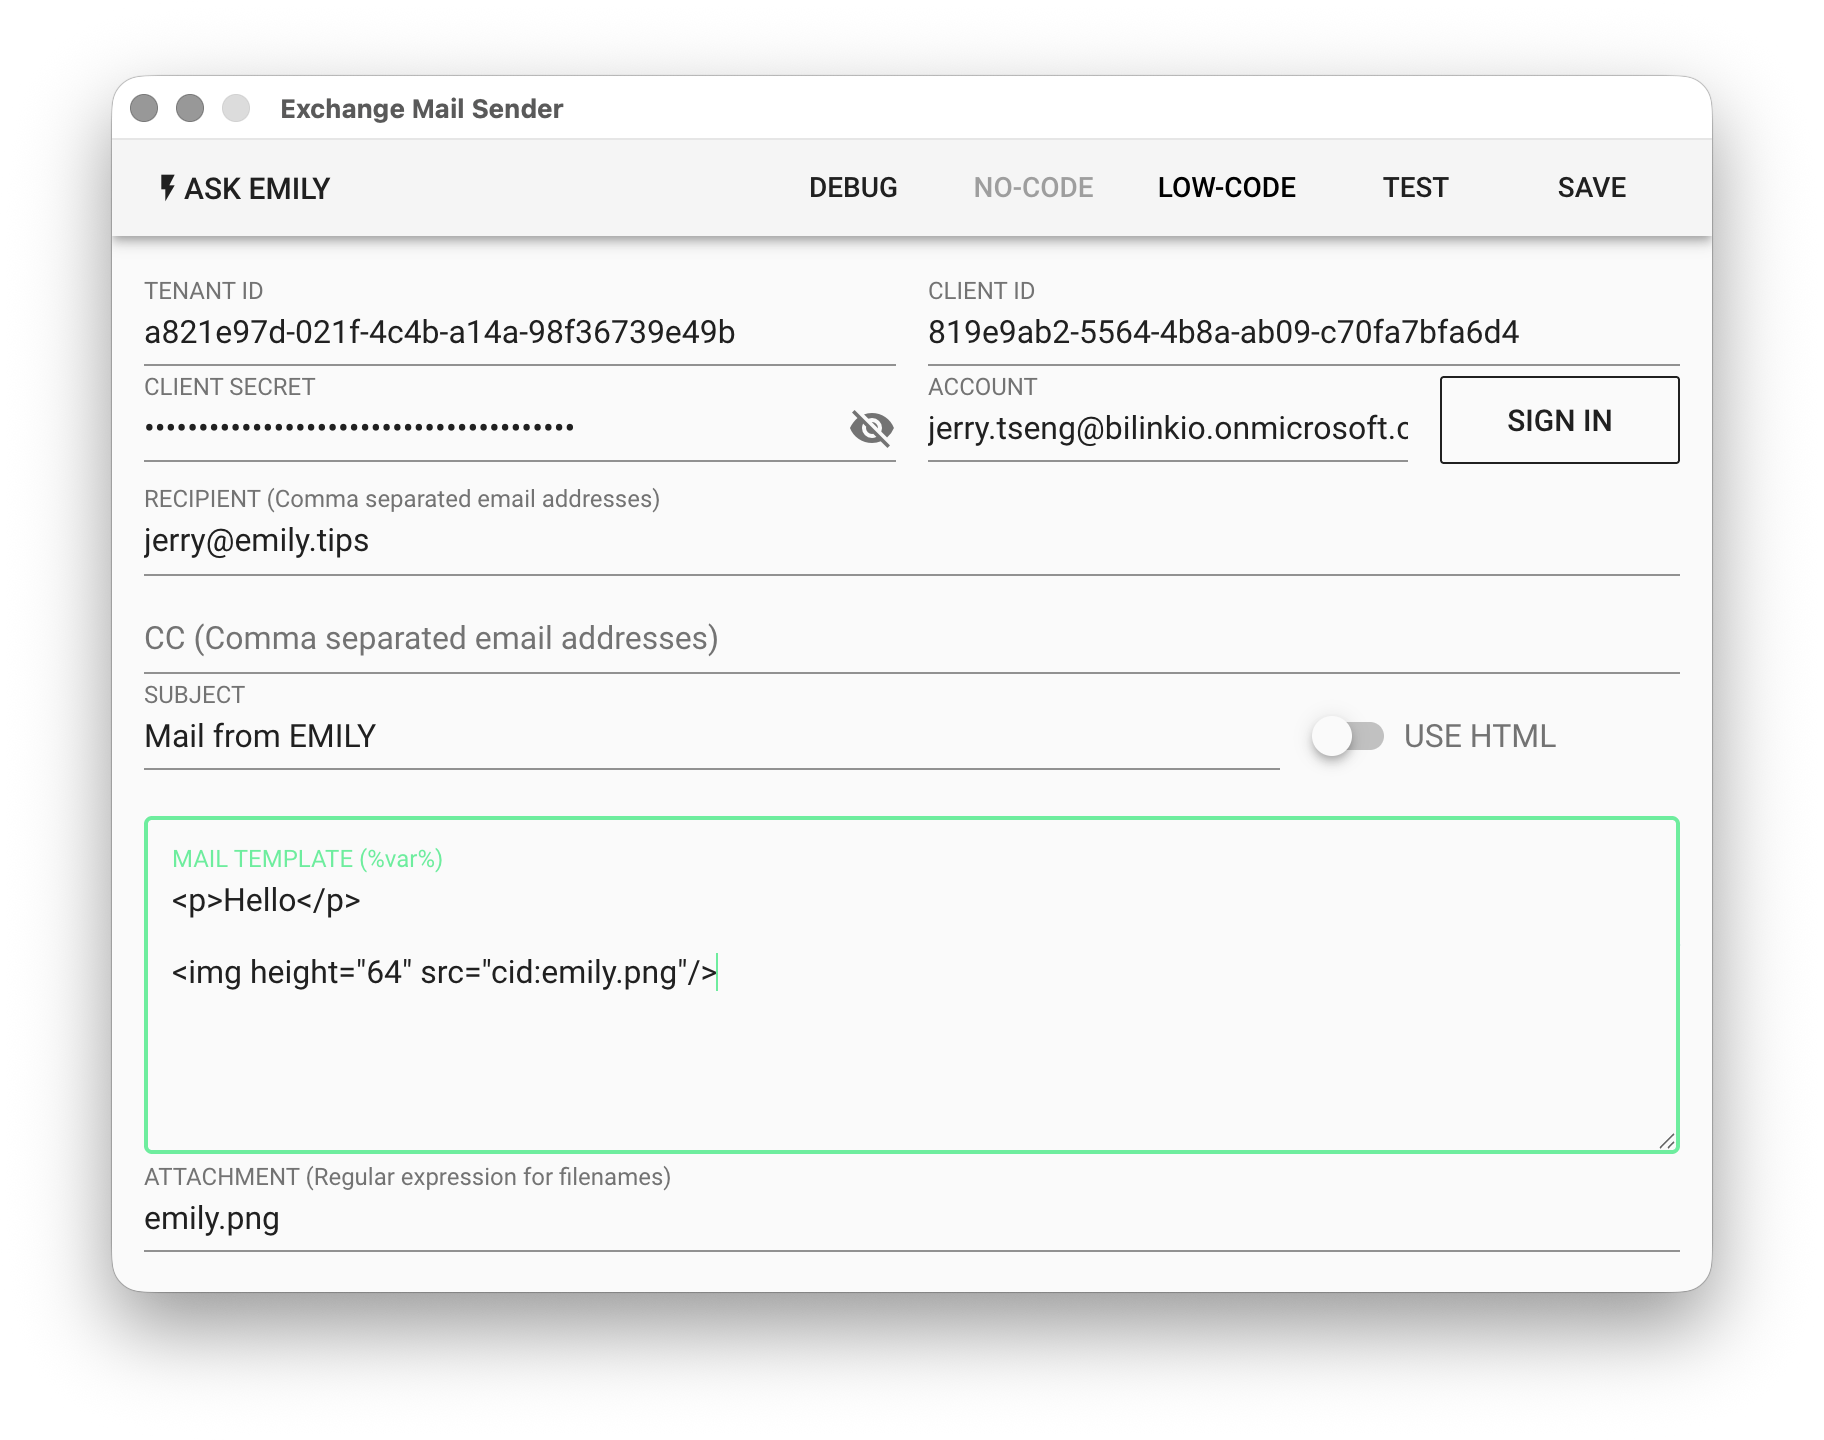
The email body must have USE HTML enabled. Add the image file as an attachment and reference it in the email body using an \![]() tag:
Note that in the \
tag:

Note that in the \![]() tag, the src attribute must use the `cid:` prefix to reference the attached image.
## LOW-CODE Editor
### input Object
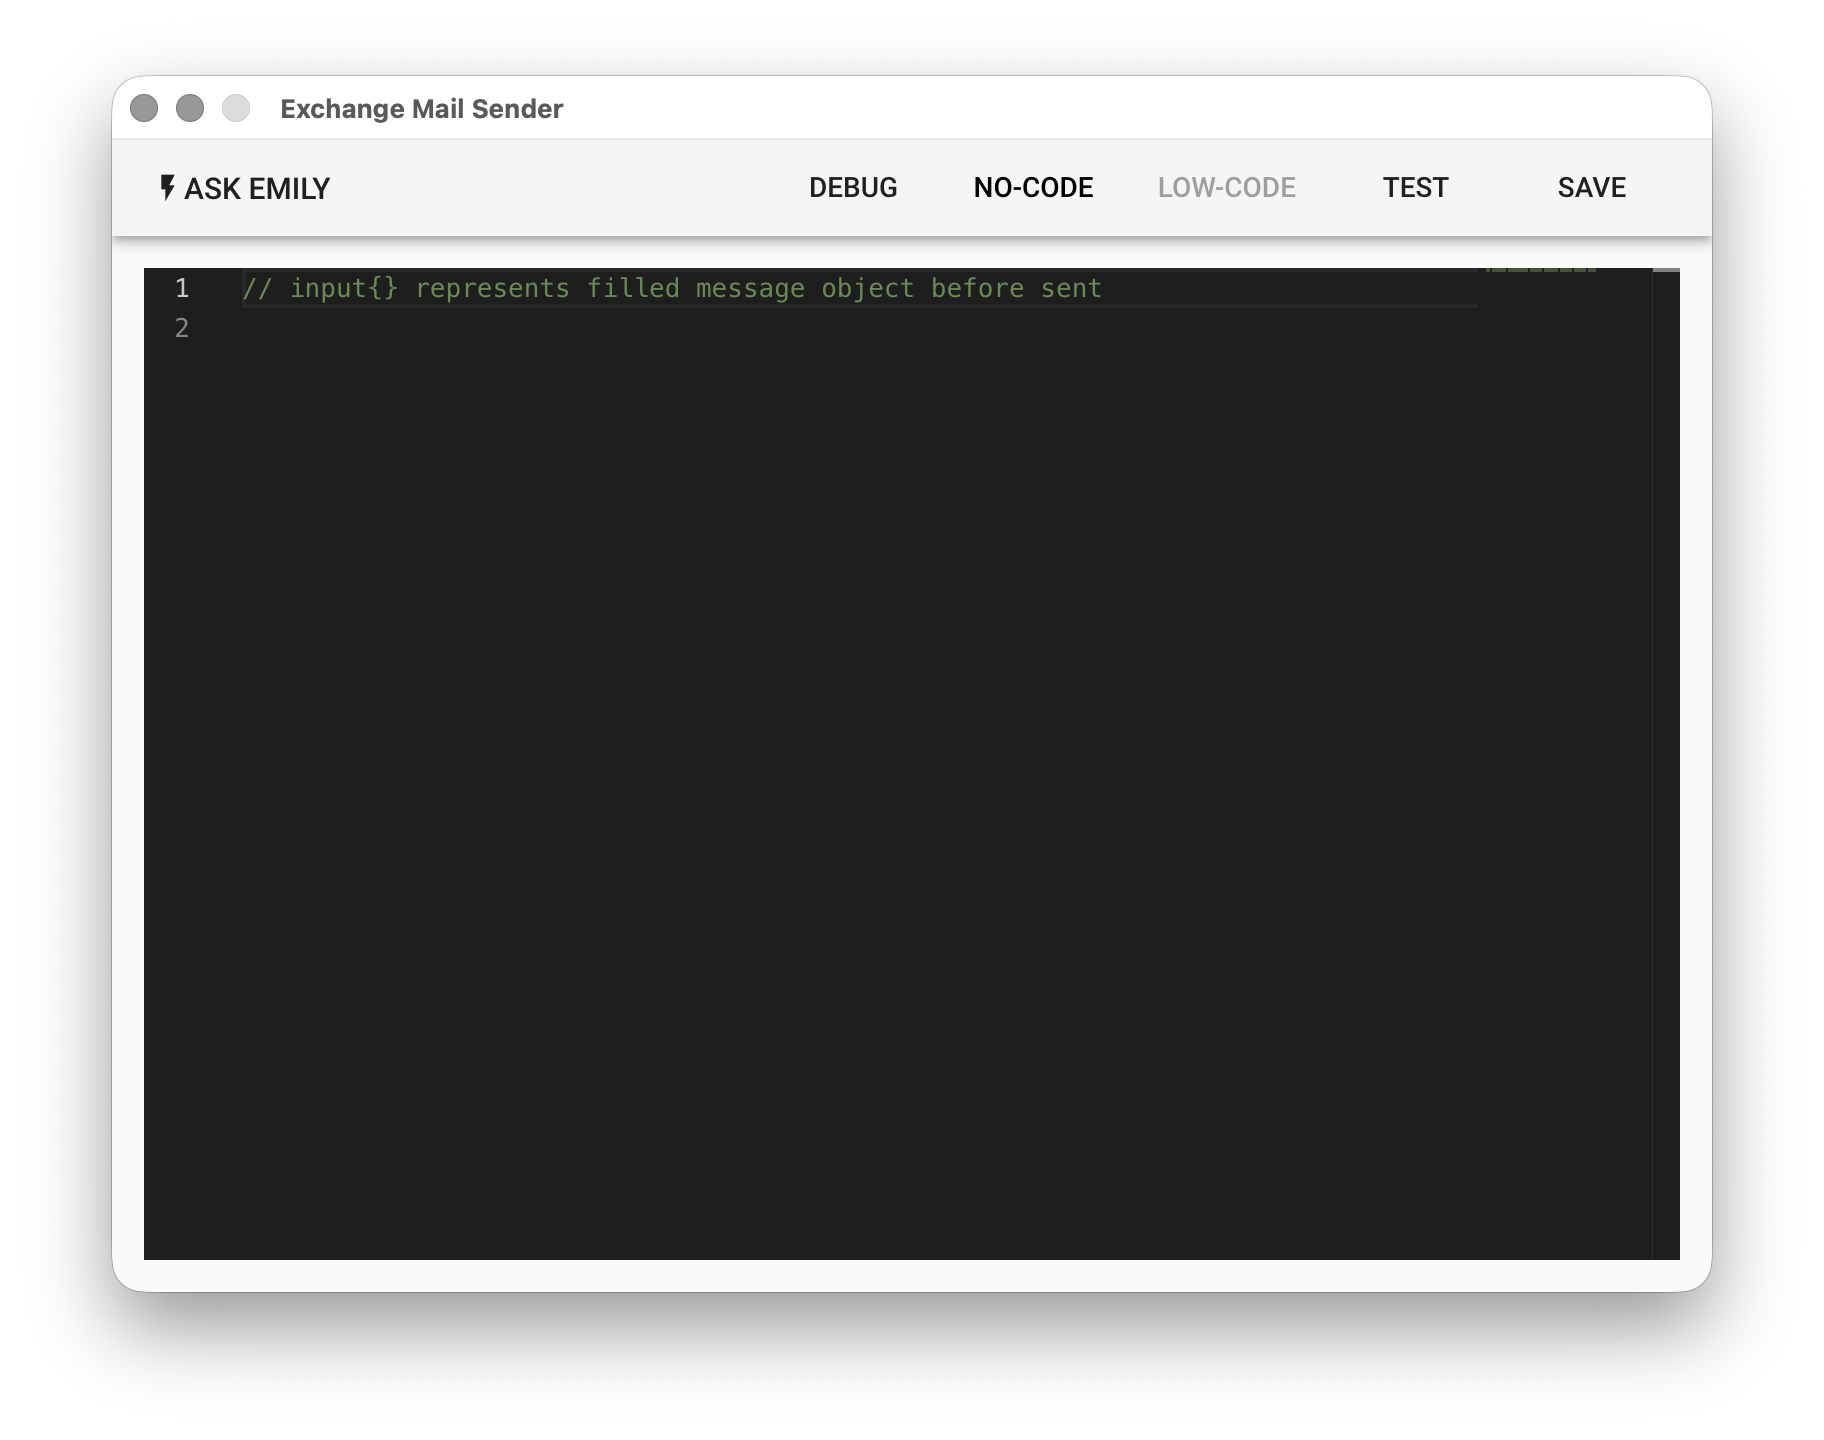
The input object contains the content filled in above. You can modify it here before sending.
```javascript
// Print the filled email content first, then modify before sending
console.log(input)
// Append a date to the body
input.text += `\n\n Sent on ${moment().format('YYYY-MM-DD')}`
// BCC to archive@company.com
input.bcc = 'archive@company.com'
```
tag, the src attribute must use the `cid:` prefix to reference the attached image.
## LOW-CODE Editor

### input Object
The input object contains the content filled in above. You can modify it here before sending.
```javascript
// Print the filled email content first, then modify before sending
console.log(input)
// Append a date to the body
input.text += `\n\n Sent on ${moment().format('YYYY-MM-DD')}`
// BCC to archive@company.com
input.bcc = 'archive@company.com'
```